Create a folder on Windows
If you want to find out what operations you need to perform in order to create a folder and if you use Windows the first thing you need to do is identify the location on the computer where you want to do this. Depending on what your needs and preferences are, you can in fact create a folder on your desktop or anywhere else on your hard drive. To create a folder on the Windows desktop simply bring it to the latter, if instead you want to create a folder in another point of the hard disk press the icon depicting a yellow folder that is attached to the taskbar and then use the labels present on the left sidebar of the displayed window to choose the position in which to act.
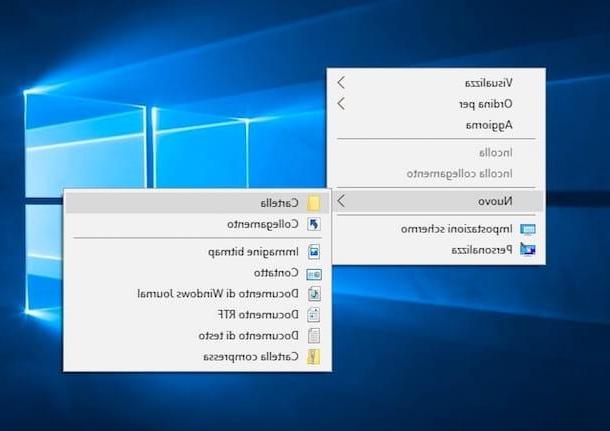
Once you have chosen the location in which to create a folder click with the right mouse button in any empty spot, select the item New from the menu that is shown to you and then click Folder.
After these steps you will see a new folder appear marked by the default name New folder highlighted in blue. Then type with the keyboard the name you want to assign to the folder and then press the key Submit to apply the changes made. When renaming the folder keep in mind that folder names in Windows cannot contain the following special characters:
- ~
- #
- %
- &
- *
- {}
- :
- <>
- +
- |
- "
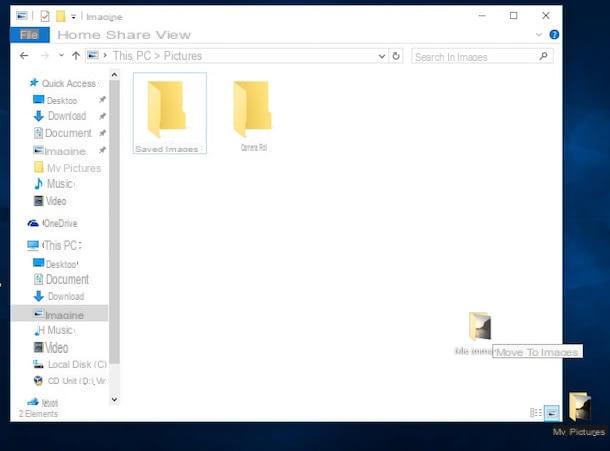
Now that you have finally managed to create a folder on Windows to be able to move text documents, photos, images, music or anything else you want inside it, all you have to do is click with the left mouse button on these elements and, continuing to hold down the mouse button, drag them to the icon of the folder you just proceeded to generate.
If instead of moving files into the newly created folder you simply want to copy them, identify the elements on which you intend to act, then select them with the mouse by clicking with the left button on the first one and then with the left button and the button. Ctrl on the others then right-click on any of the files and choose the item Copy from the menu that is shown to you. Now bring the cursor to the icon of the folder you just created, right-click on it and then select the item Paste give the menu that comes mostrato.
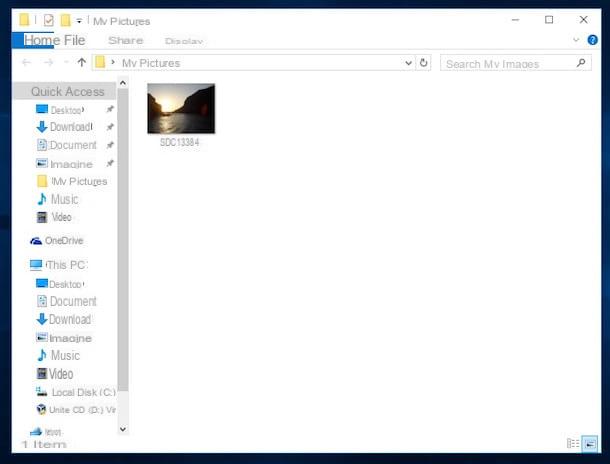
You will then be able to view what you have added inside the folder you have created by simply double clicking with the left mouse button on it.
Clearly know that despite having created a folder on Windows in a specific location, you can always and in any case move or copy it where you think it is more appropriate. To move the folder you just created click on it with the left mouse button and, continuing to hold it down, drag it to the new position. To copy the folder you have just created, click on it with the right mouse button and choose the item Copy from the menu that is shown to you. Then locate the position where you want to copy the created folder and then click anywhere in the new position with the right mouse button and choose the item Paste from the menu that is shown on the screen.
In addition to what I have just indicated, you should know that it is possible to create a folder on Windows also by carrying out an alternative procedure that involves the use of Command Prompt. The final result is practically analogous to the first method. It is therefore up to you to choose which of the two you think may best suit your needs.
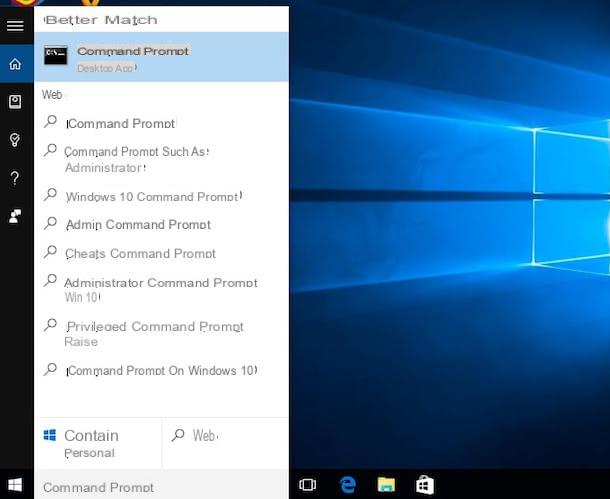
To create a folder on Windows using the alternative method, the first thing you need to do is press the button Home, to type Command Prompt in the displayed search field and click on the first result.
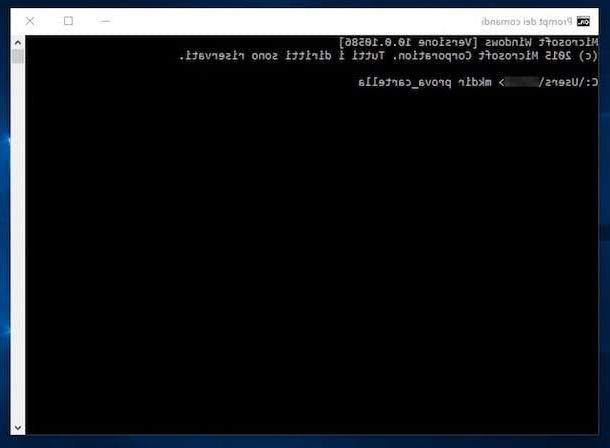
In the Command Prompt window that you now see on the screen, type mkdir foldername (where instead of foldername you have to enter the name you want to assign to the folder you are about to create) then press the button Submit on the keyboard. Once this is done a new folder will be created instantly in the location C: Users your name (where instead of Your name there is your username that you have chosen to use on Windows).
If, on the other hand, you want to create nested folders, that is, one folder inside another, just type mkdir foldername (where instead of foldername you will have to enter the name you want to assign to the folder to be created) and press the button Submit on the keyboard. Once this is done, a new folder will be created instantly nested in the location C: Users your name (where instead of Your name there is your username that you have chosen to use on Windows).
Create a folder on OS X
If you have a Mac and it is your intention to find out what operations you need to perform in order to create a folder on OS X the first thing you need to do is identify the location on the computer where you want to do this. Depending on what your needs and preferences are, you can in fact create a folder on your desktop or anywhere else on your hard drive. To create a folder on the OS X desktop, simply bring it to the latter if you want to create a folder elsewhere on the hard drive, press the item vai attached to the upper left part of the menu bar, then click on the item All my files attached to the menu that is shown to you, wait for the window to be shown to you All my files on the screen then use the labels attached to the left sidebar of the displayed window to choose the position in which to act.
Once you have chosen the location in which to create a folder click with the right mouse button in any empty spot and select the item New folder give the menu that comes mostrato.
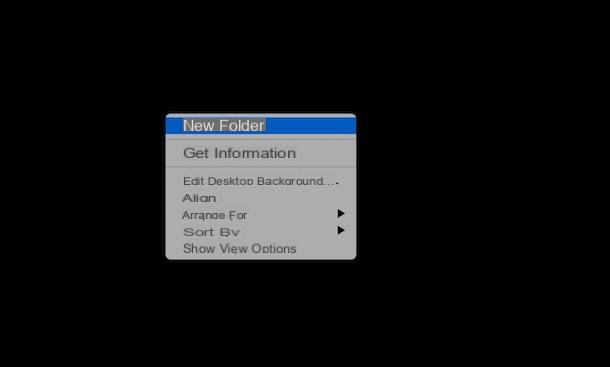
After these steps you will see a new folder appear marked by the default name untitled folder. If you wish, you can rename the newly created folder as you see fit. To do this click on the newly generated folder with the left mouse button, press the button Submit on the keyboard and then type the name you want to use. Then press the button again Submit to apply the changes made. When going to rename the folder keep in mind that folder names in OS X cannot contain the special character : or a starting point
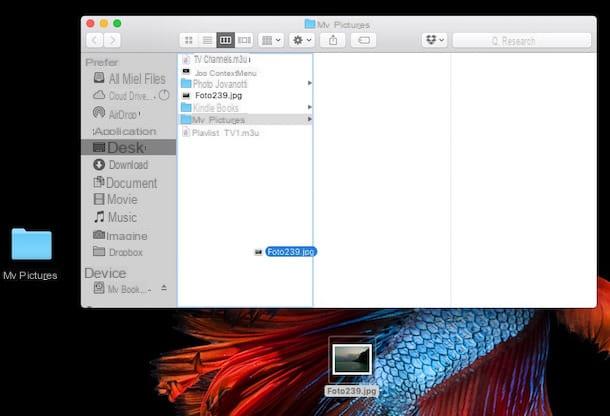
Now that you have finally managed to create a folder on OS X to be able to move text documents, photos, images, music or anything else you want inside it, all you have to do is click with the left mouse button on these elements and, while continuing to hold down the mouse button, drag them to the icon of the folder you have just generated.
If instead of moving files into the newly created folder you simply want to copy them, identify the elements on which you intend to act, then select them with the mouse by clicking with the left button on the first one and then with the left button and the button. Ctrl on the others then click with the right button on any of the files and from the menu that is shown to you choose the item Copy "filename" (where instead of "Filename" you will find the name of the single file on which you have chosen to act) or the item Copy N elements (where instead of N you will find the total number of selected files indicated). Now bring the cursor to the icon of the folder you just created, click on it with the right button and from the menu that is shown at this point, select the item Paste element (which is shown to you if you previously selected a single file) or the item Paste N elements (where in place of N you will find the number of files you previously selected).
You will then be able to view what you have added inside the folder you have created by simply double clicking with the left mouse button on it.

Clearly keep in mind that despite having created a folder on OS X in a specific location you can always and in any case move or copy it where you think it is more appropriate. To move the folder you just created click on it with the left mouse button and, continuing to hold it down, drag it to the new position. To copy the folder you have just created, click on it with the right mouse button and choose the item Copy "Foldername" (where instead of "Foldername" the name you assigned to the folder is indicated) from the menu that is shown to you. Then locate the position where you want to copy the created folder and then click anywhere in the new position with the right mouse button and choose the item Paste element from the menu that is shown on the screen.
In addition to what I have just indicated, you should know that it is possible to create a folder on OS X also by carrying out an alternative procedure that involves the use of terminal. The final result is practically analogous to the first method, which is why it is up to you and only you to choose which of the two you think may be more suited to your needs.
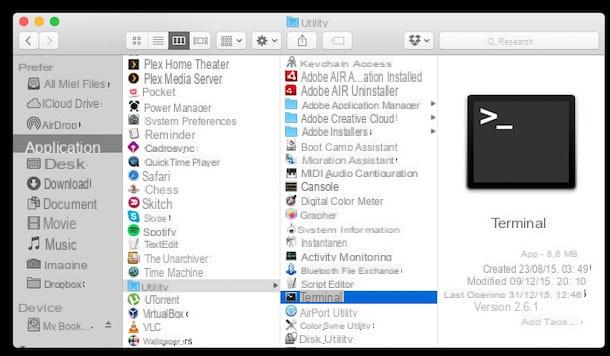
To create a folder on OS X by putting the alternative method into practice, the first thing you need to do is press the icon in the shape of a magnifying glass located in the upper right part of the menu bar, type terminal and double-click on the first displayed result. Alternatively you can start Terminal by pressing on the item vai attached on the left side of the menu bar, by clicking on Applicationsby double clicking on the folder Utility and double-clicking on the Terminal application icon again.
In the Terminal window that you now see on the screen, type mkdir foldername (where instead of foldername you have to enter the name you want to assign to the folder you are about to create) then press the button Submit on the keyboard. Once this is done, a new folder will be created instantly in the current location.

If, on the other hand, you want to create nested folders, that is, one folder inside another, just type mkdir foldername (where instead of foldername you will have to enter the name you want to assign to the folder to be created) and press the button Submit on the keyboard. Once this is done, a new folder will be created instantly nested in the current location.
How to create a folder