Preliminary operation

The first thing to do in order to configure a WiFi router consists of accessing the relevant web administration panel using any browser for a computer, smartphone or tablet. First, however, it is necessary to identify theIP address device.
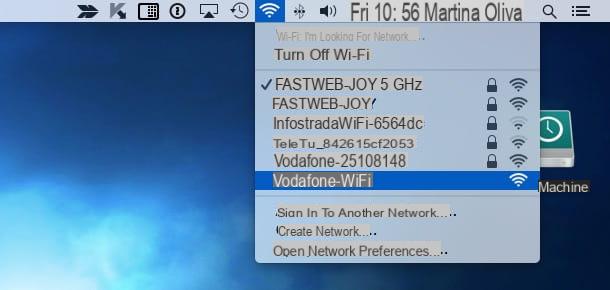
As a first step, then connect to the Wi-Fi network generated by the router or, better yet, at the door Ethernet of the same from the device through which you intend to act and try a surf the Internet to make sure everything is working for the best (this unless you need to configure the router for the first network access).
Once this is done, you can obtain the IP address of the router directly from the operating system you are using, in the manner that I am going to illustrate below.
- Windows: open a del Command Prompt (located in the folder Windows Accessories from the menu Home), issue the ipconfig command inside it and press the key Submit keyboard. The IP you searched for is located in correspondence with the item Default gateway.
- MacOS: open the terminal, which you find in the menu Or> Utility macOS, type the command ipconfig getifaddr en1 (if you are connected via Wi-Fi) or ipconfig getifaddr en0 (if you are connected with an Ethernet cable) and Submit, in order to obtain the IP address of the router.
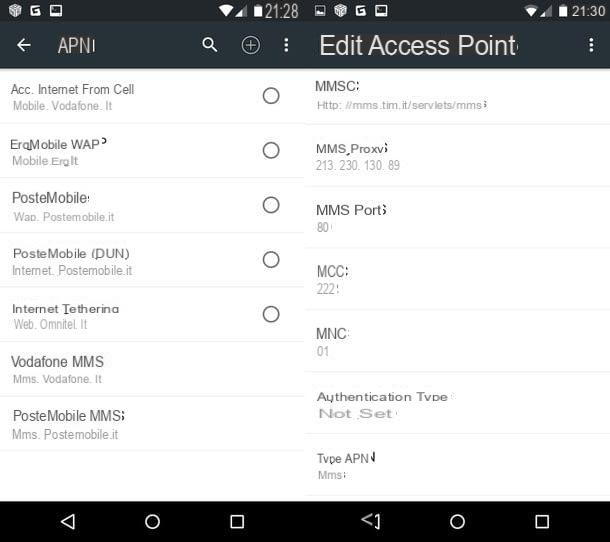
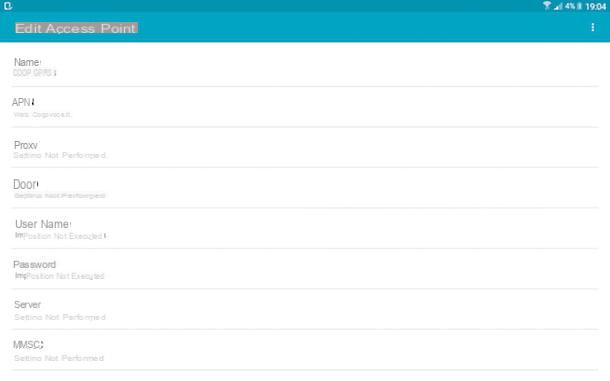
- Android: reach the section Settings> Network and Internet> Wi-Fi operating system, touch thegear placed next to the name of the wireless network you are connected to and tap the item Advanced. The IP of the router is located in correspondence with the wording Gateway.
- iPhone e iPad: open the menu Settings> Wi-Fi of the device and press the button (I) corresponding to name of the Wi-Fi network you are using, to view the details of the network (including the IP of the router).
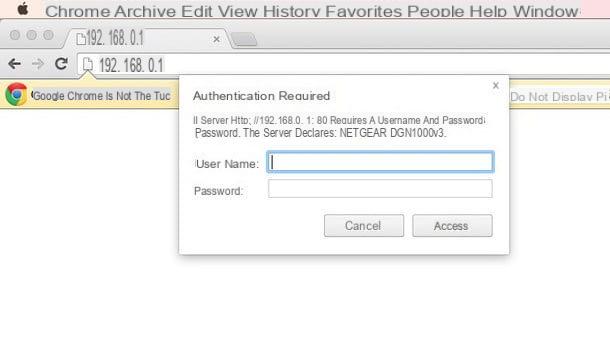
Once you have found the IP address of the router, enter it in the address bar of browser that you prefer and give Submit: within a few moments, you should see the login / welcome screen of the router management panel.
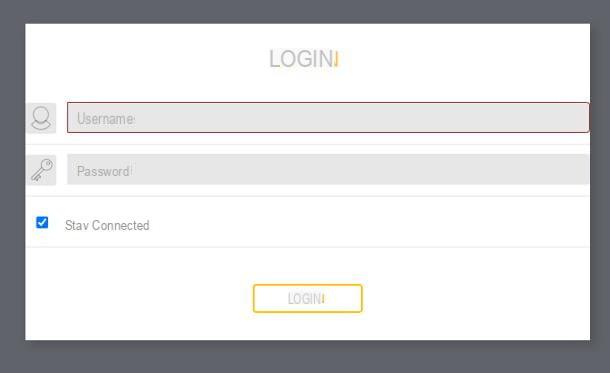
Now, depending on the specific model you have, you may have to create a new password immediately to be used for future access, or enter the combination of username and password set “at the factory”.
Usually, the login credentials to use for the first login are admin / password or admin / admin; in some cases, you will find the login data specified on the label on the back of the router, or inside its sales package. In case of difficulty, I suggest you take a look at my in-depth analysis on the passwords of the most used routers, or consult the user manual of the device.
Once you have entered the login data, you should find yourself in front of the administration panel of the router, which contains all the menus and items necessary for its configuration.
In case of doubts or problems in completing the procedure that I have shown you a little while ago, I refer you to reading my guide on how to access the router, in which I have explained everything to you in great detail.
How to set up a WiFi router
You have successfully entered the management area of your Wi-Fi router… now what? Well, all you have to do is locate the section dedicated to the option to be configured and use the elements visible on the screen (menus, boxes, buttons and so on) to achieve the desired result.
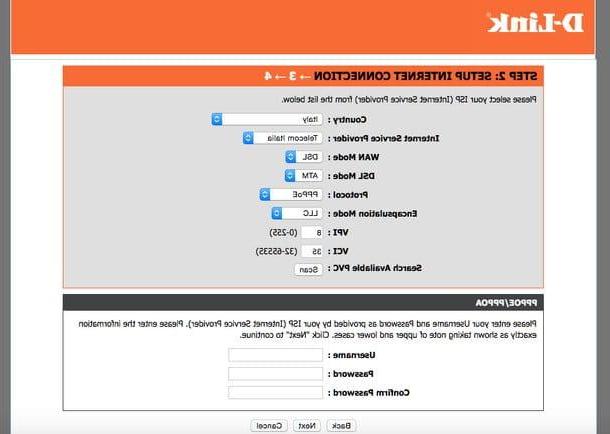
If you intend to configure the router for the first Internet access, most likely, you will be offered a wizard immediately after logging in, in which you will need to specify the name of your service provider, the estimated speed agreed upon during the signing of the contract, the typology connection (FTTH, FTTC / VDSL, ADSL, etc.) and, if necessary, the credenziali d'accesso that were delivered to you by the service provider.
You can access the initial configuration at any time by pressing on the option dedicated to Quick setup / Setup wizard o Quick setup, generally visible on the network status summary page.
This operation, in general, should not be performed on routers distributed by Internet service providers, as these are pre-configured for the specific settings of the operator; however, you may be asked to visit a special registration page (e.g. https://registrazione.fastweb.com), in which to indicate some of your data, in order to definitively enable Internet access.
Although the appearance of the management page and the names of the menu items may differ profoundly from one device to another, let me list, in broad terms, what are the configuration options that are present practically everywhere.
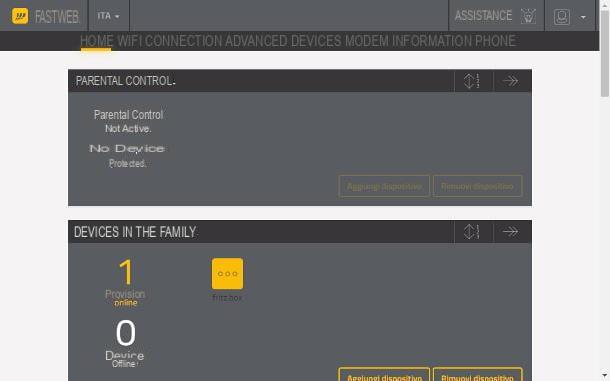
- Home / General: contains information on the general status of the router, along with some links to the most used management functions.
- Local network / LAN: allows you to view the devices connected to the LAN and configure some aspects of it (IP address space, DHCP system, etc.).
- Internet / Broadband: contains information relating to the Internet connection and allows you to manually set the parameters for accessing the Network.
- Wi-Fi / Wireless: Contains settings related to the wireless network or networks. From this section you can change the name and password of the Wi-Fi network and change the network channel.
- NAT / Port Forwarding / Virtual server: this is the section that contains the settings relating to the router's network address translation system. In practice, here are the menus that allow you to open the ports of the router, set it to transparent mode and completely disable the integrated firewall.
- Telephone: from here it is possible to access information relating to the voice line in VoIP mode, if configured (telephone number, missed calls, messages on the answering machine and so on).
- Safety: through this section it is possible to change the password for accessing the router, enable or disable access via the Internet, enable or disable parental control and set any other restrictions regarding the devices authorized for connection.
- Backup / restore: from here you can make a backup of the current router settings and proceed with the factory data reset.
- Updating: If present, this section allows you to apply any software updates to the router.
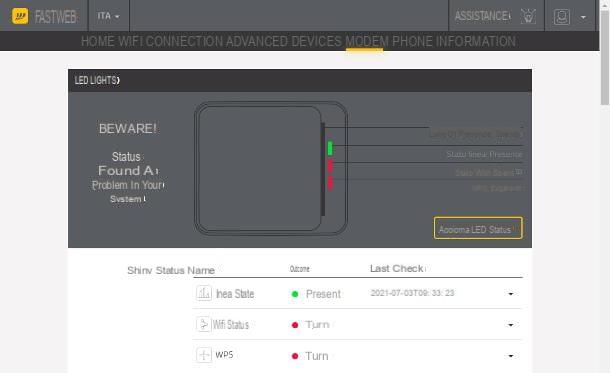
- Device: from here it is possible to intervene on the settings and operation of the device (LED, automatic on / off, physical buttons and so on).
On some firmware, the settings I mentioned earlier could be grouped into larger menus: for example, as you will soon discover, the System menu of the administration panel of AVM FRITZ! Box routers contains options for buttons and LEDs , region and language, backup and update.
In any case, once you have applied the necessary changes, you almost always have to press the button for save the settings and, if necessary, restart the router to make them operational.
Obviously, my advice is to to intervene exclusively on the strictly necessary options and not to make changes of any kind on aspects of the router that you do not know perfectly: A wrong setting could prevent you from accessing the Internet, accessing the router, or connecting other devices, forcing you to have to perform a full reset of the router and have to start all over again.
As you can easily imagine, the information I have given you so far is of a general nature and is valid, in broad terms, for almost all existing network devices on the market. For a concrete example of organization of the router configuration panel, continue with the reading of the following sections of this chapter, in which I am going to tell you about some devices of rather well-known brands.
How to configure a TP-LINK router
The configuration panel of the TP-Link router it generally consists of two menus: the upper one, which allows you to make the initial configuration of the device (Quick setup) and to choose whether to display only the options basic or even those Advanced and a side menu, which contains all the subsections of the management area and varies according to the type of display chosen.
"Basic" options menu
- Network map: In this section, you can check the status of the Internet connection, the number of connected wireless and wired devices, the name and status of printers and USB devices, and the IP address and DNS information.
- Internet: contains the configuration parameters of the connection between the router and the Network.
- wireless: contains the configuration settings of the main Wi-Fi networks.
- Guest network: this section provides the options relating to the Wi-Fi network dedicated to guests, to which some restrictions can be applied.
- USB sharing: Configures USB devices such as memory drives / discs, printers and Internet sticks.
- parental control: Apply blocks and restrictions on browsing and connecting some devices to the Internet.
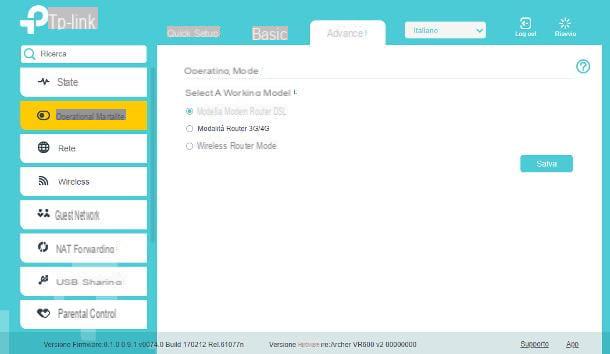
"Advanced" options menu
- State: Check the status of the various network interfaces (Internet, Wi-Fi, LAN, and guests).
- Operative mode: Set the machine to modem / router mode, 3G / 4G router mode or Wi-Fi repeater mode.
- Network- Add / remove WAN (Internet) interfaces, establish LAN network addresses, add / remove interface groups, and set dynamic DNS, static routing tables, and IPv6.
- wireless: allows you to operate on the parameters of the Wi-Fi networks, activate / deactivate WPS, set the automatic switching on / off of the network, view the statistics and define other advanced options.
- Guest network: Allows you to change the guest network options.
- NAT Forwarding: Allows you to modify the ALG server options, open / close ports in server mode or triggering, set demilitarized IPs (DMZ) and enable / disable automatic port opening (UPnP).
- USB sharing e parental control: they work in a similar way to the “Basic” options of the same name.
- QoS: allows you to define, activate and deactivate rules for the management of QoS (quality of service) by the router.
- Safety: Allows you to enable / disable the firewall and DoS protection, enable / disable the execution of particular services, apply controlled access and automatically assign IP addresses to certain physical MAC addresses.
- VPN- Configure the router to automatically connect to one or more VPN tunnels.
- System tools- Contains all settings related to device operation: date / time, LEDs, diagnostics, firmware update, backup / restore, and administration options.
Finally, the upper part of the TP-LINK management panel contains a drop-down menu for setting the language and two quick buttons, dedicated to Logout and restarting. Read more here.
How to set up a FRITZ! Router Box
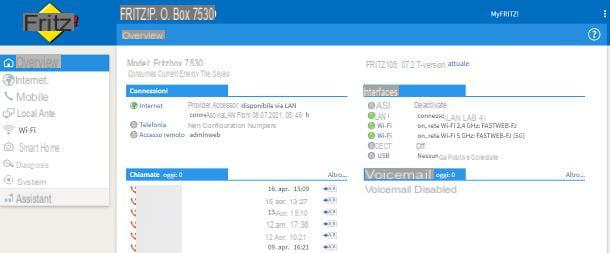
The router management panel AVM FRITZ! Box it consists of a side menu, divided into sections and sub-sections, from which to intervene on the various configuration parameters.
- View: from here you can view a summary page indicating the status of the router, active connections, network interfaces, calls and connected devices.
- Internet: from here it is possible to monitor the network connection (Online Monitor), set Internet access data (including DNS servers), apply restrictive / priority filters (eg. Parental controls), intervene on authorizations and unblocking ports and configure the MyFRITZ! access.
- Telephony: allows you to configure options for any telephone, fax, SIP and DECT devices connected to the router.
- Local network: from this section it is possible to intervene on mesh devices, adjust the LAN network settings (such as router use mode, guest access, IP pool, static routing and so on) and the devices connected to it , configure USB devices for storage / printing, manage the media server and change the router name.
- Wi-Fi: Allows you to adjust the wireless network settings, change its channel, change passwords and security parameters, set on / off timers, configure guest access and mesh repeater mode.
- Smart Home: From here you can manage the devices for home automation configured and compatible with the FRITZ services.
- Diagnosis: from this section it is possible to carry out diagnostic tests for the functionality and safety of the router and networks.
- System: From here you can view and set the functional details of the router: Push notifications, users, button and LED operation, regional options, backup / restore and update.
- Assistants: This section allows you to launch a series of preset wizards.
Finally, by clicking on the button (⋮) located at the top right, you can disconnect from the router management panel, change your password and switch from simple to advanced mode (I guarantee you, in this regard, that the differences between one and the other are really minimal) .
How to configure a router as a repeater

You need configure a router as a repeater wireless and set it as a Wi-Fi amplifier? In this case, you must first check the presence of this operating mode by looking at the technical data sheet or the user manual of the network device.
If the “range extender” mode is present, place the router with repeater functions in the coverage range of the wireless signal to be amplified (e.g. the one coming from the main router), turn on the first device and connect it to the PC, smartphone or tablet from which to perform the configuration. Next, locate the IP address of the router to be configured and access its configuration panel, as I showed you in the initial chapter of this guide.
Once logged in, access the section dedicated to the function repeater / access pointselect il Wi-Fi signal to replicate among those detected and, when prompted, enter the network key e apply the changes, to make them effective.
In the case of the router at my disposal, an AVM FRITZ! Box 7530, you have to access the menu Local network> Network from the sidebar of the admin panel, select the tab Network settings and then put the check mark next to the items IP client e Via Wi-Fi.
Now, choose the Wi-Fi network to replicate in the list corresponding to the item Select Wi-Fi network, enter the network key in the appropriate field and press the button Apply to save the settings and restart the router.
For best results, you should place the "repeater" in a spot where the strength of the signal generated by the main Wi-Fi router is equal to or greater than 50% of the maximum power.
If the router in question does not have the functions of a Wi-Fi access point, you can deal with this by connecting the two network devices to each other, via Ethernet cable and configuring them in parallel LAN-LAN mode, as I indicated in my tutorial. on how to connect a router to the modem.
How to set up a router