Record video with the Mac webcam via iMovie
As anticipated at the beginning of the guide, it is possible to record videos with the Mac webcam without resorting to the use of third-party tools. Pre-suck, you just need to use iMovie, the famous free video editing program developed and disturbed by Apple itself, which is installed “as standard” on all computers (as well as iOS devices) of the company.
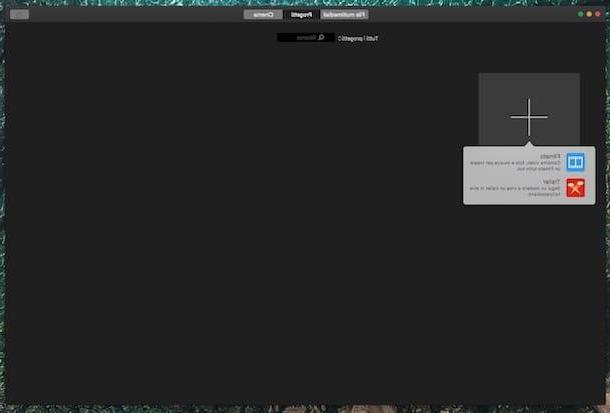
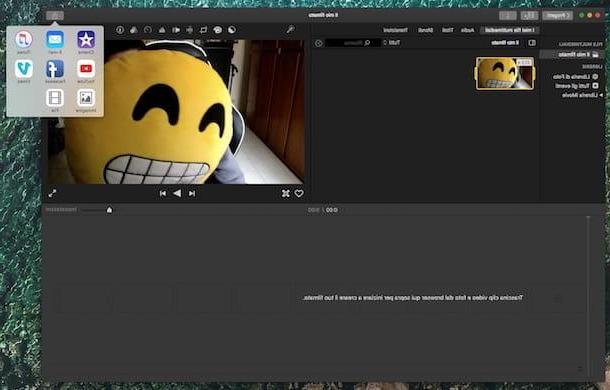
To use it for your purpose, first start the program by clicking on its icon (the purple star with a camera "printed" on it) attached to Launchpad or to the box Applications. In the program window that you will see appear on the desktop at this point, click on the button Create new and select Footage give the menu to compare.
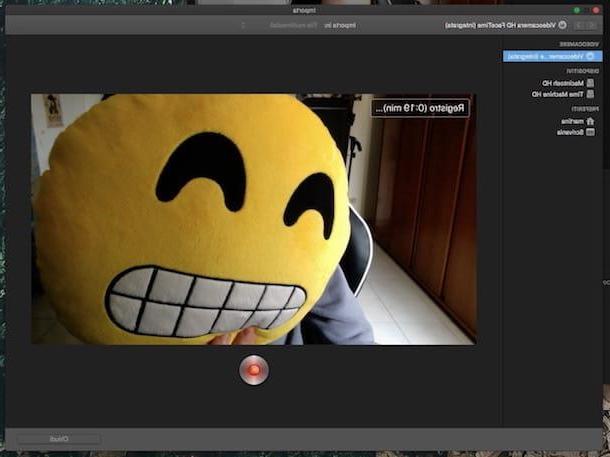
Now, click the button with the down arrow which is at the top left and the new window displayed selects the item FaceTime HD Camera (Integrated) which is on the left. Once this is done, the scene currently framed by your Mac's webcam will appear in the right part of the open window.
Pigia therefore on circular button which is at the bottom to start recording. A special notice in the upper left part of the screen with a timer in tow will clearly indicate that the recording is in progress and for how long. Then when you want to stop it, just click on the button again circular button previously pressed. That's all.
Then click on the button Close which is at the bottom and, once the main window of iMovie is displayed again, you can export the recording you just made in order to pass it to friends (or whatever you want to do with it) by selecting the segment on the timeline on the left and clicking button of the sharing (the rectangle with the up arrow) located at the top right.
Then select the option Fillet from the menu that opens, adjust the format, resolution, quality and compression settings through the on-screen menus, press the button Forward…, indicate the destination location on your Mac and click on Save. What you will get will be a movie in MP4 format.
If you prefer, you can also select a different sharing option from those attached to the appropriate menu. In fact, you can choose to import the recorded video in Mail in order to send it by e-mail, to the iTunes library, to upload it to YouTube, Vimeo or Facebook.
If then before saving and / or sharing the recording you want to review it, select it on the iMovie timeline on the left and press the button Play To the right. To make any changes instead, you can use the special tools that you find in the toolbar at the top right. For example, you can add special filters, audio effects, etc. (for more details on that, you can refer to my tutorial on how to use iMovie).
Record video with the Mac webcam via Photo Booth
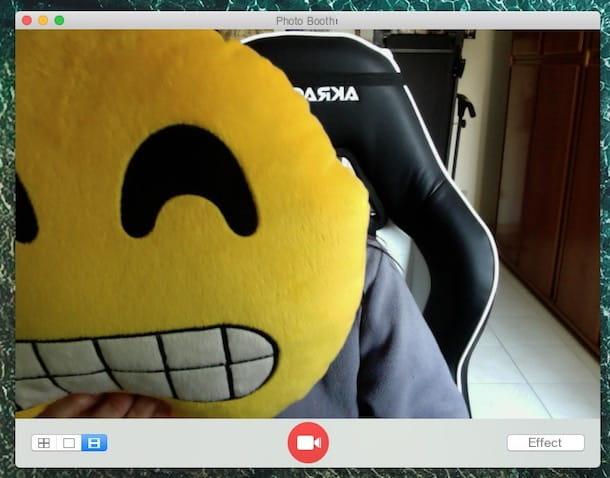
Another tool already included with your Mac that you can use to record webcam video is Photo booth, the application included in all Macs through which you can take photos and record videos, in fact, using the webcam of Apple-branded computers with the added possibility of applying fantastic filters and effects directly in real time.
To use it for your purpose, first start the application by clicking on its icon (the photos with the lens in the right corner) that you find in the Launchpad or in the folder Applications of macOS. Once the application window appears on the desktop, click on the button with the cinematographic film which is located in the bottom left corner then press on circular button with the video camera che sta to the center.
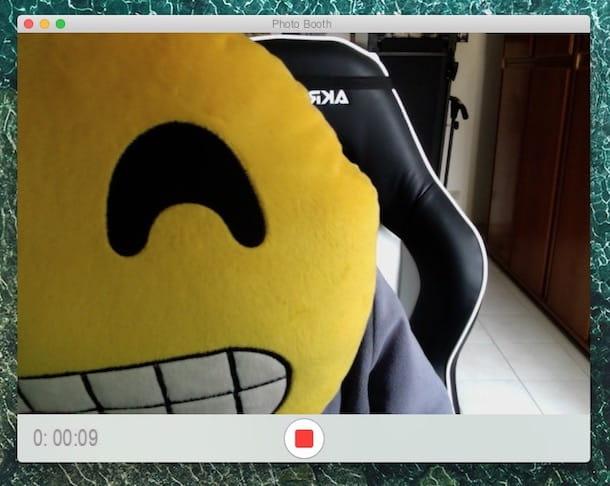
Once this is done, after a short countdown the recording of what is framed by the webcam of your Mac will start immediately and in the bottom left corner of the Photo Booth window you will also see a special indicator relating to the recording time. Then when you want to stop everything, just press on circular button with square bottom center.
If you want to apply special effects to the movie before starting the recording, click on the button Effects which is in the lower right part of the window and select the one you prefer among the various that are proposed to you.
To see the recording made before saving it, just click on the button Play you see appearing in the application window. To save the created movie, left click on the preview from the lower right of the Photo Booth window and, while continuing to hold, drag it to the location where you want to store the video. What you will get will be a MOV frame file. Alternatively, you can click on the entry Fillet in the menu bar and then on that Export ... and indicate the destination position.
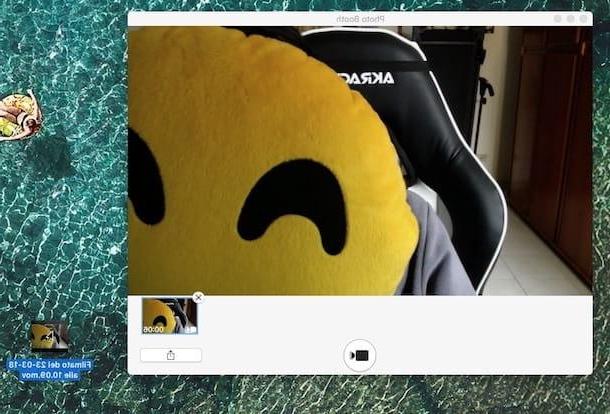
If you want, you can also share the created recording via messages, Facebook etc. To do this, just press the button of the sharing (the rectangle with the up arrow) that is in the bottom right corner of the application window, always after selecting the video preview.
Record video with the Mac webcam via QuickTime Player
You can record video with your Mac's webcam also using QuickTime Player, the default macOS media player which, perhaps not everyone knows, is also capable of fulfilling the purpose in question.
To use it for your goal, first start the application by clicking on its icon (the black "Q") that you find in the Launchpad or in the folder Applications macOS then select the item Fillet in the menu bar and choose New movie recording.
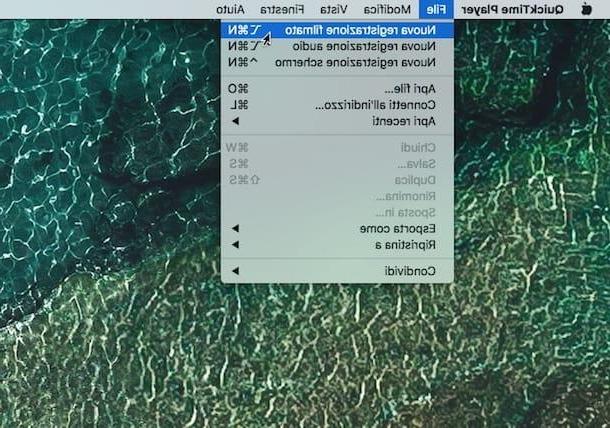
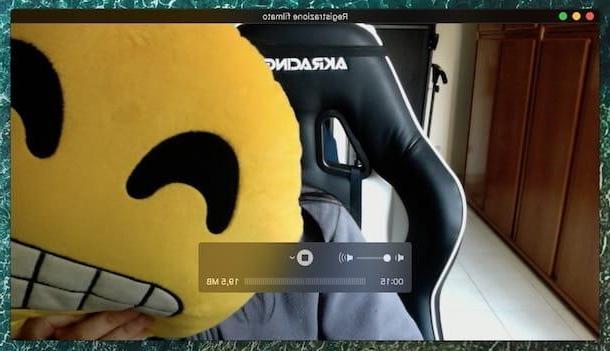
In the QuickTime Player window that appeared on the desktop, click the freccetta verse il basso which stands next to the circular button and adjust the settings related to the use of the microphone and the quality of the movie as you see fit. Then start the recording by pressing on the already mentioned circular button. To stop it, click on it again.
To export the video instead, click on the item Fillet in the menu bar, choose Export as, select the format in which to save the video, indicate the storage location on your Mac and press Save. What you will get will be a MOV format file.
Third party tools to record video with the Mac webcam
As I told you at the beginning of the article, it is possible to record videos with the Mac webcam also using third-party tools, although usually there is no need considering the fact that what is already included in macOS turns out to be more than enough in most of cases. In any case, if you are interested in this, below you will find a couple of resources that in my opinion can be very useful in this regard.
Debut Video Capture
The most valid alternative to your Mac's stock resources to record video with the webcam is, in my opinion, the software Debut Video Capture. It is a very complete video capture program, but at the same time light and easy to use. In addition to fulfilling the purpose in question, it allows you to capture desktop screencasts, record audio commentary, and create live streaming broadcasts of the content you are recording. It is not free but can be downloaded and used at no cost in the trial version.
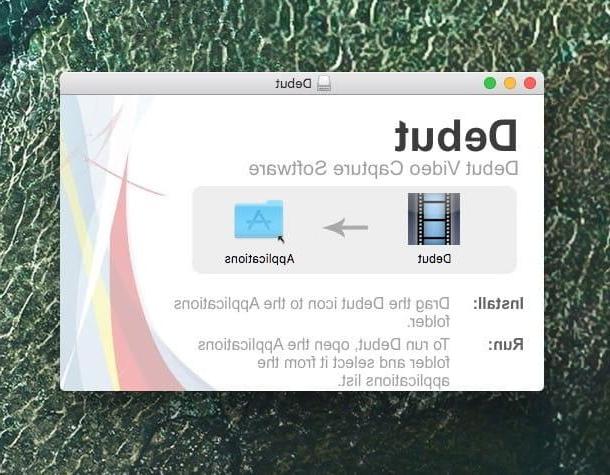
To use it, connect to the official website of the program and click on the button Mac downloads. When the download is complete, extract the ZIP file obtained in any location on your Mac, open the .dmg package contained within it, press on Agree in the window that appears and drag the software icon (the movie film) to the folder Applications.
Then start Debut Video Capture by pressing on the relative icon that has been added to the Launchpad or, alternatively, recall it via the folder Applications then presses on the voice Webcam at the top left, select the target format you prefer from the drop-down menu Record as: that is low, presses up Encoder Options to adjust the encoding settings and press Video Options ... to adjust video-related settings in general.
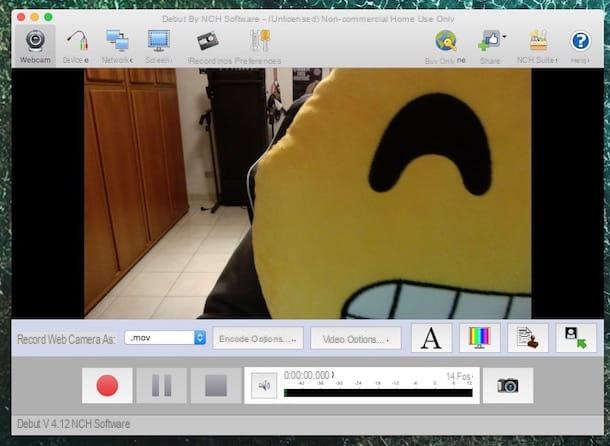
Start the recording by pressing the button with the red circle which is below. Then when you want, you can stop shooting by pressing the button Stop. If you just want to pause the recording, you have to press the button Pause.
I also point out, if you are interested in it, that during the registration phase you can possibly add text to the video, adjust the colors and insert a watermark on the video by clicking on the appropriate buttons (and then intervening on the options that will be shown to you) that you find in the at the bottom right of the software window.
Fotofriend
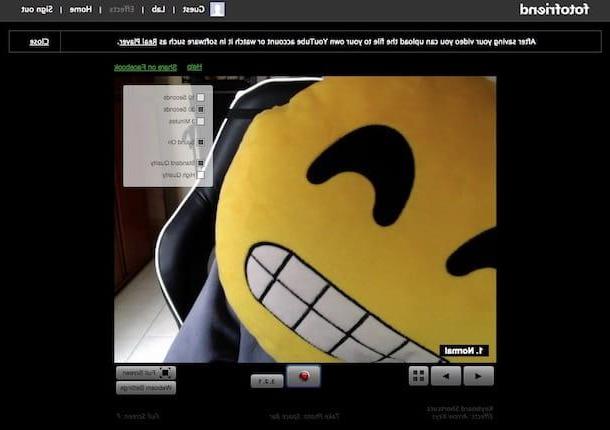
If, on the other hand, you don't feel like downloading new programs on your computer but you are still looking for an alternative system to those mentioned in the previous steps to be able to record videos with your Mac's webcam, I suggest you try Fotofriend. It is an online application at no cost, very simple to use and, given its nature, can be used directly from the browser window (Safari or other) without having to download absolutely anything on the Mac. It allows you to record videos with the webcam of a maximum duration of 10 seconds, 30 seconds or 3 minutes. You can then add nice effects to the movie and the final file is returned in FLV format.
The only thing you have to take into account is that it needs to to work Flash Player (for more information about it, you can refer to my tutorial on how to install Flash Player, in fact) and that, of course, you need to allow access to the Mac camera and microphone.
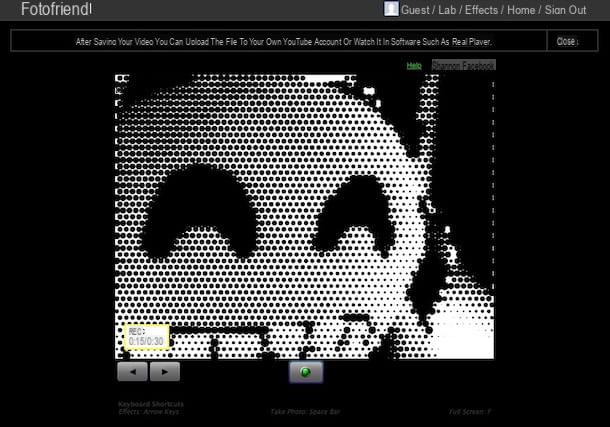
To use it, connected to the Fotofriend home page, choose an effect from those proposed to you (to view others click on the directional arrows below) then adjust the video settings using the menu at the top right.
Then press the button with the circular symbol which is at the bottom center and recording will start immediately. To stop it before the defined time has elapsed, press the same button again.
Once this is done, you can view the recorded video by clicking on the button Play, while to save it locally you will have to press the button Save Video and indicate a destination location on your Mac.
If you prefer to start a countdown before starting the recording, click on the button 3, 2, 1 that you find below. If, on the other hand, you want to combine multiple effects into a single video, click on the button Combine Effects at the bottom left and select the ones you prefer.
How to record video with the Mac webcam