How to set up Gmail email on Android
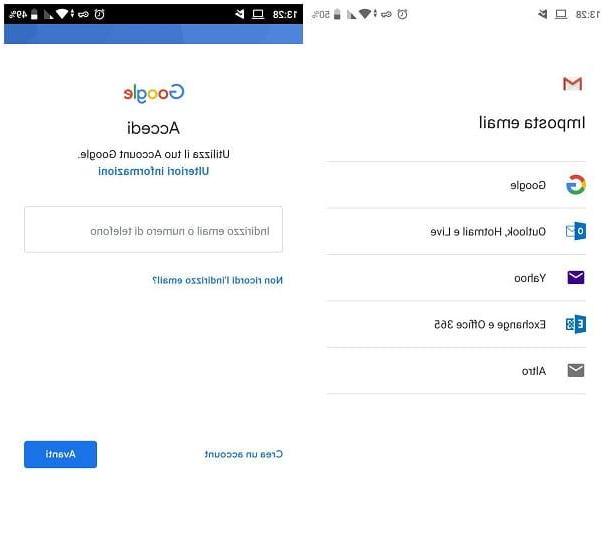
Set up Gmail email on Android it's really a breeze: by default, the Gmail app is almost always already present in the system and paired with the Google account configured on the device. So, if you intend to access the e-mail address associated with the latter, you simply have to open the app, carry out the short and very simple initial configuration (everything boils down to pressing the button a couple of times NEXT) and il gioco è fatto!
If, on the other hand, you intend to configure a second Gmail email address within the app of the same name, you can follow the instructions I gave you in the specific section of my guide on how to enter another email.
Do you want to read the Google email from a third party app and not from the official one? You can do it without any problem: almost all the email apps for Android are able to automatically recognize and apply the Gmail server settings. For this reason, you shouldn't be asked for any additional information (other than, of course, your email address and password to use for logging in).
If, for any reason, you still need it, below you can find the parameters relating to the mail servers of the Google email.
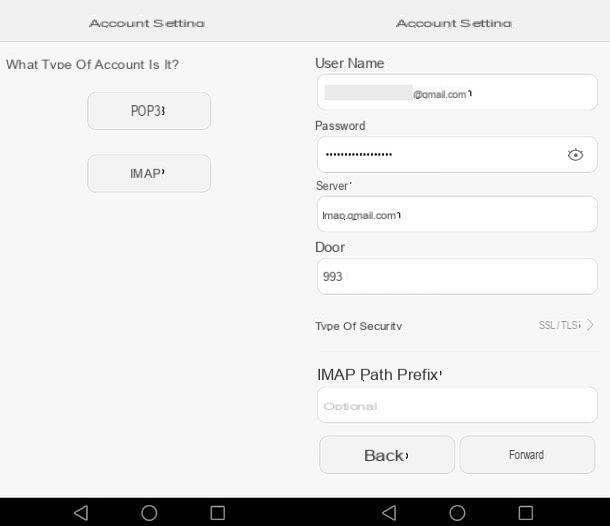
- Incoming mail server (IMAP): imap.gmail.com
- Door: 993
- SSL: Yes
- Outgoing mail server (SMTP): smtp.gmail.com
- Door: 465
- SSL: Yes
- Authentication Required: Yes
If you need additional help setting up Gmail, I urge you to carefully read my guide dedicated to the topic.
How to set up Outlook email on Android
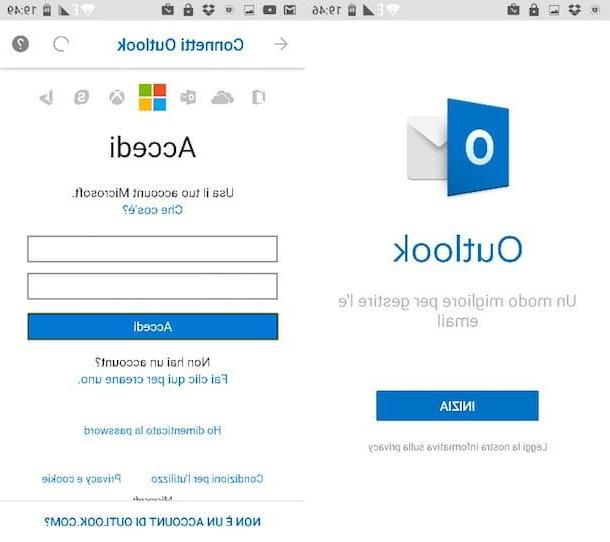
In order to simplify the configuration of the email Outlook on Android, Microsoft makes the official app of the mail service available on the Play Store, which is able to correctly manage Outlook, Hotmail, Live accounts and from various other services.
Using it is extremely simple: after starting it, simply enter theemail address in the appropriate field, press the button Continue and type the Password login in the field displayed immediately afterwards, and then complete the login by tapping the button Log in and wait for the app to complete the automatic configuration of the service.
At the end of the procedure, you should immediately see the folders of your mailbox. As for third-party clients, in general, to configure an Outlook account in other e-mail apps, it is not necessary to manually specify the parameters relating to the servers to be used, as these are recognized and set automatically; however, in case of need, here they are specified below.
- Incoming mail server (IMAP): imap-mail.outlook.com
- Door: 993
- SSL: Yes
- Outgoing mail server (SMTP): smtp-mail.outlook.com
- Door: 587
- SSL: Yes (STARTTLS)
- Authentication Required: Yes
As regards, instead, the configuration of the e-mail addresses associated with Office365, you must use the parameters indicated below.
- Incoming mail server (IMAP): outlook.office365.com
- Door: 993
- SSL: Yes
- Outgoing mail server (SMTP): smtp-office365.com
- Door: 587
- SSL: Yes
- Authentication Required: Yes
If you need help configuring the Outlook app, or would like more information about managing Microsoft mailboxes on Android, please read the appropriate section of my guide on how to configure Outlook.
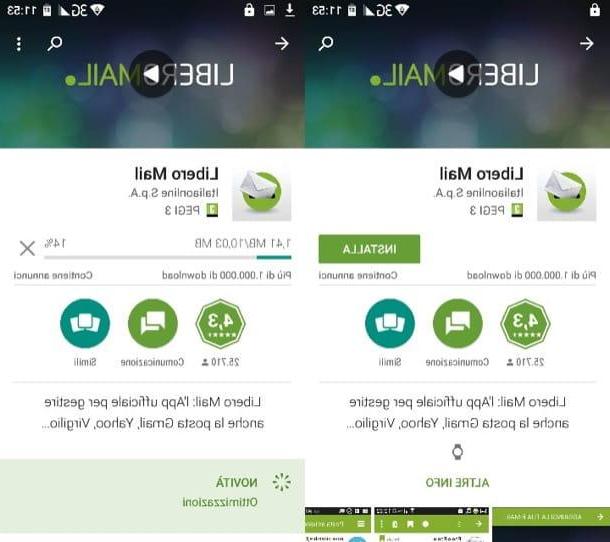
How to set up Libero email on Android
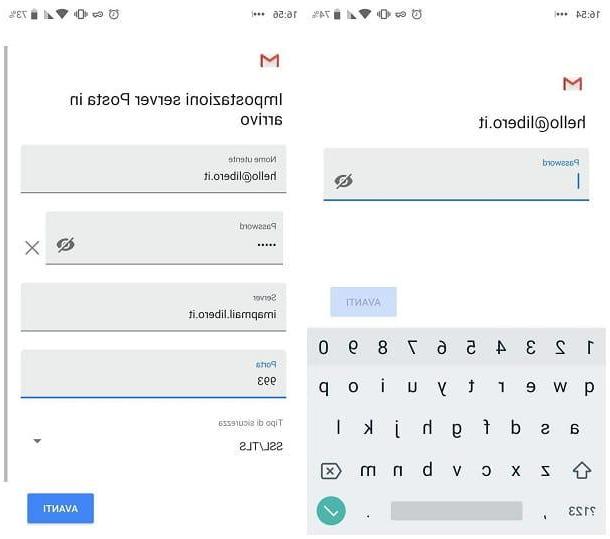
As for the use of Libero mail on Android, you can act in two different ways: if you want to avoid manually intervening on the configuration, you can use the official app for Android, available for free on the Play Store.
Once you have the app, launch it, select Free in the list of compatible e-mail providers and, when prompted, enter the username and Password of your inbox. Then tap the button Log in, indicate a name to be associated with the account and the name to use for outgoing mail (the one with which you will appear to the sender). That's all!
If, on the other hand, you intend to use the default Android mail app (or any other client), you will need to use the parameters specified below, if these were not set automatically.
- Incoming mail server (IMAP): imapmail.libero.com
- Door: 993
- SSL: Yes
- Outgoing mail server (SMTP): smtp.libero.com
- Door: 465
- SSL: Yes
- Authentication Required: Yes
If you have a PEC box Free, you will need to specify the following settings instead.
- Incoming mail server (IMAP): mail.postacert.com.net
- Door: 993
- SSL: Yes
- Outgoing mail server (SMTP):mail.postacert.com.net
- Door: 465
- SSL: Yes
- Authentication Required: Yes
For additional information on configuring Libero Mail in Android, you can refer to the tutorial I dedicated to the topic, created specifically to meet your needs.
How to set up iCloud email on Android
If you want to configure the email of iCloud on Android, you must necessarily use a third-party email client, since Apple does not currently provide an app dedicated to smartphones equipped with the green robot system.
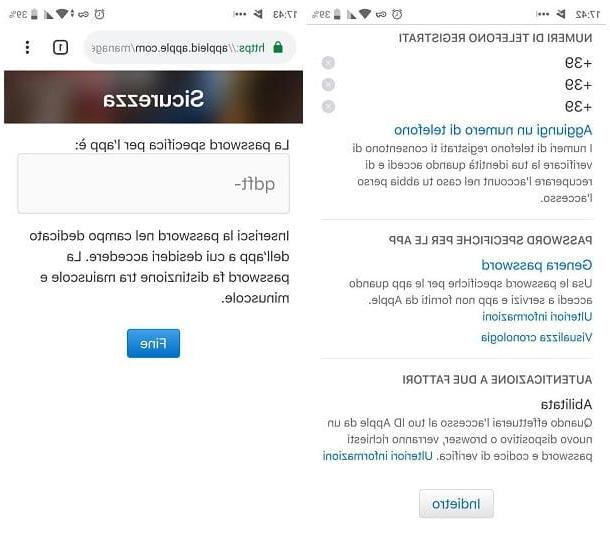
Before going ahead and providing you with the configuration parameters, to be entered if the recognition of the server settings is not automatic, I must make a necessary clarification: due to some security settings, it is not possible to use the general iCloud password to configure the 'email on clients not published by Apple; what needs to be done, on the other hand, is to generate one specific password to be associated with the app in question, to be used instead of the general password.
To carry out this step, however, it is essential that on the Apple ID associated with the email you want to configure, thetwo-factor authentication: if you haven't done so yet, you can remedy it by practicing the steps I have shown you in this guide.
In any case, you can generate a specific password by connecting to this website (even through the same Android device) and entering, where required, the data to access iCloud; then, tap on the links Safety e Generate password, enter a label to identify the access key you are about to generate (eg. iCloud on Android) and tap the button Generates.
Once the access key is displayed, make a note of it respecting upper and lower case and include any special characters: you will need to specify this password during configuration of the email in the Android mail client, instead of the one you usually use to access iCloud (which, instead, will be reported as incorrect).
Having made this necessary clarification, the settings of the iCloud e-mail servers are specified below.
- Incoming mail server (IMAP): imap.mail.me.com
- Door: 993
- SSL: Yes
- Username: the email address, complete with @ icloud.com
- Password: the specific password generated earlier
- Outgoing mail server (SMTP): smtp.mail.me.com
- Door: 587
- SSL: Yes (also STARTTLS)
- Authentication Required: Yes
- Username: the email address, complete with @ icloud.com
- Password: the specific password generated earlier
How to set up Aruba email on Android
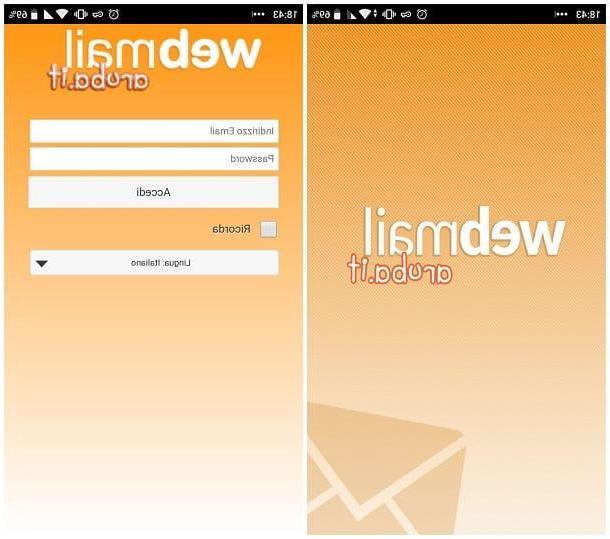
You have an inbox associated with a domain purchased on Aruba, or a mailing address @ aruba.com o @ technet.com? Then you will be pleased to know that, in this case, you can manage the mailbox using the official Webmail Aruba.com app, available for free on the Play Store, without using the browser.
After obtaining and running it, you simply have to enter, where required, the credenziali d'accesso (Postal address e Password) that you usually use to access the email and the mailbox will be ready immediately.
If, on the other hand, you prefer to access your e-mail using the default Android app, as I will explain in the last chapter of this guide, you will have to enter, at the appropriate time and if necessary, the following parameters.
- Incoming mail server (IMAP): imaps.aruba.com
- Door: 993
- SSL: Yes
- Outgoing mail server (SMTP): smtps.aruba.com
- Door: 465
- SSL: Yes
- Authentication Required: Yes
If, on the other hand, you have one PEC box registered with the provider in question, you can rely on the Aruba PEC Mobile app, available for free on the Play Store: in this case, you simply enter the username and the Password associated with your PEC address and the mailbox will be ready immediately.
If you want to manage the PEC through a different app, you will have to, if necessary, use the settings listed below.
- Incoming mail server (IMAP): imaps.pec.aruba.com
- Door: 993
- SSL: Yes
- Outgoing mail server (SMTP): smtps.pec.aruba.com
- Door: 993
- SSL: Yes
- Authentication Required: Yes
Anyway, I have explained to you in detail how to configure Aruba email on numerous devices, including Android ones, in my tutorial entirely dedicated to the topic.
How to configure Tiscali email on Android
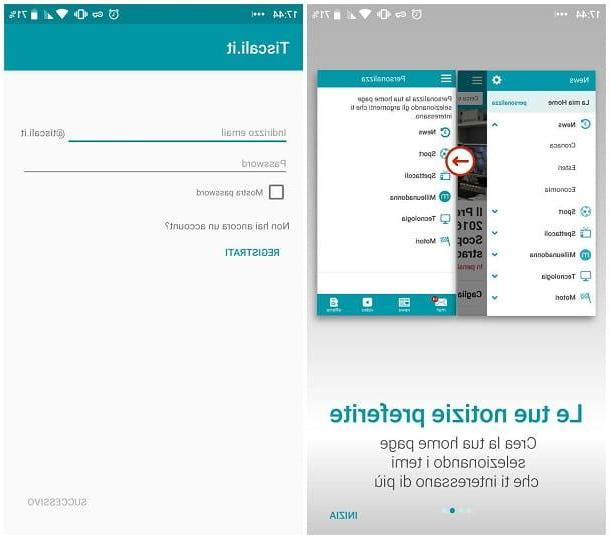
The simplest way to configure the email of Tiscali on Android is to use the official app made available by the provider, available for free on the Play Store: it allows, in fact, to immediately access your e-mail box simply by entering the login data.
After downloading and running it, do a few swipes to skip the initial tutorial, press the button Start located at the bottom and enter the username and Password matched to your inbox, then press the button Following and follow the instructions below to set up your mailbox (you should be asked to assign a name to the mailbox and specify the name to use for i Message output).
If, on the other hand, you prefer to configure the Tiscali email in another email app, for example Gmail for Android, you can use the parameters that I specify below, if the server settings are not automatically recognized.
- Incoming mail server (IMAP): imap.tiscali.com
- Door: 993
- SSL: Yes (SSL / TLS)
- Outgoing mail server (SMTP): smtp.tiscali.com
- Door: 465
- SSL: Yes (SSL / TLS)
- Authentication Required: Yes
Should you need to configure the PEC box enabled on Free, you must, instead, use the settings specified below.
- Incoming mail server (IMAP): mail.tiscalipec.com
- Door: 993
- SSL: Yes (SSL / TLS)
- Outgoing mail server (SMTP): smtp.tiscalipec.com
- Door: 465 (with SSL / TLS) or 25 (with STARTTLS)
- SSL: Yes (SSL / TLS or STARTTLS, depending on the port chosen above)
- Authentication Required: Yes
How to set up email register on Android
You have an inbox paired with a domain hosted by Register.com? No problem, you can proceed to manually configure your mailbox by entering the following parameters in the default Android app.
- Incoming mail server (IMAP): pop.securemail.pro
- Door: 993
- SSL: Yes (SSL / TLS)
- Outgoing mail server (SMTP): authsmtp.securemail.pro
- Door: 465
- SSL: Yes (SSL / TLS)
- Authentication Required: Yes
If, on the other hand, you have one certified e-mail box purchased on Register.com, you must use the parameters specified below.
- Incoming mail server (IMAP): server.pec-email.com
- Door: 993
- SSL: Yes (SSL / TLS)
- Outgoing mail server (SMTP): server.pec-email.com
- Door: 465
- SSL: Yes (SSL / TLS)
- Authentication Required: Yes
How to configure Virgilio email on Android
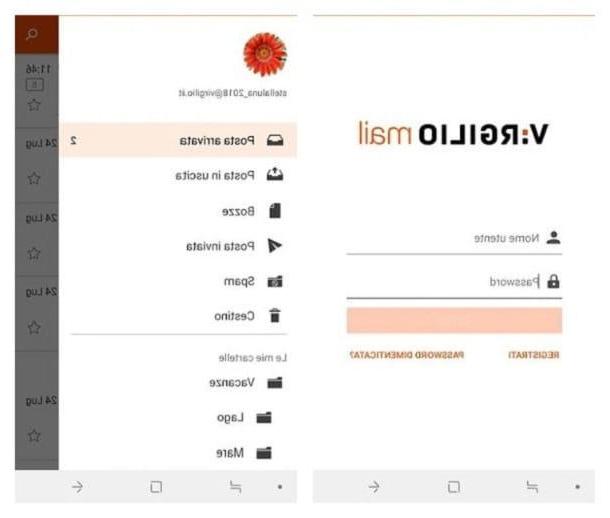
As regards Virgilio Mail address, you can avoid the manual configuration procedure by using the official app made available by the e-mail portal, which can be downloaded for free from the Play Store.
Once you have the app, simply indicate the username and Password in the mailbox in the appropriate fields and that's it: it becomes possible to use the Virgilio app to view the various folders of the email just entered, without doing anything else.
If, on the other hand, you are interested in configuring Virgil's e-mail in another e-mail app, as I explained to you in the final chapter of this guide, you must enter, in case of non-automatic recognition, the IMAP parameters that you I illustrate below.
- Incoming mail server (IMAP): in.virgilio.com
- Door: 993
- SSL: Yes (SSL / TLS)
- Outgoing mail server (SMTP): out.virgilio.com
- Door: 465
- SSL: Yes (SSL / TLS)
- Authentication Required: Yes
How to set up email apps on Android
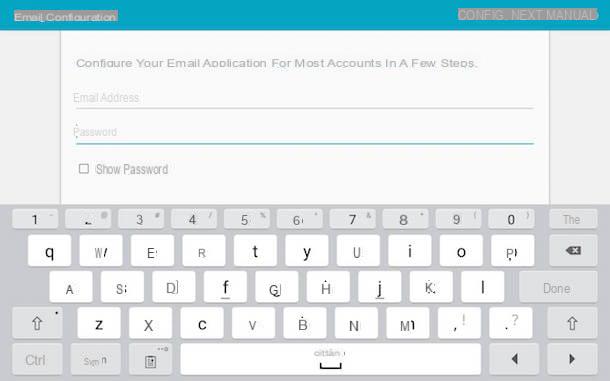
If it is not your intention to take advantage of the apps made available by some of the email providers, or if the dedicated app is not available, you can use the IMAP parameters seen above to add the mailbox of your interest to the default app for managing emails installed on your device; typically, this application is called Email.
Doing so is really very simple: first, go to the Settings Android, tap the item Account e fai tap sull'opzione Add account resident in the new screen that opens.
Next, choose the option E-mail, indicates theemail address and Password in the appropriate text fields (remembering that, as regards iCloud, you must enter the password generated previously) and tap the button NEXT: with a bit of luck, the app should be able to automatically configure the mail server parameters, asking you to finish the configuration by indicating the check frequency of incoming mail, whether or not to use theaccount to send emails by defaultis receive alerts about new emails, if synchronize of messages and if automatically download attachments under Wi-Fi network.
Once you have defined the aforementioned settings, click on the button NEXT to finish configuring the account: from this moment on, you will be able to access the configured mailbox directly from the E-mail app.
If the app is unable to detect a known mail service, tap the button instead Configur. manual which is shown on the screen, presses the button IMAP, fill out the form proposed with the information relating to incoming mail server (IMAP, in fact) and, after pressing the button NEXT, also enter the information about the server of the outgoing mail (SMTP): you can find this information in the previous steps of this guide or, if not present, you can find it by carrying out a quick search on Google, such as IMAP parameters [email manager name]. When you're done, tap the button NEXT and finish the account setup as I explained earlier.
How do you say? The Email app is not present on your device, but you have only the app available gmail? No problem, you can also use it without problems to set up non-Google mailboxes. Contrary to what one might think, in fact, Gmail for Android is able to manage very well even non-Google email accounts, with the possibility of applying manual configuration if necessary after entering the IMAP parameters.
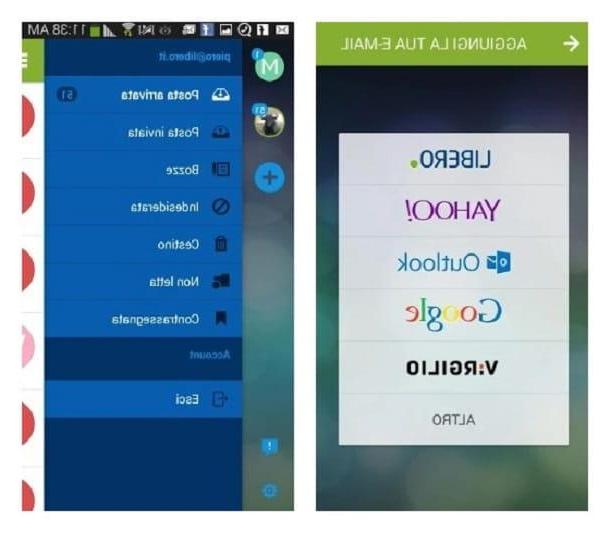
How? I'll explain it to you right away. After launching the app in question, tap theprofile picture of the account currently configured, located to the right of the upper search bar, and tap on the item Add another account give the purpose menu.
Then, select your email provider from the proposed list and enter enter the credenziali d'accesso of your mailbox; once logged in, assign a name to the mailbox just configured and intervene on the levers that are proposed to you to define the items to synchronize (email, contacts, calendar and so on).
If, on the other hand, the supplier does not appear among those pre-set, touch the item Other, indicates theemail address in the appropriate field, tap the item NEXT, tap on the item IMAP attached to the next screen and, later, indicates the Password that you generally use to access your inbox: with a bit of luck, Gmail may be able to independently retrieve information about the servers to use.
If not, you should be asked to enter the parameters relating to the servers to be used for receiving and sending emails, which you can retrieve from the previous chapters: enter the server address of the incoming mail in the field Server & Hosting, pigia sul pulsating NEXT and repeat the operation also on the next screen, indicating, this time, the outgoing mail server (SMTP).
When you are done, press the button NEXT and wait for the validation of the settings: if everything went well, you should be asked to assign a name to the mailbox and define the synchronization settings.
If Gmail fails to automatically retrieve information about the ports to use and the security protocols, you will be offered a form in which to manually indicate them.
Also remember that if you have configured a PEC mailbox, the management of attachments attached to this type of message requires a minimum of additional configuration; for more information about it, I suggest you take a look at my guide on how to open the attachments of a PEC, in which I have dealt with the subject in depth.
How to set up email on Android