Parameters to configure Aruba mail

To configure Aruba mail, you need to open your e-mail client (ie the program you intend to use to manage your e-mails) and enter the "coordinates" of the Aruba servers. These "coordinates" vary according to the protocol to be used to manage e-mail. In fact, you can choose between the protocol IMAP and protocol POP3.
The IMAP protocol, which is the one I recommend you use, is more modern and allows the use of the same account on multiple devices at the same time while keeping messages synchronized (both incoming and outgoing) on all workstations, while the protocol POP3 is older and requires the use of the e-mail service on a single device, in fact it deletes messages from remote servers as soon as they are downloaded to the PC (except for the activation of special backup functions).
Having made this necessary distinction, to be able to configure Aruba mail on your e-mail client and to be able to use it without problems, fill in the fields displayed on the screen by entering the following coordinates. Know that the information I am about to give you is valid for both mailboxes linked to a domain (of the type [email protected]) and for mailboxes with the suffix @ aruba.com or @ technet.com. They are NOT valid for PEC boxes.
IMAP
- Incoming mail server (IMAP): imaps.aruba.com
- Port: 993
- Requires SSL: yes
- Requires authentication: yes
- Outgoing mail server (SMTP): smtps.aruba.com
- Port: 465
- Requires SSL: yes
- Requires authentication: yes
- Full name or display name: [Your name]
- Account Name or Username: Aruba e-mail address (e.g. [email protected])
- Email address: Aruba e-mail address (e.g. [email protected])
- Password: password chosen when creating the Aruba mailbox
POP3
- Incoming mail server (IMAP): pop3s.aruba.com
- Port: 995
- Requires SSL: yes
- Requires authentication: yes
- Outgoing mail server (SMTP): smtps.aruba.com
- Port: 465
- Requires SSL: yes
- Requires authentication: yes
- Full name or display name: [Your name]
- Account Name or Username: Aruba e-mail address (e.g. [email protected])
- Email address: Aruba e-mail address (e.g. [email protected])
- Password: password chosen when creating the Aruba mailbox
In case of errors, try taking a look at the official Aruba website, where you can find the updated IMAP and POP3 parameters.
Parameters to configure Aruba PEC

If you have one PEC box of Aruba (with suffix @ pec.com) you must not use the IMAP / POP3 parameters that I illustrated in the previous paragraph: instead you must use the parameters that you find illustrated below.
IMAP
- Incoming mail server (IMAP): imaps.pec.aruba.com
- Port: 993
- Requires SSL: yes
- Requires authentication: yes
- Outgoing mail server (SMTP): smtps.pec.aruba.com
- Port: 465
- Requires SSL: yes
- Requires authentication: yes
- Full name or display name: [Your name]
- Account Name or Username: Aruba certified e-mail address (e.g. [email protected])
- Email address: Aruba PEC e-mail address (e.g. [email protected])
- Password: password chosen when creating the Aruba PEC account
POP3
- Incoming mail server (IMAP): pop3s.pec.aruba.com
- Port: 995
- Requires SSL: yes
- Requires authentication: yes
- Outgoing mail server (SMTP): smtps.pec.aruba.com
- Port: 465
- Requires SSL: yes
- Requires authentication: yes
- Full name or display name: [Your name]
- Account Name or Username: Aruba PEC e-mail address (e.g. [email protected])
- Email address: Aruba PEC e-mail address (e.g. [email protected])
- Password: password chosen when creating the Aruba PEC account
The above parameters are valid for both suffixed addresses @ pec.com and for PEC boxes linked to other domains (with suffix @ pec.nomedominio.xx). More info here.
Configure Aruba mail on your computer
To access the Aruba mailboxes you can use the browser directly: for traditional mailboxes (including those connected to a domain) just contact this Web panel, while for PEC mailboxes just log in on the PEC.com site . But if you are here it seems clear to me that you don't want to use the Web version of Aruba Mail: you want to configure Aruba mail in your favorite mail client and use that, right? Well, then let's proceed immediately and see how to act in various of the most popular clients.
Microsoft Outlook (Windows / Mac)
It was used Microsoft Outlook go to the menu Fillet che si trova in alto a sinistra e seleciona la voce Account settings from the menu Account settings. In the window that opens, select the tab Email, click here New and apponi il segno di spunta accanto alla voce Manual configuration or additional server types.
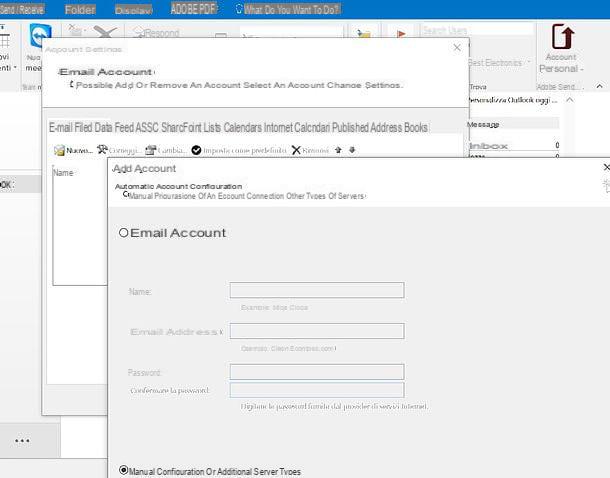
Then click on NEXT, select the option POP or IMAP, go again forward and fill out the form that is proposed to you with all the POP or IMAP coordinates of your Aruba mailbox. The parameters to be entered are the ones I indicated earlier in the paragraphs dedicated to the configuration of Aruba Mail or Aruba PEC.
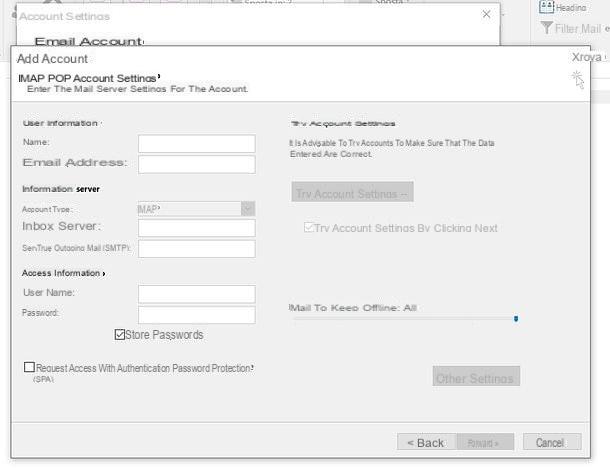
To set the server port numbers and enable authentication for the outgoing mail server, you need to click on the button Other settings which is located at the bottom right and you must enter the appropriate parameters in the tabs Outgoing mail server e Advanced Settings).
Mail (Windows)
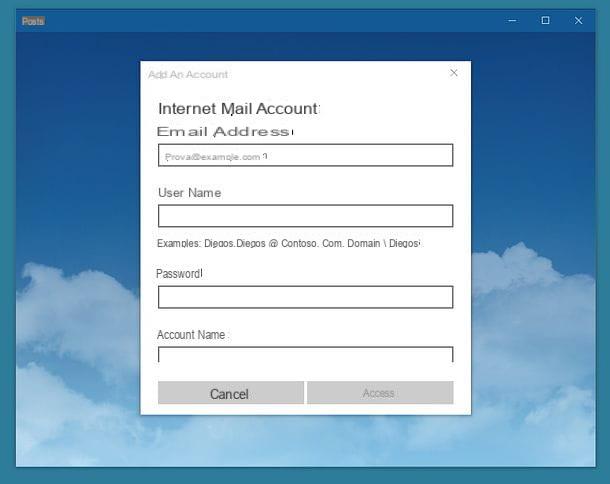
If you use the app Mail included by default in Windows 10 and Windows 8.1, launch the latter from the menu Home e pulsing sul pulsating Add account. Dopodiché selects the voice Advanced configuration from the box that opens, go to Mail and the Internet and fill out the form that is proposed to you with the IMAP or POP3 parameters that I indicated earlier in the paragraphs of the guide dedicated to configuring Aruba Mail or Aruba PEC.
Mozilla Thunderbird (Windows / Mac / Linux)
It was used Mozilla Thunderbird click on your button ≡ located at the top right, go to the menu New messageclick your Existing email account and fill out the form that is proposed to you with the information I gave you in the paragraphs of the guide dedicated to configuring Aruba Mail or Aruba PEC.
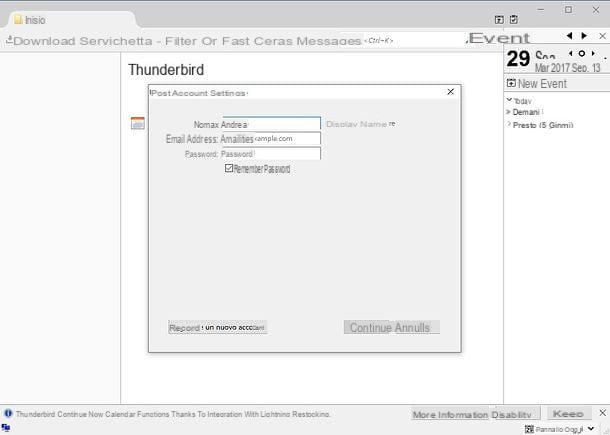
You must enter the name that you intend to show to the recipients of your messages, theemail address Aruba and the Password to access the latter; then you have to click on Continue and, when the second form below appears, you must enter the parameters relating to the IMAP (or POP3) and SMTP servers.
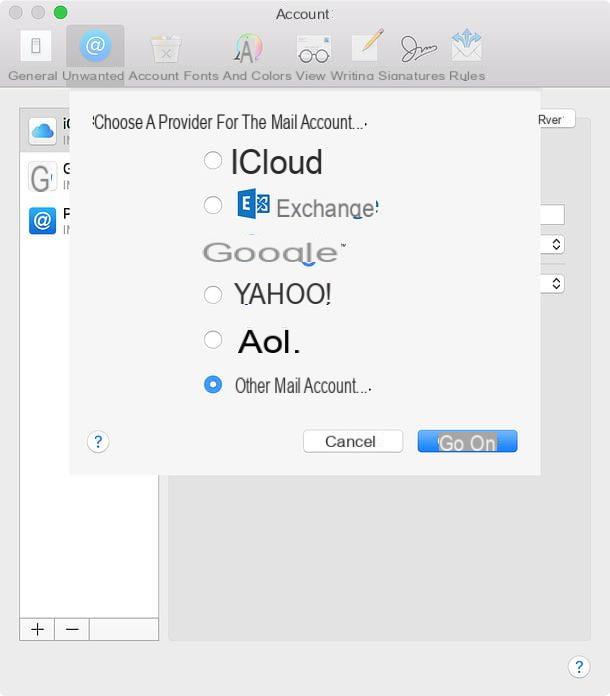
Apple Mail (Mac)
If you have a Mac and use Mail click on the menu Mail che si trova in alto a sinistra e seleciona la voce Pref Renze from the latter. Then click on the tab Account present in the window that opens, presses the button [+] located at the bottom left, choose the item Other Mail account ... and fill out the form that is proposed to you using the information you find in the paragraphs dedicated to Aruba Mail or Aruba PEC.
Carried out the indicated steps and filled in the fields displayed on the screen as I suggested you should finally be able to configure Aruba mail on your computer.
To check that everything went well I suggest you take a look at the section Incoming mail o inbox making sure that your e-mail messages are present and / or to send a new e-mail following the instructions I have given you in my guide on how to write an e-mail.
If following the configuration procedure of the Aruba email you should see an error message, try to consult this page of the official Aruba website where there are instructions to configure various email clients.
Configure Aruba mail on smartphones and tablets
The easiest way to access Aruba mailboxes from smartphones and tablets is to use the official Aruba apps.
- WebMail Aruba.com allows you to use traditional mailboxes through the Web Mail service which is also accessible from a browser. It is available for Android, iOS and Windows Phone.
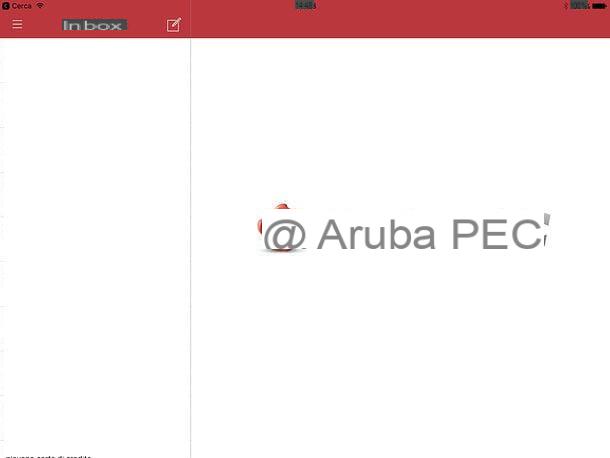
- Aruba PEC Mobile allows you to use Aruba certified mailboxes. It is available for Android and iOS.
If you are not satisfied with the official Aruba apps, you can access your mailboxes using third-party clients, such as Mail your iPhone or Email on Android. How? Obviously, using the IMAP / POP parameters that I provided you in the paragraphs dedicated to Aruba Mail or Aruba PEC.
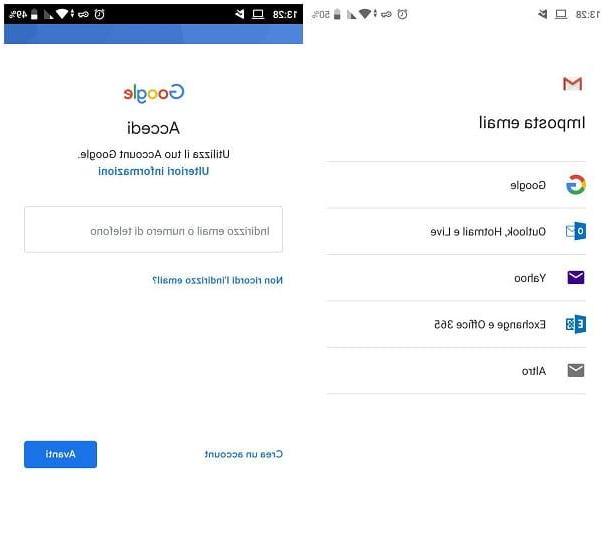
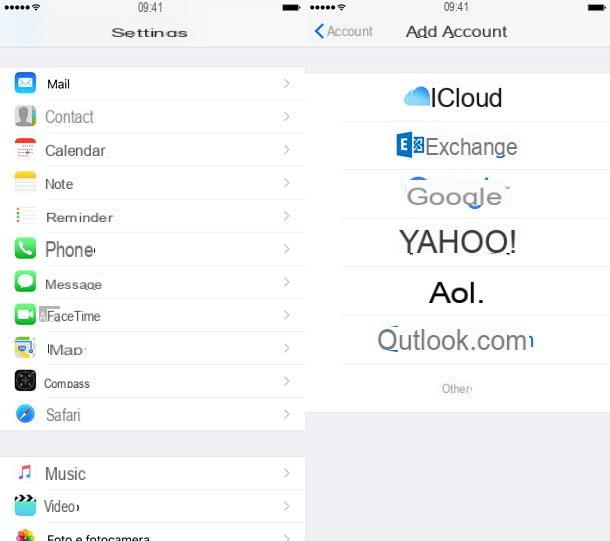
For example, if you use a iPhone or iPad and you want to exploit Mail, the default iOS e-mail client, you can configure Aruba mail by pressing the icon of settings present on the home screen, by selecting the item Mail from the screen that opens and first tapping on Account and then Add account. At this point, go on Other, select the voice Add Mail Account and fill in the fields displayed on the screen with the IMAP / POP parameters of your Aruba mailbox.
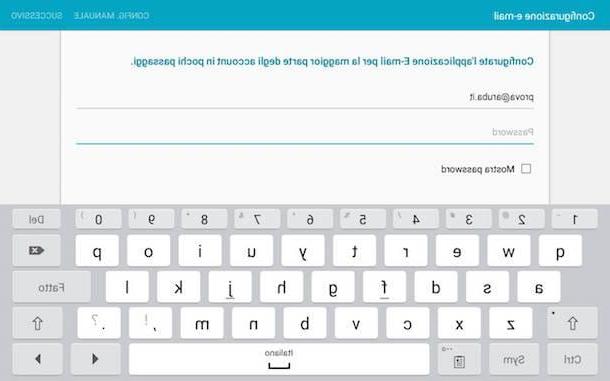
If you use a smartphone or tablet Android and you want to take advantage of the default client of your device, you can configure Aruba mail by starting the app E-mail present in the screen where all the apps are grouped, by typing your e-mail address and the password associated with it in the fields E-mail address e Password and then pressing on the voice Config. manual located at the top right.
You can then configure Aruba mail by starting the wizard for adding a new e-mail address, taking care to choose the type of protocol to use between IMAP e POP3 and typing the same data that I have already given you in the previous lines explaining how to configure Aruba mail on a computer.
In completing the procedure by which to configure Aruba mail linked to a domain (of the type mailbox [email protected]), however, keep in mind that it is necessary to make sure that the relative option to server authentication regarding the outgoing mail server is active.
If you have any problems, try taking a look at the Aruba website page dedicated to setting up email on portable devices.
How to configure Aruba mail