Create shared folder on Windows PC
If you have PCs with Windows installed, before seeing in detail how to create a shared folder, I suggest you make sure that your computers are correctly connected to each other. If you don't know how to do it, you can find all the explanations in my guide on how to connect two PCs in a small home network.
After having checked that the computers on which you intend to go to act are connected to each other correctly or after having done so you can move on to the next step, the one which, in fact, involves the creation of a shared folder. To do this you can take advantage of the function Home Group of Windows.
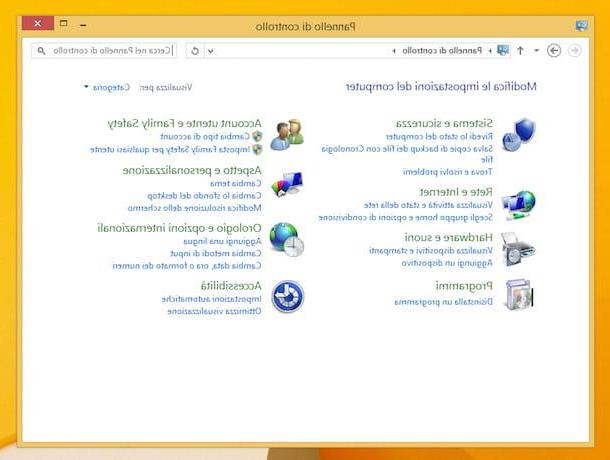
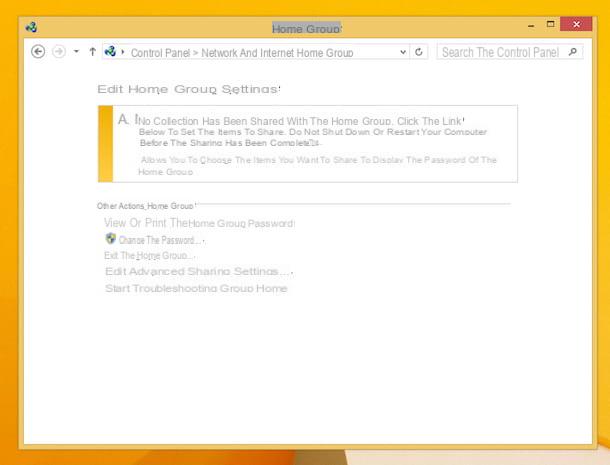
To create a shared folder on a Windows PC using the HomeGroup function just to start, press the button Home attached to the taskbar, type control panel in the search field that is shown to you and then click on the first result in the list. In the window that will open at this point, locate the section Rete and Internet (if you can't see it make sure the option is selected Category in the drop-down menu located next to the item View by: at the top right) then click on Home Group.
In the window that will open, click on the item Lets you choose the items you want to share and view the homegroup password or press on Create HomeGroup, put the check mark next to all the items you want to share on the network (eg. Images, Video, etc.) and click on NEXT to view the password needed to connect other computers to the network. Take note of the password that is shown to you and keep it in a safe place then click on end but I will complete the procedure.
Now you have to proceed by enabling the HomeGroup function also on the other PCs on the network. To do this, start the computers with which you intend to share folders, then click on the button Home, go to Control Panel, presses on the voice Choose homegroup and sharing options annexed to the section Rete and Internet (if you can't see it make sure the option is selected Category in the drop-down menu located next to the item View by: present at the top right) and then click on the entry Participate now to start the wizard that will allow you to connect your computer to the Homegroup set previously by entering the password for the latter.
If the item does not appear Participate now you can fix it by clicking the button Home Windows, selecting the item with the right mouse button computer and clicking Property in the menu that appears. In the window that opens, click on the item first Change settings annexed to the section Computer name, domain and workgroup settings and then Network ID .... Proceed now by going to select the option The computer is part of a corporate network and is used to connect to other computers on that network and click on NEXT, then select the item The company uses a domainless network and click on NEXT two more times in a row. Then restart the computer after which you should finally be able to configure the Home Group as I have indicated to you in the previous lines.

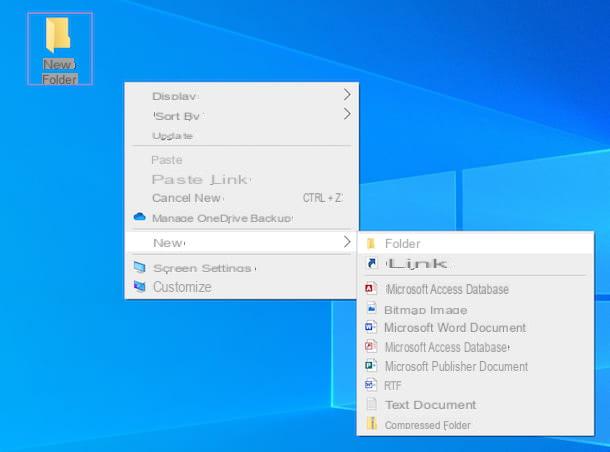
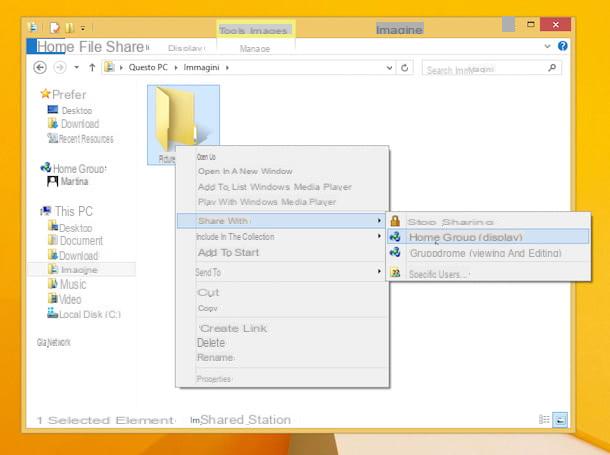
After being able to establish the connection between your computers, you can then create a shared folder and, consequently, easily share specific files between multiple multimedia stations belonging to the same network by clicking with the right mouse button on the item on which you intend to go to. act by moving the mouse cursor over the item Share with attached to the menu that is shown to you and then selecting the item Homegroup (view) or Homegroup (view and edit) depending on what your needs are.
Folders added to the Windows HomeGroup can also be shared with OS X systems. To do this, first make sure that the computers you intend to act on are connected to the same network, then open the Finder of OS X and select the name of the Windows computer from the left sidebar, under the heading Shared. After entering your Windows login information (the username and password you use to log into the system) you will be able to access the shared items on your Windows PC from your Mac.
Create shared folder on Mac OS X
If you are interested in understanding how to create shared folder on Mac even in this case you can take advantage of a feature available "standard". To create shared folder on Mac you just need to use the function File sharing in OS X.
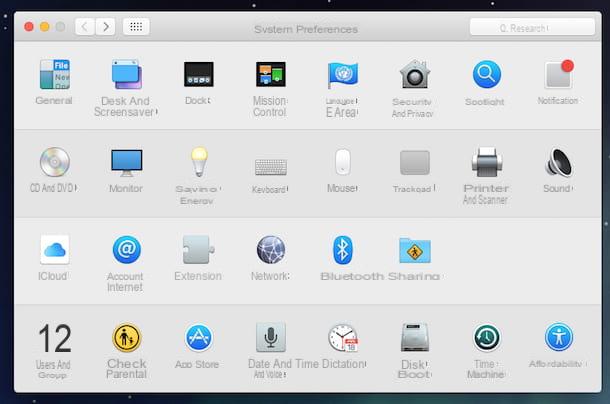
To take advantage of the functionality in question then access the section System preference of OS X by pressing on its icon attached to Launchpad or by searching through Spotlight then locate the item sharing.
Proceed now by going to click on the item Changes disabled located in the lower left part of the window that is shown to you, by typing the password referring to the administrator account and then pressing on Unlock. Now put the check mark next to the item File sharing attached to the screen that opens, wait for the indicator in the upper part of the window to turn green and for the item to appear File Sharing: Enable then presses the button +, select the folders you intend to share by acting on the section Shared folders: and set the read and write permissions using the box located on the right, under the heading Users:. Note that by default the shared folder is the one labeled with the name of Public folder of Username (instead of Username you will find your username indicated) while as regards permissions, always by default, you will find your username, Staff e All.

At this point I would say that you can finally feel satisfied: you have managed to complete the procedure by which to create shared folder on Mac. To find out how to access the items in the shared folder from other devices, just use the coordinates (eg. afp: // 192.168.1.10 o smb: //192.168.1.10) that are shown to you at the top of the window sharing in the section dedicated to file sharing.
To confirm the changes, remember to click on the icon depicting the open lock which is located at the bottom left and then close the system preferences window.
After enabling the folder sharing function on OS X you will be able to access your shared files also from Windows PC. To do this, check that the computers on which you intend to go to act are connected to the same network and then press the icon depicting a yellow folder attached to the Windows PC taskbar and locate the item Home group from the left sidebar of the window that is shown to you. Then select your Mac name from the menu below. If prompted, enter your OS X login data (the username and password you use to log into the system) after which you will finally be able to access the shared items on the HomeGroup from your Windows PC.
Alternatives to create shared folder
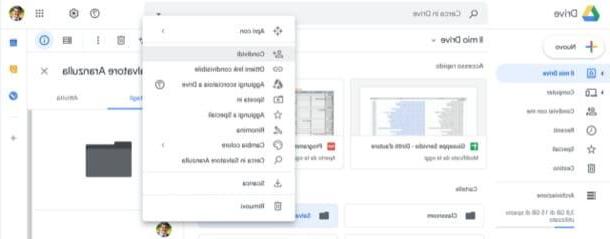
In addition to the same as I indicated in the previous lines, you should know that it is possible to create a shared folder on a Windows PC and Mac OS X also by resorting to the use of special third-party services and tools as in the case of dropbox and Google Drive.
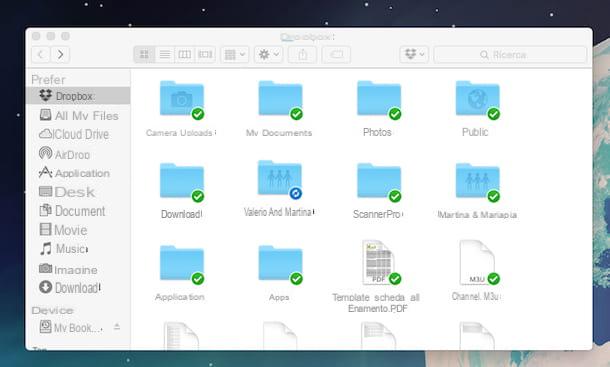
Dropbox is a famous and widely used cloud storage service that allows you to store files and folders on a "virtual" hard disk with a basic capacity of 2 GB. To create a shared folder with Dropbox and to find out how to take advantage of this service, you can follow the instructions in my guide on how to share files on Dropbox.
Google Drive, on the other hand, is a Google-branded product. This is another famous and widely appreciated cloud storage service that allows you to easily share files with other users and create shared folders in no time at all. To learn more about the operation of this service and to understand how to proceed to create a shared folder, I invite you to read my guide on how to share files with Google Drive in which I have explained everything in detail.
Keep in mind that the two solutions to create shared folder that I just suggested to take advantage of as an alternative to the basic functions of Windows and OS X are perfectly functional even if the computers on which to act are not connected to the same network. In order to create a shared folder with Dropbox and Google Drive and to access the related files, however, it is essential that the computers on which to act are connected to the Internet and that the network is fully active and functioning.
How to create shared folder