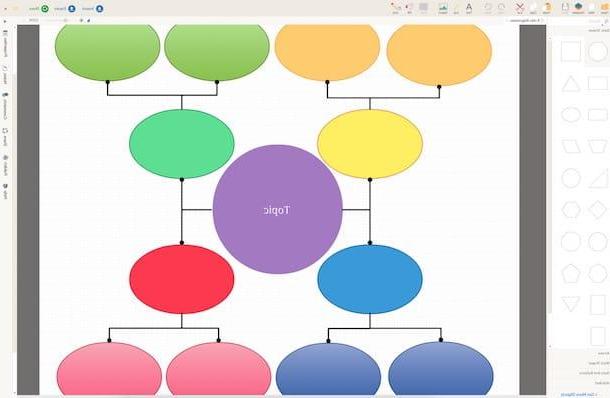
How to create concept maps on the PC
Let's see first how to create concept maps on PC using some programs suitable for the purpose and also some online solution, accessible directly from the browser.
How to create concept maps with Word
create concept maps on Word from your PC or Mac, the first thing you need to do is start Microsoft's word processor and use the geometric shapes and connectors that can be called up from the menu Inserisci. Let me explain everything to you in detail.
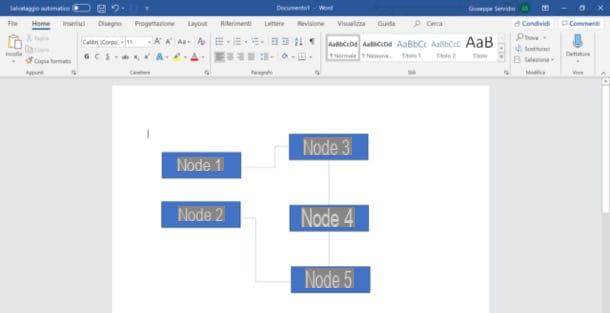
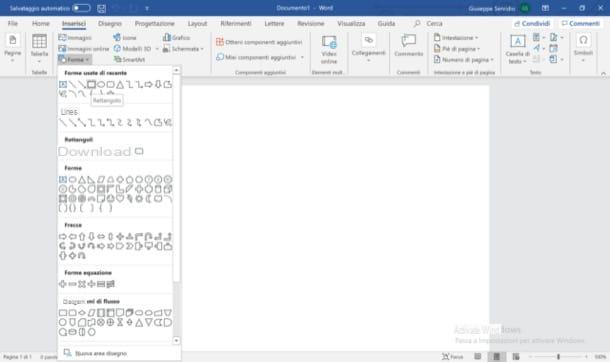
After starting Wordclick here Inserisci at the top, press the button Form (the icon depicting the circle and square located at the top), select the shape you want to use to make the first knot (ex. Rectangle) and draw it on the work area. To draw the shape, you must hold down the left mouse button, move the cursor to make the drawing and release it when you have finished making the desired shape.
To insert text into the node you added, right click on it, select the item Edit text / Add text from the menu that opens, write the word or phrase and, if necessary, format the text using the appropriate tools on the card Home of the program.
Now you have to add the connectors through which to connect the node to the other nodes you are going to make. Then press on the card Inserisci, click here Form and use one of the connectors available in the section Tiers (Eg. Connector 2), so as to connect the knot created earlier with those you will draw later. If you find that you want to change the appearance of a node, click on it to select it and then use the squares and shot that appear, to regulate their size and curvature.
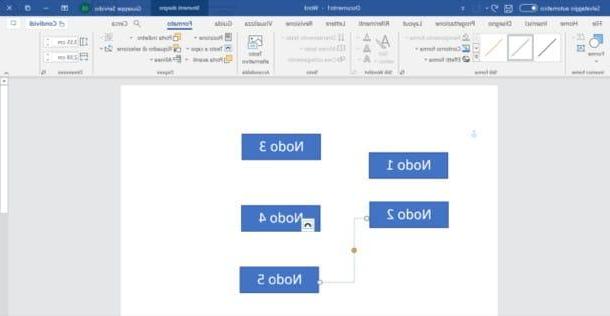
To complete the concept map, simply repeating several times the steps that I just showed you to draw new nodes and link them together. At the end of the work, then, save the concept map by selecting the item Save with name ... from the menu Fillet. If you want to save the map as a template to reuse later instead, setting the option * Word Template (.dotx) in the drop-down menu Save as ** or, if you are using the macOS version of Word, by selecting the item Save as template from the menu Fillet And that's it.
Since I have dedicated an entire tutorial on how to create concept maps with Word, I refer you to the latter if you want to deepen the subject. If, on the other hand, you want to create concept maps with the mobile version of Word (free on devices with dimensions equal to or less than 10.1 ", otherwise with costs from 7 euros / month), later, again in this guide, you will find a chapter dedicated to the latter.
How to create concept maps with PowerPoint
If you wish create concept maps on PowerPoint from your computer, you have to follow roughly the same instructions I gave you for Word, since some menus and tools are common to both software included in Microsoft's Office suite.
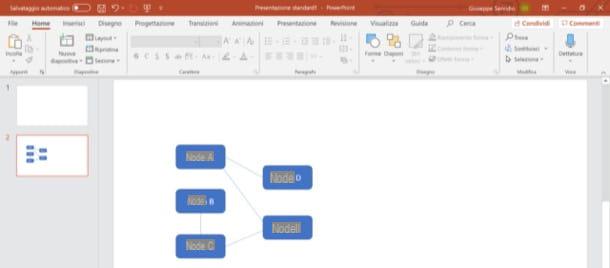
After starting PowerPoint and adding a blank slide (Insert> New Slide> Blank), calls up the tab Inserisci located at the top, click the button Form (the symbol of circle together with the square at the top), select the shape to use to make the first node (eg. Rectangle with rounded corners) And draw it, while holding down the left mouse button, then moving the cursor to draw the shape and releasing it when you have finished its realization.
Now, write inside the shape you drew by right clicking on it and selecting the item Edit text / Add text from the opened menu. To format the text, you need to call up the tab as usual Home of PowerPoint.
As for the connectors, however, after having gone to the menu Insert> Shapes, click on one of the connectors in the section Tiers (Eg. Connector 2), So as to connect the various nodes of the conceptual map and repeat the steps mentioned above to bring to an end your creation. Once the map is finished, save it by selecting the item Save with name ... from the menu Fillet.
How to create concept maps with Mac
You have a Mac? Well, in this case, another solution you can use to make concept maps - besides the Word and PowerPoint I told you about earlier - is Pages, the word processing application from Apple pre-installed on macOS and available at no cost on the Mac App Store.
To use this, first launch Pages on your Mac (the orange pen with sheet located on the bar Dock or in Launchpad), click on the button New document in the window that opened and then double-click Empty o Horizontal blank (based on your preferences).
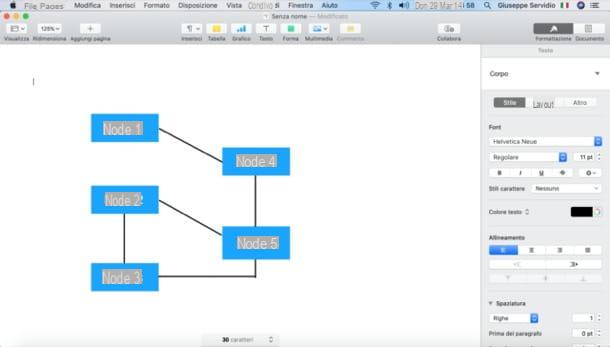
Successively click on your button Shape (l'icona del green square which is at the top), click on one of the basic shapes among those available, to insert it in your worksheet, and then resize it to your liking, using the squares placed along its perimeter.
To insert the text to the intent of the drawn shape, double-click on it and type on the keyboard the text of your interest. You can then format the message by clicking the button Formatting (l'icona del brush at the top right) and using the tools in the sidebar that appears on the right.
To connect the various nodes of the concept map, instead, click the button again Shape and select one of the lines available. After that, drag it where you want it (by holding down the left mouse button on it and dragging it to where most prefer) and served the squares placed on its ends to change its size.
Repeat the operations just described for all the other nodes that make up the concept map and, when you are ready to do so, save it: to do so, open the menu Fillet, select the voice Export as from the latter and select one of the available export formats.
How to create concept maps online
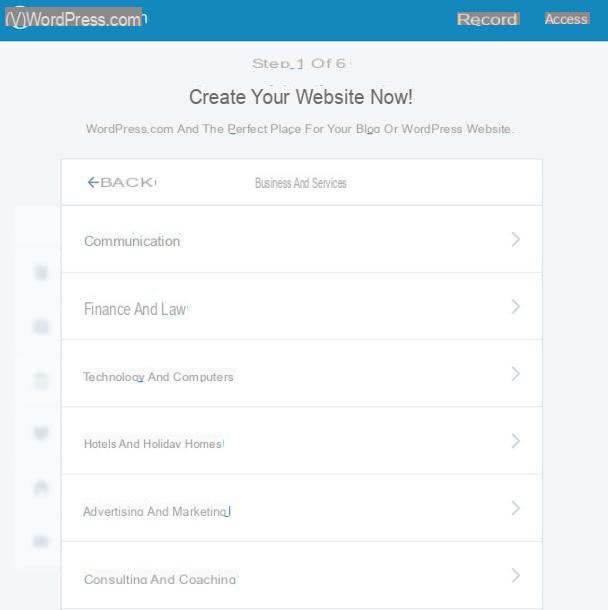
It is possible too create concept maps online. One of the most advanced services in this sector is certainly Mindomo that through its free plan allows you to create up to 3 concept maps (or, possibly, even mind maps) without downloading any program on your computer. To create more concept maps, you need to subscribe to one of the subscription plans available, starting from 6 euros / month.
To create your free account on the site, connect to its main page using the link I provided you a little while ago and click on the button Registration. Then specify the reason why you intend to use the web application by clicking on the button Scegliere corresponding to the reason you prefer and fill in the fields you see on the screen with the requested data. Next, click the button Registration. Otherwise, register with your Google account by pressing the appropriate button and following the instructions you see on the screen.
Once logged in, click on the button Crea at the top left, choose to create a concept map from scratch or whether to use one of the templates available and used by the editor of the service to start shaping the map.
To edit a node exists, for example, you right-click on it and use the buttons and items in the opened menu to customize forms, fonts, colors and so on. To change the text in the node instead, click on it so it is highlighted, and then type the word of your interest.
To add new nodes in the map, first select the one you want to start it from and click on the button capacitor positive (+) lead located at the top left. To add a connecting line, instead, press the button with the arrow located at the node.
Once you have completed the work and are satisfied with the results, click the button (≡) situato in alto a sinistra, selects the voice Export from the opened menu and indicates the format in which to download the map or, if you prefer to simply save the project in your account without exporting it, select the item Save.
Create concept maps on smartphones and tablets
We conclude this guide by seeing how to create concept maps on smartphones and tablets. Below you will find some useful solutions for making concept maps on the go.
Word (Android / iOS / iPadOS)
Word is undoubtedly an excellent app for making concept maps on the go. Before explaining how to do it, I would like to remind you again that the app in question, available for Android and iOS / iPadOS, is free only if used on devices that have a screen diagonal equal to or less than 10.1 ″. For larger devices, you need to subscribe to Office 365, which starts at 7 euro / month.
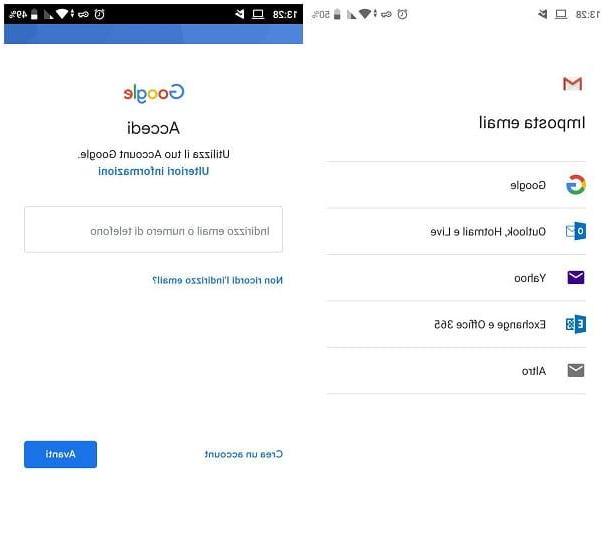
After installing and starting Word on your device, log in to your Microsoft account and decide whether to start creating a new document by tapping the button New, or modify an existing one, by clicking on the button apri and selecting the file of your interest. Next, use some geometric shapes to start making the map. Here's how to do it on both smartphones and tablets.
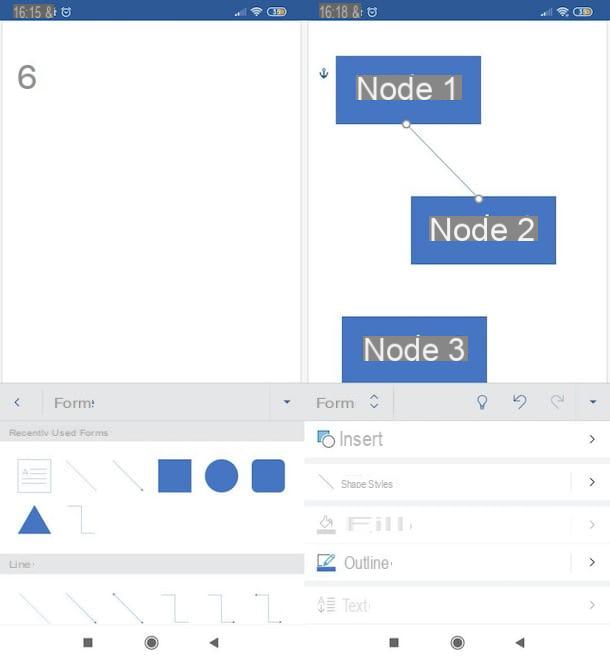
- Yes smartphone - tap on the tab Home at the bottom left, press on the card Inserisci from the open menu, presses on the item Form placed at the bottom, select the shape you want to use to draw the main node of the map and resize and move the shape using the shot and squares you see along its perimeter. Then press the button Inserisci located below, choose the connector to use (by selecting it from the section Tiers) and, also in this case, use gods shot and squares to resize it to your liking. To insert writings inside the nodes of the map, tap on one of the shapes you added, select the item Add text from the opened menu and type the message of your interest.
- Yes tablet - tap on the item Inserisci located at the top, tap the button Form, select the geometric shape with which to create the first node of the map and resize it using the shot and squares which are placed along its perimeter. Then press the button Inserisci at the top left, choose the connector you want to use to join the node you created to the other nodes and repeat the operations just described to complete the map. To add text inside one of the nodes, then, select it, tap on one of the added shapes, press on the wording Add text from the opened menu and type the text of your interest.
Whether you are acting as a smartphone or tablet, then, save the map created by tapping on the item Save o Export from the menu Fillet (the symbol of sheet which is at the top left).
More Concept Map Apps
If the solution I told you about just didn't satisfy you that much, take a look at these other concept map apps (many of which also allow you to make mind maps, if you are interested in it).
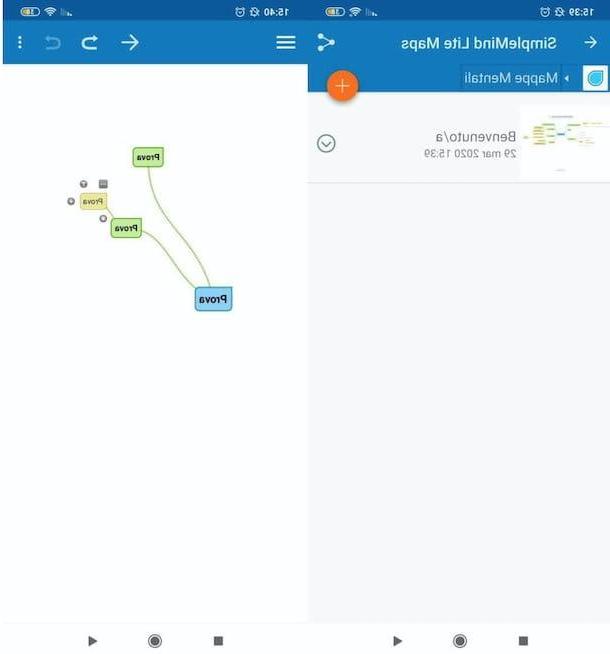
- SimpleMind (Android / iOS / iPadOS) - this basic app is free but it is also possible to buy the Pro version (for Android and iOS / iPadOS), which costs 8,99 euros, in order to access all its features , including the one that allows you to export maps in different formats.
- Mindomo (Android / iPadOS) - the mobile version of Mindomo, which I already told you about a few lines above, which works in a similar way to its Web counterpart. Free.
- Mindly (Android / iOS / iPadOS) - app that allows you to create free concept maps and mind maps directly from your mobile device, in an easy, fast and free way, thanks to a simple and minimal interface.
If you want more information on these and other apps to create concept maps, you should read the guide that I devoted entirely to them.
How to create concept maps