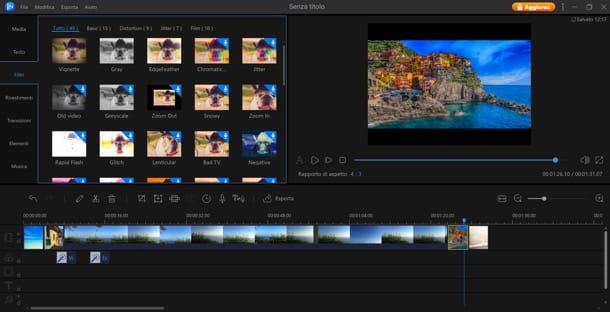
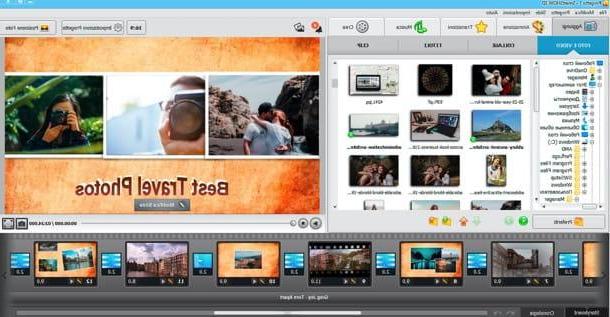
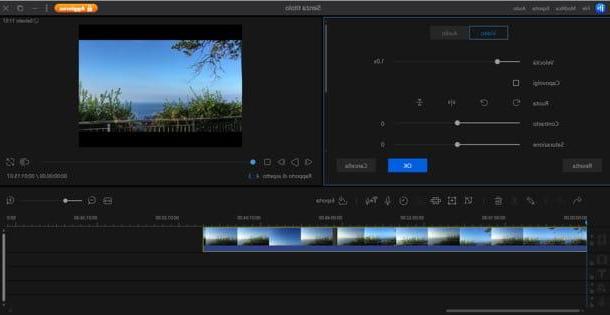
Close
    Search Search

    How to make photo slideshow with music

    Index:

    PhotoStage Slideshow (Windows / macOS)

    How to make photo slideshow with music

    A software that can do for you to make photo slideshows with music is PhotoStage Slideshow. This program is distributed for free for non-commercial use for Windows and macOS platforms.


    PhotoStage Slideshow allows you to use your digital photos to create presentations to be exported to a computer or physical medium.


    You can enrich your projects with effects, animations and background music. If you are going to use version a instead payment with some additional features, you can buy it directly from the official website.

    If you are interested in downloading the free of this program, you can download it directly from the official PhotoStage website via this link: once you reach the website I provided you, scroll down the page and click on the item download the free version here.

    When the download is complete, double-click the file and click the button Yes. Once the installation screen has started, select the language cityno. Then select the option I accept the license conditions and click NEXT, to finish the installation.

    To insert your photos into your project, click the button Aggiungi photo. In the window that opens, select the photos you want to include in your slideshow and click the button apri: After a short upload, the photos will be inserted into the slideshow.

    All the images you imported will be inserted into the tab Media that you find on the left. Now drag the photos into the timeline at the bottom. They will then be automatically entered one after the other. You can change the display order by dragging them to a different position within the timeline.


    Then use the tab Animations, Effects, Text e Transitions to add personalization elements to your project.

    You can use the right section of the software to preview your project. Finally, to add an audio track to your project, click the button Add Audio and select the audio file to import. Then click apri and, after the short loading, drag the audio track from the section Media to the timeline.

    When you are satisfied with your work, click the button above Export and select the format and all the parameters necessary to save the presentation you made on your computer.

    Photo (macOS)

    How to make photo slideshow with music

    Often, when you need to create simple projects, the tools built into your operating system can do just that.

    In this context, I'm talking about Photos, a native macOS application that allows you to create simple slideshows with photos and music. The application is free and you will find it pre-installed on your macOS operating system. What more could you want?

    To find it, click on the del icon Launchpad and click the Photos icon. From the bar at the top, then click on Fillet > Crea > Presentazione, so you can start creating a presentation project.

    Then type in the name you want to give your project and click on the button Ok. Then select all the photos you want to import into your project and click the button Add.


    The screen that will appear later will help you to set some custom effects for your project. In fact, you can select the theme, add a music track and change the interval of each transition.


    Once you have completed customizing your design, click the button Export and select one of the many formats you see on the screen. Then choose the folder where to save your project and click on the button Save. Did you see how easy it was?

    Adobe Spark Video (Online / iOS)

    How to make photo slideshow with music

    Among the many online tools that allow you to create presentations with photos and music, I can recommend you Adobe spark video.

    This online tool is available so free through direct use from the official website. It is also possible to download the version for mobile devices, by downloading the app on the iOS App Store.

    If you are interested in this online tool, just head over to the website I have provided you with and click the button above Start now for free, in order to create a new Adobe account. If you already have one, click on the button above Login.

    Once logged in, click on the blue button with the symbol of a [+] in the center. Then click on the wording Video, to create a new project.

    Then enter the title of your project and click the button Next. Then select the theme to apply to your presentation by clicking on the wording Pick this one, in correspondence with the theme you like best. If you want to start a presentation without any themes, click Start from scratch.


    After loading the interface and finishing the online tutorial, locate the section at the bottom of the screen. In this section you will see the timeline of your project, made up of slides. You can add a new one by clicking on the slide with the symbol [+] in the center.


    To delete or duplicate one, click on theicon with three dots on each slide and select Delete, to delete a slide, or Duplicate, to duplicate it.

    Click on a blank slide now to see a message asking you how to proceed; you can then add a video or image from your computer or choose an image from the database.

    Once you have filled in all the slides with your favorite multimedia elements, click on the tab at the top Music and select a track available in the database or one present on your computer.

    If you want to add a real-time narrator instead, you can click the button in the center of the screen with the symbol of a microphone. This way you can then add your voice immediately, via your microphone.

    Once your project is complete, click Preview to preview your project. If you no longer need to apply any changes, click the button Share, in order to share it directly on your social networks, or click on Download, to download a copy to your computer.

    Magisto (Online / Android / iOS)

    How to make photo slideshow with music

    Another useful online service, but for a fee, is Magisto. This service allows you to create video presentations with photos and music.

    You can decide to take advantage of the trial free to test the potential of this online tool. In case you can also download the app free available for devices running Android and iOS.

    Please note, however, that this app, despite being free, has limitations that require a subscription to a subscription at the service to be removed.

    If you still want to test Magisto's online service, go to its website and register for an evaluation account. Then click the button Get Started and enter the information you find on the screen. Then click on the wording Start the trial, near the floor you want to evaluate.

    To make a video with Magisto then, click on the button Make a video and click sul pulsating Upload. Then upload at least 5 images, so you can proceed with the realization of your project.

    Once your images are imported, click Select editing style, to select a theme for your presentation. Then select a music track from those you see and type in a title for your video.

    Now you just have to export your video. Then click Make my movie to render it. Once the process is complete, you will be able to view a preview and keep a copy that you can also share on your social networks.

    How to make photo slideshow with music

    add a comment of How to make photo slideshow with music
    Comment sent successfully! We will review it in the next few hours.

    End of content

    No more pages to load