Index:
- How to create 3D photos (Android)
- Come creare foto 3D (Android / iOS)
How to create 3D photos (Android)
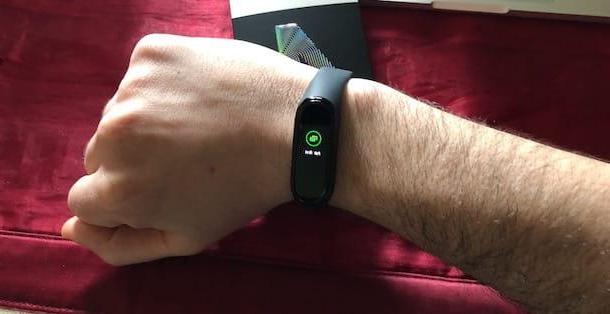
If you own a new generation Android smartphone, and more precisely one of the latest Huawei smartphones, you will be happy to know that your mobile device has an innovative native feature in its camera which will allow you to take pictures with a three-dimensional effect.
From the moment this particular 3D shooting feature is present on the Android smartphone I own, I will focus the first part of this tutorial in explaining this feature, telling you in detail how to take advantage of this futuristic photo shooting technique.
In case you do not have a Huawei smartphone but only an Android smartphone, I still recommend that you check whether this feature is present in the camera settings of your device as this may be present in the latest generation smartphones. Alternatively, if you do not have it, you can choose to use an application for making 3D photos like the one I will talk about in the following lines.
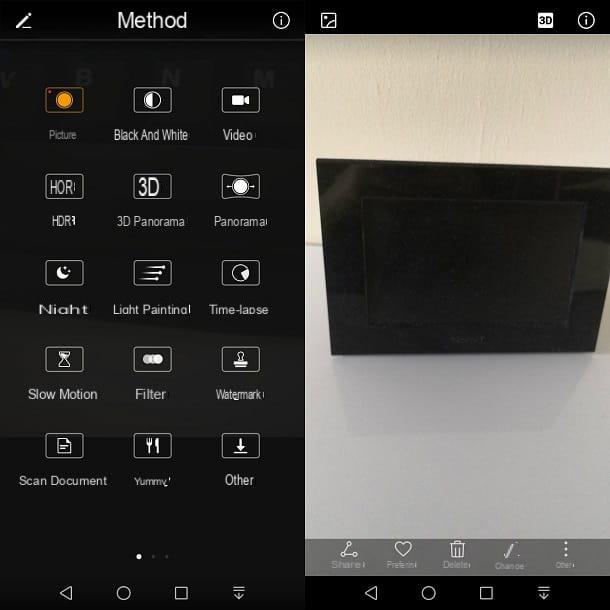
As for the new generation Huawei smartphones, the functionality relating to the possibility of taking a 3D photo is present within the app Camera consequently tap on it to start it.
From the main screen, then swipe from right to left in order to view the section modality. Through this screen, locate and tap on the wording 3D panorama in order to activate this innovative feature for taking a photo in three dimensions.
At this point you will have to frame the object, landscape or subject to be photographed and then hold your finger on the round button in the center to take the photo, after which you will have to move slowly and sideways to frame the subject or object from another lateral perspective following the directions of movement that you will see appear on the screen.
For a better result of the photo and the three-dimensional effect try to keep the mobile phone as still as possible and move slowly around the object or subject to frame it sideways. Once the processing of the shot is finished you will be notified with a message on the screen that will concern the deadline for processing the image taken.
At the end of the processing you will in fact be sent back to the photo shooting mode and you can view the 3D image created on the screen by tapping on the thumbnail box that you can see located in the lower left corner. The photo you have taken will be marked with the wording 3D and, by tapping on it (located at the top of the screen) you will be sent back to the section that will allow you to view the image in three dimensions.
To view the image in three dimensions you will have to move your finger on the screen with a swype from right to left and from left to right or, more simply, you can choose to tilt your smartphone to see the different perspectives of the photo taken.
Keep in mind that, at the present time, the 3D shooting mode is still a feature not very common on smartphones and that this effect may not yet be supported natively in social networking or instant messaging applications.
Come creare foto 3D (Android / iOS)
In case your Android smartphone does not have a native functionality in the app Camera for the creation of 3D photos know that it is not a problem as you can use an external application. In the following lines I want to tell you about an innovative app that, available on Android and iOS smartphones, will allow you to take photos with this particular effect in three dimensions.
The application I want to talk to you about in this tutorial dedicated to the possibilities of making 3D photos is called Fyuse and it is excellent as regards the possibility of shooting and making in this mode.
It is indeed a very advanced application that, downloadable for free from the App Store for iOS smartphones or from the PlayStore for Android smartphones, it will allow you to create truly original photos.
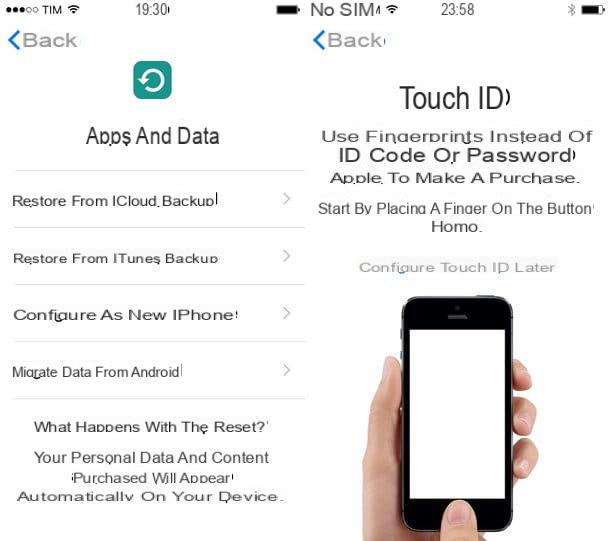
Once you have downloaded, installed and launched the application, the first thing you will be asked to do is to log in.
If this is the first time you use this application then you will have to press the button SUBSCRIBE that you will see appear on the screen after you have viewed the initial tutorial.
Keep in mind that Fyuse has features similar to Instagram with regards to some "social network" features, so to use it you will first have to sign up.
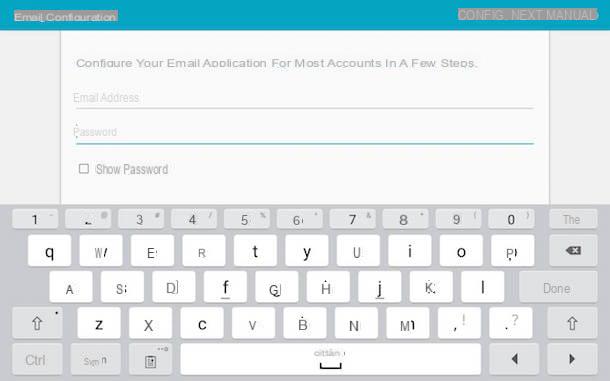
To subscribe to Fyuse you can proceed using the email address or you can also press the button Connect with Facebook o Connect with Twitter to make a quick recording.
Furthermore, acting from iOS mobile devices, it is also possible to create an account through the use of other social networks or such as Line or Sina Weibo. On Android mobile devices, however, it is also possible to register by using and linking your Google account.
At the end of the registration procedure, you may be asked to follow some users or to add friends registered to the application that have been found through the connection with social networks. However, keep in mind that you can skip all introductory procedures and possibly carry out them later.
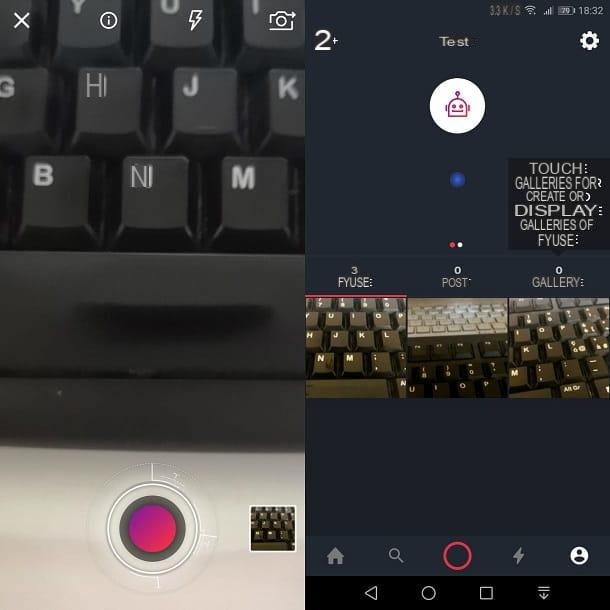
As for the use of this application for the creation of 3D photos you will first have to tap the button with the little man symbol which is located in the bottom bar of the application. In this way you can access the section related to your profile and then tap on pulsing tondo located at the bottom in order to activate the 3D photo shooting mode.
As you can see by activating the camera of your smartphone through the shooting mode of this app, the shooting mode for making a photo with a 3D effect is characterized by several very advanced features.
To create a photo in three dimensions you will have to act by pressing on pulsing tondo in the center and then you will have to move according to the directions indicated by the guidelines you will see on the screen. Alternatively, to make it easier, you can also move freely by rotating around the object.
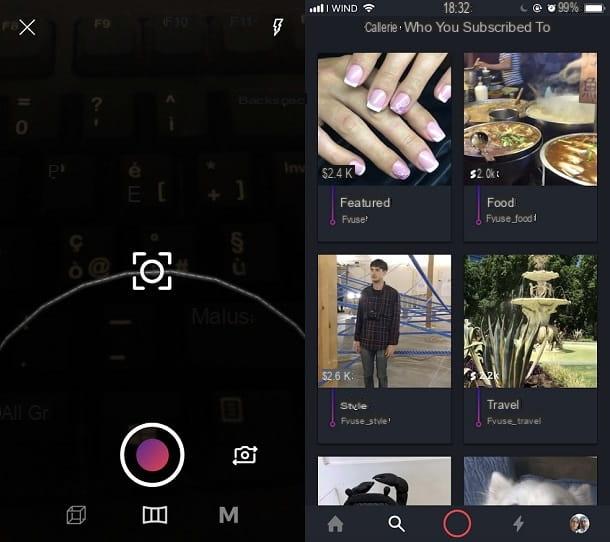
If you are working from iOS mobile devices you will surely have noticed that this application has three different separate modes: object mode (Object mode) marked with the ssymbol of a three-dimensional square, panorama mode (Panorama mode) which presents the symbol of a window and manual mode (Manual mode), marked with symbol of an M.
For the first two shooting modes you will be prompted to move following the guidelines you will see on the screen, while activating the manual mode you will be able to move freely to take the photo in three dimensions without having to follow the guidelines indicated by the app.
However, once you have chosen the photo shooting mode, you will still have to press and hold the round button in the center to make the photo in 3D.
Once you have finished shooting you can view the image created by tapping on the preview image box which is located in the lower left corner.
At this point, to view the three-dimensional effect, you can simply move your smartphone or move your finger from left to right and right to left with a swype.
As I explained to you, Fyuse has features similar to social network applications so, through this application, you can also choose to publicly share the shot taken on your profile.
Even if you don't publish the photo, any three-dimensional shots you've taken will still be privately visible within the application. To view them, just tap on the button with the little man symbol at the bottom left so that, through the screen relating to your profile, you can view them at any time and possibly share them.
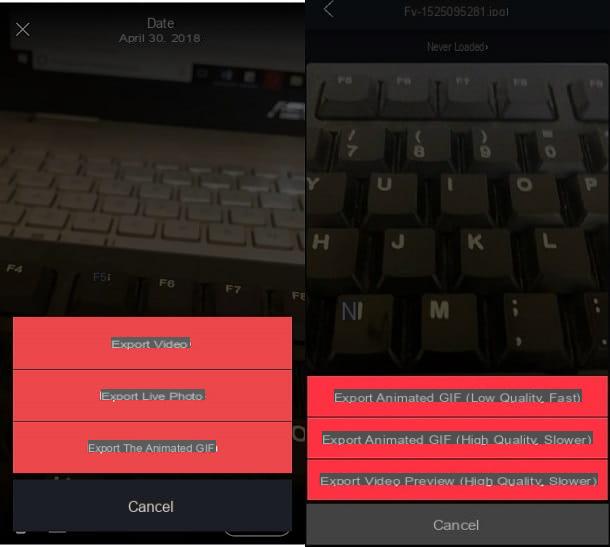
In this regard, if you need it you can export the photo made by tapping on it and then tapping on symbol of sharing: on Android mobile devices you can export the photo in the form of an animated GIF or export it as a video while on an iOS smartphone you can also choose to export the photo in 3D in the form of a live photo.
How to create 3D photos