How to create a private server on TeamSpeak
If you want create a free private TeamSpeak server, ideal for LAN Parties, to be hosted directly on your computer instead of on a server, I advise you to carefully follow the procedures that I will show you in the next paragraphs.
Download and start TeamSpeak Server
To create a private TeamSpeak server completely free of charge, it is important to download and keep it running on your computer TeamSpeak Server. This component is essential to activate a server that will host other users, up to a maximum of thirty-two.
To download TeamSpeak Server, go to the company's official website and tap on the item Download, in the top menu. On the page you see, select the tab Server & Hosting and download the component compatible with the operating system in use on your computer. Then press the button Download to download it, in the form of an archive ZIP.
When the download is complete, if you use Windows, double-click on the compressed archive or use any ZIP file management software and extract the folder inside it on your computer hard disk. Once this is done, open the folder you just extracted and double-click on the file ts3server.exe.

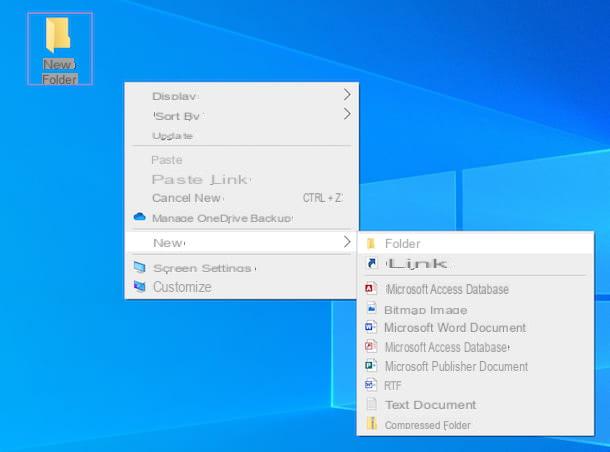
In the screen that is shown to you, tap on Accept to display a pane with server login information for administration. I recommend that you copy the access codes you see on some text document. If you have followed the steps I have indicated to the letter, you will have just started a private TeamSpeak server on your computer Windows, which you will need to access following the instructions in the next chapter.
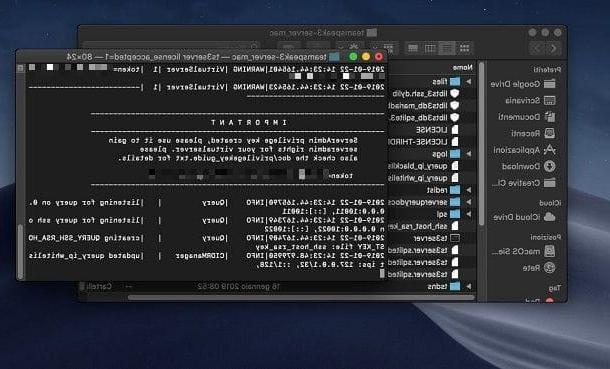
Su MacOSinstead, the procedure for starting a TeamSpeak private server requires the use of the terminal. Launch the latter via its icon in the Launchpad and type the string cd / users / username / Downloads replacing the term "username”With the macOS username. This string is valid only and only if the TeamSpeak archive you downloaded has not been moved from the folder Downloads; alternatively, you will need to replace the term "Downloads”With the path where the ZIP archive is located.
After pressing Submit on the keyboard, type the string on the terminal cd teamspeak3-server_mac and press again Submit. Now, type the string ./ts3server license_accepted = 1 I awarded Submit to start the TeamSpeak private server. On the screen of the terminal you will be shown the access codes to administer the server, which you will need to write down on a text document.
After starting TeamSpeak Server, this must remain running on the computer for the administrator and other users to log on. Should you close the process or shut down your computer, the TeamSpeak server will go offline.
Download and install TeamSpeak Client
Now that you have successfully started a TeamSpeak server, it's time to log in with administrator permissions. This procedure is fundamental: without it, in fact, no one will be able to connect to the server you created.
First, download the TeamSpeak client, directly from the official TeamSpeak website, by selecting the tab TS3 Client. Poi il tasto award Download corresponding to the operating system in use on your computer, to download the software to connect to the server.
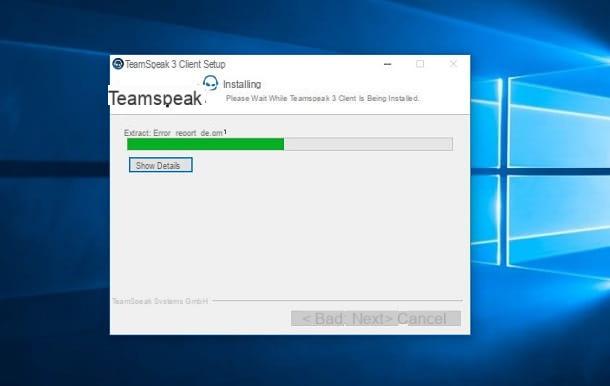
When the download is complete, if you use Windows, double-click the file .exe and then press Yes, in the User Account Control window. In the screen that is shown to you, then press the button Next, scroll through the terms of use and put a check mark in the box I accept the terms of the License Agreement. Once this is done, click on the button Next four consecutive times, then on install and finally, su Finish.
It was used MacOSinstead, double-click the file .dmg obtained and, in the screen that is shown to you, press the button Agree. Then drag theTeamSpeak icon inside the folder Applications, to install the software.
Log in to the local TeamSpeak server
Once you've started the server and installed the TeamSpeak client, it's time to get connected. Start the TeamSpeak client and scroll through the terms of use of the software, then pressing the button I accept. On the next screen, press the button Continue and click Continue without logging in. Alternatively, you can create an account to sync all your data, but it's not mandatory. Now, type a nickname of your imagination and press the button OK.
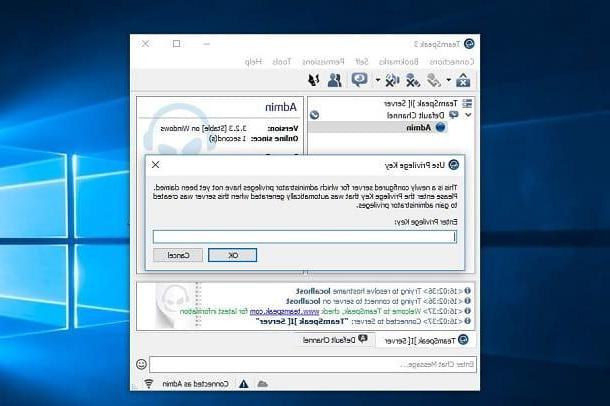
At this point, in the menu bar at the top, select the items Connections > Connect and, in the box on the screen, type the term "localhost" in the box Server nickname or address. By doing so, you will be logged into the TeamSpeak private server created on your computer. You will be shown a box in which you will have to enter the Privilege Key that was provided to you among the access codes you have kept. By entering the code correctly, you will be assigned the role admin, with which you can manage the server as you wish.
Users who want to connect to your TeamSpeak server will need to download the client (not the server) and they will have to type in your address as the hostname Local IP. If you want to allow external users to connect, you will need to use theExternal IP. I have explained to you how to find your IP address in this guide of mine.
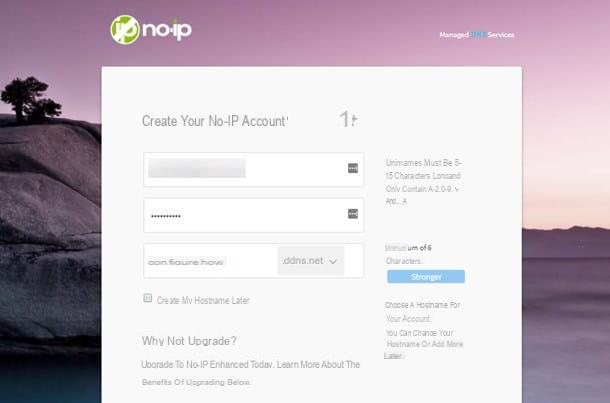
As home internet connections are often configured with a Dynamic IP, if you do not want to communicate the new IP from time to time, you can use third-party tools that allow you to create a hostname, such as the service NoIP.com, available free for Windows e MacOS.
I also remind you that in case of access problems by other users, you will have to open the door 9987 in your modem / router. I have explained to you how to do it in this guide of mine.
How to buy a TeamSpeak server
As an alternative to the method I indicated in the previous chapter, you can decide to purchase a TeamSpeak server, in order to always have it online and access it at any time via the desktop client or the one for Android or iOS smartphones and tablets.
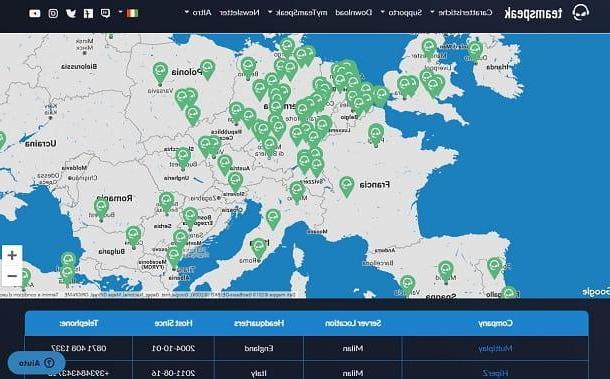
You can purchase a TeamSpeak server from one of the many partners that you can find via the interactive map available on the official website. You can choose a TeamSpeak server hosting service through the green icons that you find positioned on the map. My advice is to choose a service that is located in the city or within the European territory, in order to be sure that there are no problems with latency during conversations.
By selecting one of the icons on the map, you will be shown a list of hosting services in the area below. By clicking on one of these, you will be redirected to the respective official website of the service, which will allow, after registering an account, to make the purchase based on the number of slots, i.e. the maximum number of users who can simultaneously host the server.
Buying a TeamSpeak server allows you to have a service that is always updated and, above all, already preconfigured. In fact, after the purchase, you will receive the server hostname and the Privilege Key, essential for assigning administration permissions to the owner.
How to create a TeamSpeak server