Create a personal blog with WordPress
People who start a personal blog for the first time generally do so using the platform WordPress. Are you wondering why it is so loved by people? The answer is simple: extreme ease of use and complete customization thanks to many themes and plugins, which are the real strength of this CMS (content management system). Thanks to the add-ons, in fact, it is possible to extend the basic functionality of WordPress blogs and customize them according to your specific needs.
It should be noted that there are two ways to use WordPress: the first, which I will focus on today, involves the opening of a free blog with the wordpress.com sub-domain and has several limitations, first and foremost the impossibility of monetizing your content through the insertion of advertising banners and the impossibility to add custom plugins or themes to the blog.
The other way to use WordPress, the more “free” and professional one, involves the free download of the CMS files, to be uploaded to a separately purchased Web space (together with a domain). There are no limits to monetization, plugin installation, or theme customization by performing a custom WordPress installation. In reality it is also possible to subscribe to WordPress.com paid plans which, starting from 4 $ / month (with annual billing), allow you to activate the loading of plugins and advanced customization of the themes, but personally, if you do not intend to take advantage the free version of the service, I recommend that you resort to installing the CMS on an outdoor space.
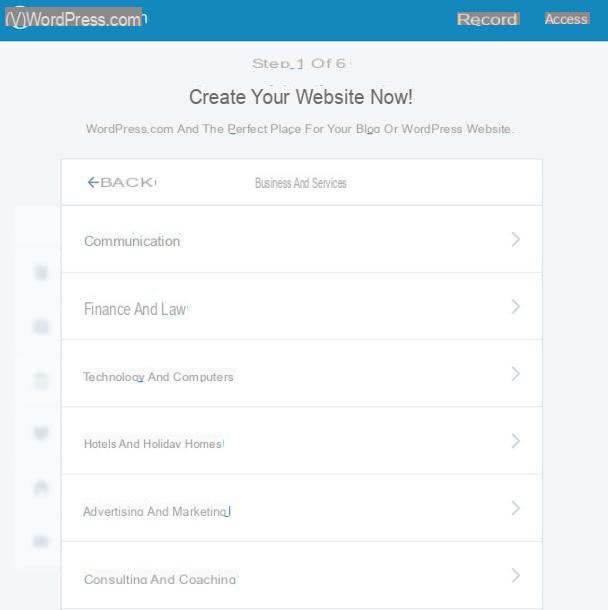
Having made this necessary premise, let's take action: if you want to try WordPress and create a personal blog with it, connect to the WordPress.com site. Then click on the button It begins now and wait for the following screen to load, where you have to select the type of site you want to open. From the options available to you, choose the first one by clicking on the button Start with a blog.
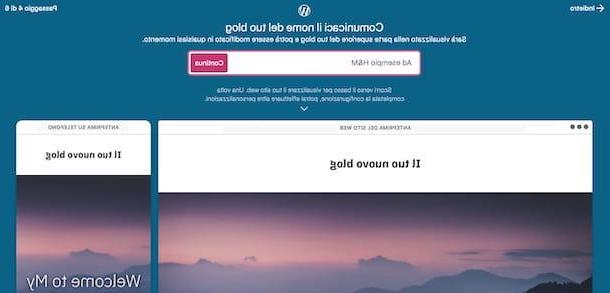
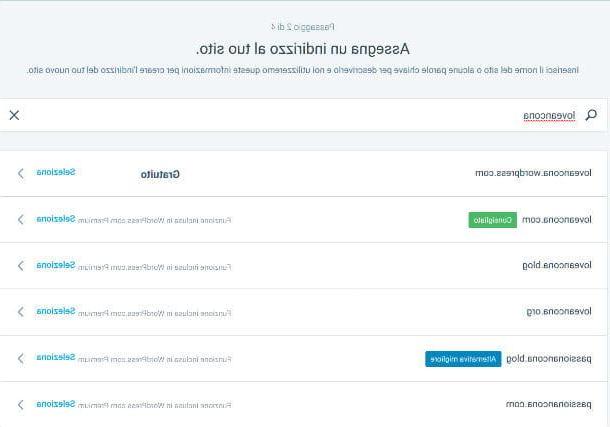
In the new page that opens, Assign an address to your site, you are asked to type the name of the new blog. When you have made your choice and typed it in the space Enter a name or keyword, check that the domain name is available in the free version of WordPress. Then click on the item Select and proceed to the next page, where you have to choose a plan among those proposed. The first option is Free, which you can select by clicking on the button Get started with free.
You are one step away from creating your first personal WordPress blog! The last step required is the creating an account, so you need to type in the rectangle Your email the email address you want to associate with your WordPress account, under the heading Choose a username your nickname is under the heading Scegli a password what will be your access key to connect to the account.
Once you have completed filling in the required fields, click on the button Continue and then on the voice View my site to view your personal blog.
To be able to publish your first post, click on the button Scrivi an articolo positioned at the top right. In the new screen appears the text editor with which you will write your posts. So fill in the field Title with the title you want to give the article and move to white text field below to write the body of your post.
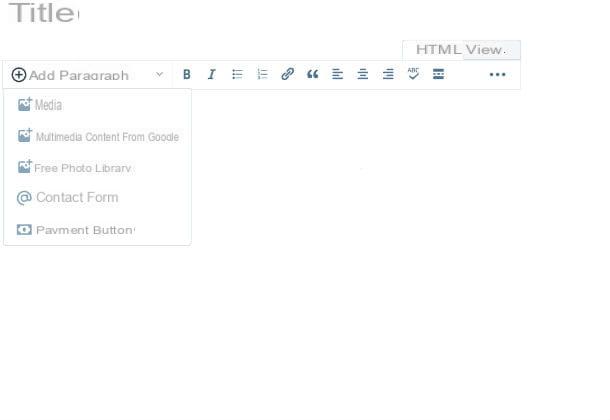
You can add one or more photos to the post by clicking on the button Add and selecting the voice Media. In the menu located at the top right you will find the items State, Categories and tags, Featured image, sharing, Other options. With the voice State you can decide the status of the post, whether to publish it (by clicking on the button Publish immediately) and make it visible to all by selecting the item Public.
Returning to the WordPress dashboard, then, you can access all the functions and tools useful for managing your blog. For example, selecting the item Stats from the left sidebar you can view all the site statistics, such as the number of views and recent visitors, while going up Post comments you can view, approve, delete and manage the comments left by visitors.
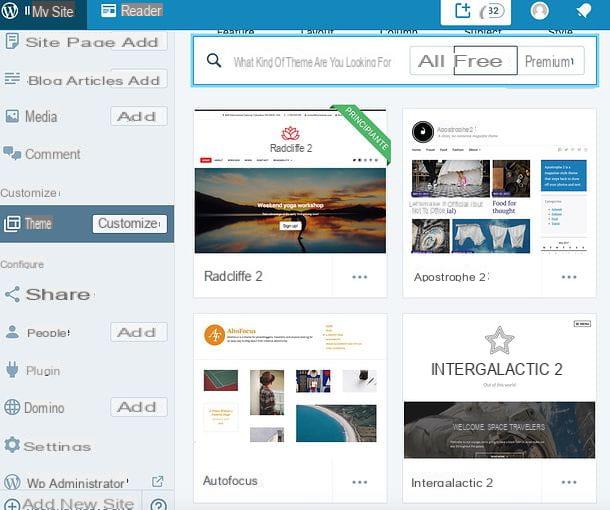
To customize the look of the blog, instead, select the item Temi from the left sidebar and select one of the available themes (to view only those free, click on the relevant button located at the top). By clicking on the button Customize placed next to the item Temi you can also change the current blog theme via colors, fonts or widgets chosen by you. Convenient, right?
If you feel that the hosted version of WordPress is a little too limited for your needs, try purchasing a web space and domain and creating a custom CMS installation. You can find all the information you may need in my tutorials on how to install WordPress and how to create a site with WordPress.
Create a personal blog with Blogger
The second most popular blogging platform is Blogger, which is managed by Google and is available for free. Among its main strengths there is the possibility of monetizing thanks to Google Adsense advertising banners. Furthermore, the platform is easy to use and allows you to customize the blog by modifying the code of one of the many themes available for use. If you do not want to spend money to buy a custom domain (it is not possible to install the CMS freely on an external space), you must submit to the use of a third level domain, which is composed as follows: sitename.blogspot.com.
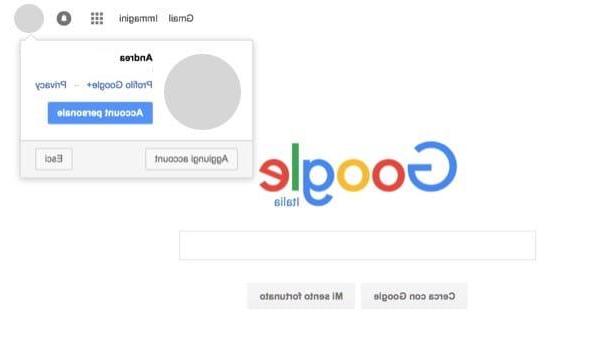
All clear? Well, then let's proceed. If you intend to open a personal blog with Blogger, connect to the Blogger home page and click on the button Create your blog. You are now asked to choose the Google account with which you want to open the new blog, showing you on the page Scegli an account the email addresses registered on your computer. I share my guide on how to create a Google account if you encounter difficulties in managing this phase. If you want to link another account, select the item Use an altro account and enter the e-mail address and password associated with the account you want to use, then click on the button NEXT.
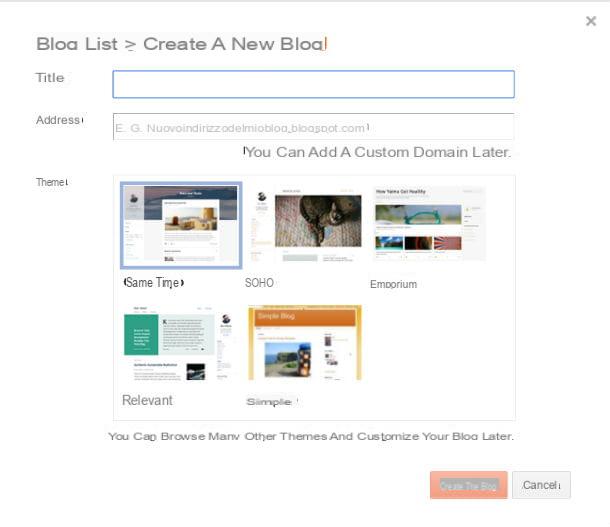
In the new page that opens, type the name you have chosen for your blog in the field Title, then the address of the subdomain (which has as its main reference .blogspot.com) in the field Address. To the item Subject, choose a graphic theme among those proposed and click on the orange button Create the blog.
You have just created your personal blog on Blogger! Once completed, Google suggests you associate a real domain with your blog, asking you to type the domain name in the window Google Domains Beta. The prices for a domain to be connected to Blogger range from 12 to 38 euros. If you don't want to spend money, stay with the third level domain by refusing the request.
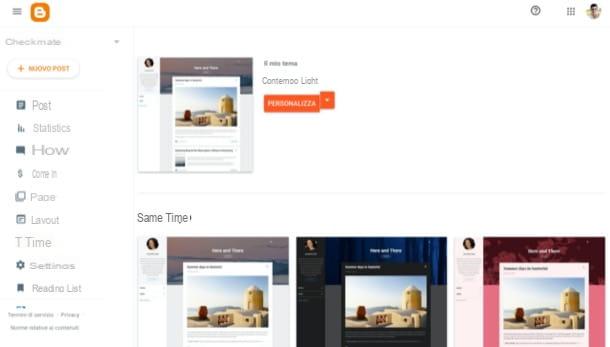
By logging into your Blogger account dashboard, you can customize your blog in a variety of ways. For example, selecting the item layout you have the possibility to change the order of each element on the page, while clicking on the item Subject you can choose a graphic theme to use for the site. Once you have made your choice, click on theme pane you prefer and save the changes by clicking on the button Apply to blog.
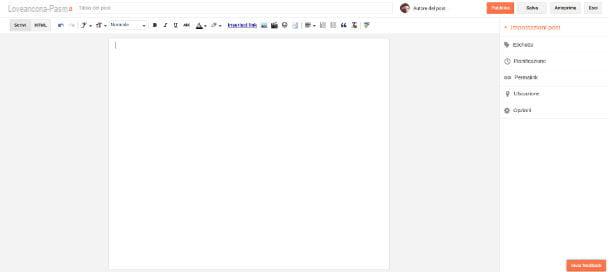
To start writing, click on the button Post, then click the orange rectangle New Post. In the new page that opens, start getting familiar with the text editor that you will use from here on to write on Blogger: at the top is the field Title, which you have to fill in by typing the title of the post. On the white sheet you must instead write your article, embellishing it perhaps with one or more photos (to add images, click on thecolor postcard icon).
If you don't have time to finish the article, click on the button Save and then on the button Logout, so you have the draft saved when you go back to writing. To publish the post, click the button instead Public. For more information on how Blogger works, I invite you to read my tutorial on how to start a blog with Blogger.
Create a personal blog with Medium
If you decide to start your own blog with Medium, know that you are embracing a very different philosophy than the traditional one of WordPress and Blogger. On the one hand you keep the simplicity of use, on the other you lose any kind of customization of your space. Another cons of Medium is the inability to monetize, both in the free and in the full version. Among the pros of the platform, which was founded by one of the co-founders of Twitter, there is the possibility of getting noticed in a thick community, made up of intellectuals and experts from various sectors, thus increasing the possibility of dealing with others and have feedback from a professional point of view.
To create a blog on Medium, first of all connect to the official website of the service and click on the button Get started positioned at the top right. On the page that opens, named Join Medium, you can choose whether to register with Google by selecting the item Sign up with Google, or with Facebook, by clicking on the rectangle with the inscription Sign up with Facebook.
After you have made your choice, the welcome screen appears Welcome to Medium. Now click on the black button Dive in and select the themes of your interest, by clicking on the rectangle of the area you prefer. Once this is done, click on the green button Start reading at the top right and wait for the next upload.
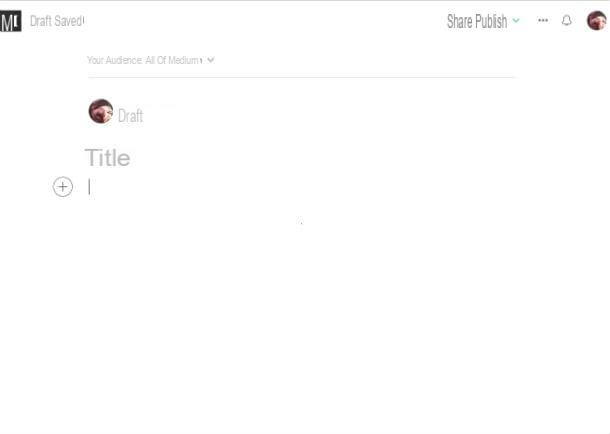
You now have an account on the Medium platform, with which you can write your personal stories, then share them with the Medium audience. To write a post, click on your icon profile picture and click on your voice New Story.
The text editor has a minimal and at the same time modern style. In the field Title you have to enter the title of the article while clicking on the button + you can add an image, a video or an embed code to the text, with which you have the option to insert a post from Facebook or Twitter. To publish the post, select the entry Publish and click on the button Publish. By selecting the item ShareInstead, you can copy the link of the article and then share it on your social profiles.
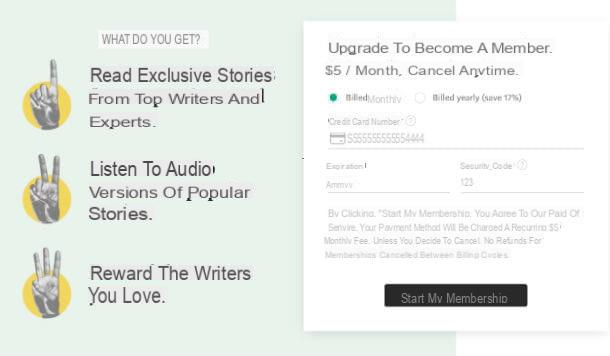
If the original idea of Medium, capable of inventing a blogging platform while maintaining an organization similar to that of a newspaper, has won you over, you can decide to become one of them. official member paying 5 dollars a month, thus having access to the most interesting posts and listening to the audio versions of the most read articles.
To become an official member of Medium, you need to fill in the fields Credit card number, expiration e Security card by entering your credit card details and finally clicking on the black button Start my membership.
Create a personal blog with Tumblr
If you are a lover of social networks, it may be the right choice for you to open a personal blog using the microblogging platform Tumblr, which differs from all the others for its close connection with the social world, one of its main "pros", together with its ease of use. If, on the other hand, you like to write, creating in-depth posts, Tumblr is most likely not for you, as it prefers brevity over prolixity. Also, at the moment there is no possibility to put advertising in your articles, and therefore to make money.
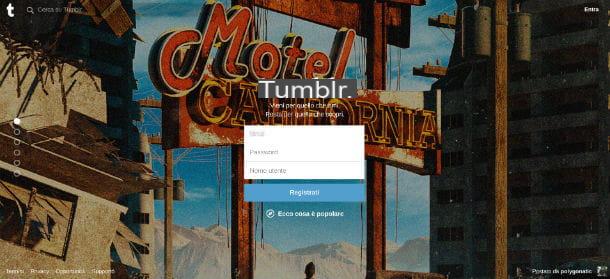
So, what do you think? Have you chosen to open a personal blog on Tumblr? Well, the first thing you need to do is connect to the official page of the service, where you find the buttons Start e Log in. If you already have a Tumblr account, click the button Log in, otherwise click on the button Start. On the next page, fill in the fields Email, Password e Username, then click on the blue button Subscribe. Then answer the question How old are you?, entering the number of your years, and click on the square next to the item I have read, understood and accepted the Tumblr Terms of Service. Then click the buttons NEXT e Done.
In the new screen that appears, you need to select i themes that you are usually interested in and for which you would like to receive the latest news. Tumblr asks you to choose a minimum of 5 topics to continue forward, by clicking on the box related to each topic. Once your selection is complete, click on the button Next, thus making your first access to the main Tumblr screen, where from here on you can embellish your blog with new stories and photos, but not only, because you can also create a post starting from a link, a quote or video.
Before proceeding, remember to verify your newly created account on Tumblr by clicking on verification link sent by Tumblr via email to your email address. When you are ready to write, simply click on thepencil icon over blue background, located at the top right. You are always the one who decides what type of post to create by selecting the icon of the item you want: Text, Gallery, Quote, Link, Chat, Audio e Video.
For example, selecting the icon Aa (Text), the editor screen with fields appears Title e Your text here, in addition to the button Mail, which you need to click if you want to publish the post. Compared to the other text editors seen above, Tumblr's is much more limited.
If you are interested in both the microblogging platform and the Tumblr social network and want to learn more about how it works, read my guides on how Tumblr works and how to become famous on Tumblr.
How to create a personal blog