Create an Apple ID from your computer

If you want to find out how to create an Apple ID, the first step you need to take is to connect to this page of the Apple website. Once this is done, you will immediately find yourself catapulted into the page with the (long) registration form for the service that you will have to fill in its entirety.
Then type your e-mail address in the field [email protected] (it will become your username to access Apple services) and the password you want to use for your account in the fields Password e Confirm password. The keyword must be eight or more characters long and must contain at least one capital letter and one number (ex. Password that's no good Password1 all right).
Then fill in the fields name, last name e date of birth by entering your personal details, then proceed to fill in the other sections of the form by choosing the three security questions and their answers which will allow you to recover your Apple ID password in case of loss.
Now you have to select your country from the appropriate menu located at the bottom and you must specify whether you intend to receive communications from Apple relating to products, services, software updates and so on and if you want to receive information relating to Apple Music, new apps and still more by leaving or removing the check mark from the relevant boxes located at the bottom.
Finally, enter the captcha security code in the text field at the bottom of the page and click the link Continue.
At this point, the most is done but to definitively activate your Apple account you must open your e-mail box (the one you indicated as Apple ID in the registration form), open the message received from Apple, take note of the code contained within it, type it in the appropriate spaces attached to the box Verify the email address to create your new Apple ID that is shown to you in browsers and click on the entry Verifica located at the bottom right. Mission accomplished!
If for any reason the Apple site that I have indicated above should not be reachable from your computer, you can try to create an Apple ID via iTunes, the popular media player from Apple for Windows and macOS. After installing the program (on Windows, on macOS it is already included "as standard"), you must select the option to access theiTunes Store from the left sidebar and click on the item for creating a new Apple ID.
If you run into any difficulties, you can find step-by-step instructions on how to complete your subscription in my guides on how to use iTunes and how to sign up for iTunes. In short, you are spoiled for choice and, in any case, it's child's play!
Create an Apple ID from iPhone, iPad and iPod Touch

If you have an iPhone, iPad, or iPod Touch, you can also create an Apple ID during the initial device setup process or at a later time.
In the first case, all you have to do is choose the option to configure the device as a new iPhone, iPad or iPod and follow the guided procedure that is proposed to you automatically when you turn on the device or after resetting it. . Then select your language, your country of residence, establish an Internet connection via Wi-Fi and choose whether or not to activate the location services.
Then choose to configure the terminal as a new device, select the item Create a free Apple ID from the screen that opens and provide all the information that is requested of you.
You must first indicate your date of birth and then you must press the button Following located at the top right and type your name and surname. Once these steps have also been carried out, press on Following, metti il segno di spunta accanto alla voce Create a free iCloud email address and go ahead with the account setup procedure by typing the username (and therefore the email address) you want to use for your Apple ID.
After filling out the form, click on Following e Crea, type the Password you want to use to log into your account and still go ahead. At this point, you need to set up three security questions and possibly also a secondary email address so that you can retrieve the access data to your Apple ID in case of loss.
To conclude, choose whether to receive Apple's newsletters by activating or deactivating the appropriate lever, press on Accept to accept the terms of use for iOS, choose whether to activate iCloud e Find my iPhone / iPad, set up a security PIN for your device and you'll have your new Apple ID ready to use. Since it wasn't as complicated as you thought?
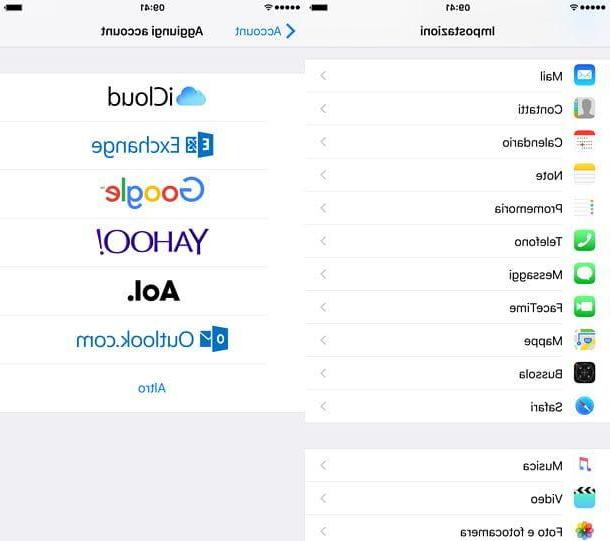
Alternatively, if the terminal has already been configured with another account or is not yet associated with any Apple ID, you must go to the section Settings of iOS (the icon of thegear present on the home screen) and select the item relating toiCloud account present in the screen that opens.
At this point, if there is already an Apple ID configured on the device and you want to replace it with another, press the button Logout which is at the bottom of the menu and confirms the removal of the address by typing his password (if the terminal was given to you by a friend or relative, you must obviously ask him which password to enter). Then, select the item to create a new Apple ID and fill out all the forms that are proposed to you.
From this moment on, the procedure for creating an Apple ID on a device already in use is practically the same as that seen together in the previous lines. Therefore, stick to the simple wizard that is shown to you on the screen and provide all the data that is requested, after which the account will be automatically activated on your device.
Add and / or change to Apple ID
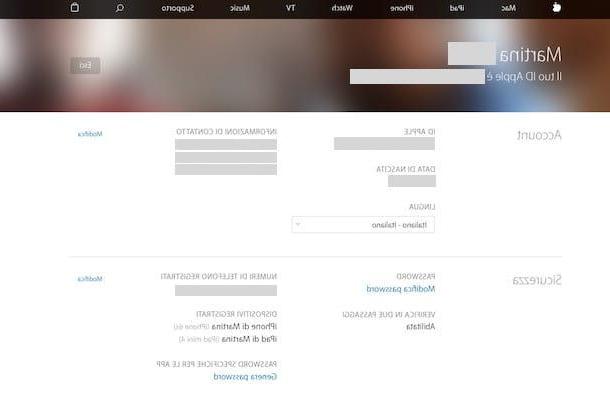
After creating an Apple ID you may need to add and / or change one or more information related to your account. Apple allows you to add and / or change the email address, password, phone number, personal data and the list of devices associated with the ID.
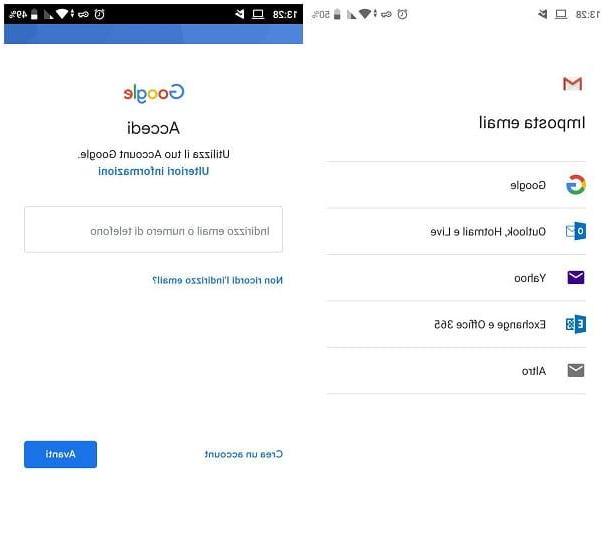
To change the data of your current Apple ID, connected to the Apple website (from a computer, smartphone or tablet), log in to your account and choose the information to be changed.
- In the box Account you can change your email address, name, date of birth, preferred language and contact information (phone numbers and email addresses).
- In the box Safety you can change the password of the account, the phone numbers associated with it, you can activate two-factor authentication and you can choose the email addresses to use for notifications.
- In the box devices you can manage the Apple devices linked to your account.
- In the box Payment and shipping you can change the payment method associated with your Apple ID and billing address.
To change the items included in each box, click the button Modification which is on the right, then make the desired changes and press the button end per salvare i Cambiomenti.
As for the e-mail addresses, you can either change the primary one (except for all those of the @ icloud.com type created in conjunction with the Apple ID) or add secondary ones. Each time you add a new email address to your account, to validate it, you need to click on the verification link that is sent to you by Apple.
How to create an Apple ID