How to create a static overlay

Un overlay is a decorative graphic object that is superimposed on another dynamic or static object. Typically, the underlying object is the most relevant object, such as the webcam frame. The overlay assumes the purpose of decorating and highlighting the video recording.
In short, you can compare the overlay to the frame of a painting or the superimposed description of an image. The more special the overlay, the more prominent its content (in this case, your live) will have. After this little introduction, we can proceed! Follow the next chapters to learn how to create a static overlay.
How to create an overlay with Photoshop
Here you are! Turn on the creativity engine and read carefully the information I will give you in this chapter to know how to create an overlay with Photoshop, the photo editing software par excellence, produced by Adobe.
If you are not comfortable with Adobe Photoshop or you don't know it at all, let me recommend a quick read to my guide on how to download Photoshop for free and my general Photoshop tutorial. In this way you can get an idea of the potential of the program and the costs to be incurred (monthly or annual license, after 7 days of free trial) and evaluate if it is what is right for you, otherwise you can skip to the next chapter of the tutorial. .
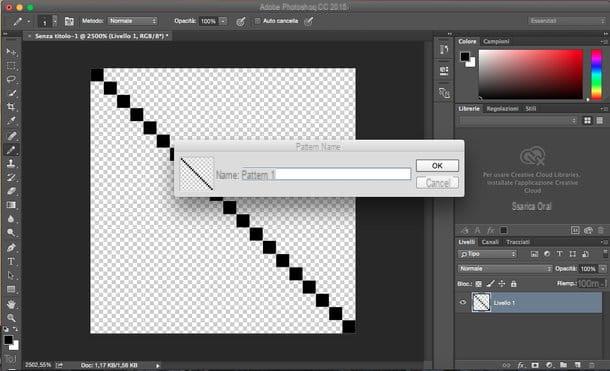
Ready? let's begin! First, start up Photoshop and go to the menu File> New (top left) to create a new project. In the window that just opened, enter a title at will and set as project dimensions: 1920 × 1080 px (Width x Height, in pixel). Finally confirm by clicking on the blue button Crea.
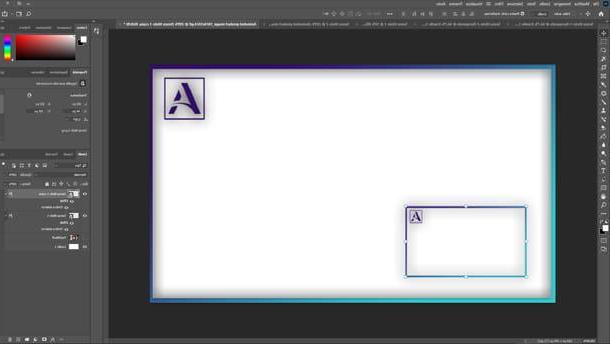
Now, click on the Rectangle tool present in the toolbar located on the left, then select the item Filling and select the fill empty, to give transparency to the body of the rectangle. Then click on the entry Track and choose a color at will from the color palette just to the right; insert 20px in the field of Thickness of the trace. Well, now click in the center of the sheet. In the small window that has just opened, enter the dimensions 1900 × 1060 px (Width x Height in pixel) and press the button Submit on the keyboard.
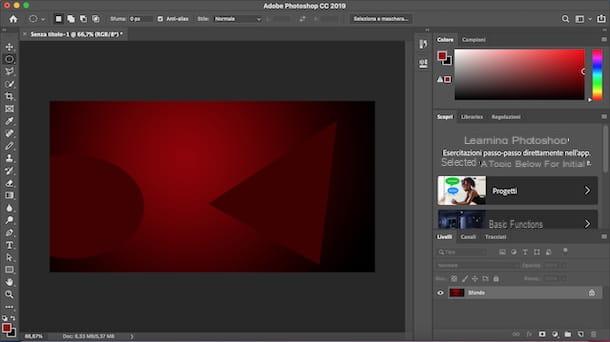
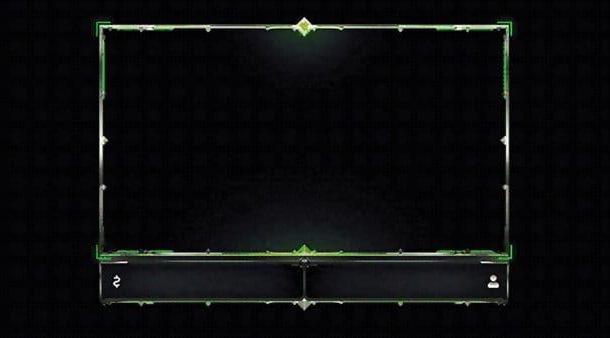
Using the Move tool, now position the rectangle until it adheres perfectly to the edges of the sheet. Then right-click on the level of the rectangle and choose the item Blending options from the context menu. In the left column, click on the entry Gradient overlay and then, in the center of the window, click on the box Shade. You can choose the combinations of shades you prefer, then confirm the one you want and press the button OK. Still from the left column, click on the item Drop shadow, then in the center set the following parameters.
- Opacity: 40
- Distance: 0
- Extension: 0
- Size: 25
You can customize them to your liking if you wish. Finally, click on the button OK.
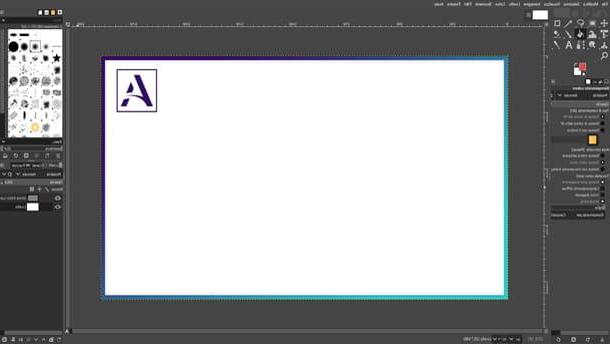
If you have your own logo in . PNG, you can import it from the menu File> Place Embedded (top left) and place it in a corner of the project. You decide the size and location, based on where it looks prettiest, but make sure it doesn't take up too much space (otherwise you risk invading the scene in the video below).
We are almost there. Now you need to hide the layer Backgroundby clicking on the icon eye placed on the left side of the level in question; then go to the menu File> Save with nome and save your overlay by setting the extension to . PNG in the box Save eat. Perfect, you've created your first static overlay in Photoshop!
How to create an overlay without Photoshop
There are many free software to edit and create images. In this chapter I would like to explain to you how to create an overlay without Photosohop using the free and open source software named GIMP, which is the most valid free alternative to Photoshop and is available for both Windows and macOS and Linux. To know how to get it and learn the basics of drawing, I suggest you read my complete guide on how to use GIMP, so that you have a clear idea of the program's potential and understand if it can be for you.
To get started, start therefore GIMP and go to the menu File> new (top) to create a new image. In the window that just opened for you, set the size of 1920 × 1080 px (Width x Height in pixel), then click the button OK. In the tab of the levels, on the right, click the first icon in the lower left to create a new level.
Now, through it Rectangular selection tool, create a simple form in the sheet, then you can refine it by typing the value 0 in the two fields of the Location and typing 1920 and 1080 in the fields of Dimension. Now you need to give her a side dish, so go to the menu Select> To Path (top) and from the card Paths, on the right, right-click on the single existing level and choose the item Outline path give the menu answer.
We are almost there. From the toolbar on the left, choose it Fuzzy selection tool (or magic wand) and click on the border of the frame you just created, to select its fill. Now right click on the tool Color fill and choose the tool Gradient. You can select the two colors of the gradient from thecolors icon, always located in the toolbar on the left side of the program. Then drag the mouse cursor across the sheet, while holding down the left click, to create a colored gradient on the frame. You can try and try again until you find the shade you like the most.
To give it an inner shadow effect, go to the menu Filters> Lights and Shadows> Cast Shadow (Traditional) (top), set the value 0 on X and Y axis, then expand the Blur ray a 25px and accentuates theOpacity bringing it to the 100%. To confirm the shadow settings, click the button OK. All you have to do is click on the menu Image> Set Surface to Selection, to properly resize the overlay.
If you want to insert an image or logo to decorate your overlay, just click on the menu File> Open as Layers (up). Then you can place the image wherever you like and resize it with it Move tool. You can add colored text with the Testo instrument to enter, for example, your streamer nickname. Before saving the overlay, you need to hide the background by clicking on the icon eye placed on the left of the Background layer.
Finally, click on the menu File> Export As (top) to choose where to save the overlay. Choose the extension . PNG from the menu Select file type (By extension) and by clicking on Export, you will get your streaming overlay.
How to create an animated overlay
Some streaming platforms support animated overlays: they can be small videos or images made up of multiple frames, such as animated GIF notes. If creating a static overlay was fun, well, then the next few chapters are going to be a blast. If you want to know how to create an animated overlay, find all the useful information to do it below.
How to create an animated overlay with Photoshop
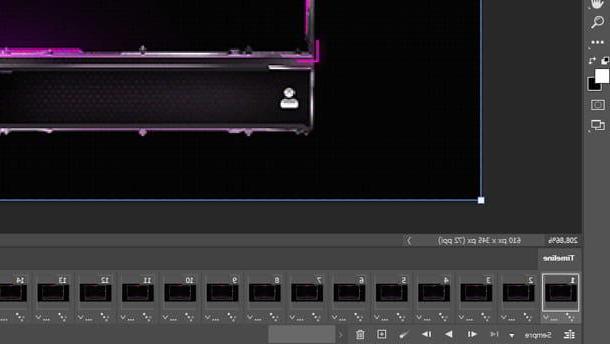
Creating an animated overlay in Photoshop is pretty simple. To get started you need to create a new project the size you want, then click on the menu Window> Timeline (top) and press the button Create video timeline which you will find in the lower part of Photoshop.
Once this is done, you will see an icon consisting of three small boxes in the lower left part of the window: click on it, to convert the timeline to frame animation. Below the first frame, you can decide how much time should pass before playing the next frame. I suggest you set a waiting time equal to 0, Namely No delays.
Now, you can draw in your first one frame (your first scene). I suggest you start with something simple, like a colored frame (you can follow the previous chapter for creating a frame). When you're done drawing your first scene, click on the symbol + at the bottom of the timeline to add a new frame.
Then also add a new level, by clicking on the button + located under the layers tab. In the new level, draw something different respect the first scene, for example you could replicate the frame of the first level but simply change them color. Once you have determined the changes in the second level, click on the first frame and, with it selected, Hide the second level from the levels tab. Click the button play (below the timeline) to test your animation.
Did you get the trick? Exactly! At each new frame, you have to create a new layer which you will then have to hide in the previous frames. If you need to do a gradual animation, just select two different frames at the same time and click the button Tween between frames, located just below the timeline. This will generate agradual animation between the first selected frame and the second.
If you are happy with the animation, you can export it by clicking on the menu File> Export> Save for Web (earlier version), top left. In the export window that has just opened, the default parameters are always optimal, but make sure you have selected the options Transparency e Cycle options: Always. After doing this, you can click on the button Save to get your animated overlay (you can find an example of the final result here).
How to create an animated overlay without Photoshop
Creating an animated overlay is also very simple with GIMP, indeed even simpler than Photoshop. So if you are looking for how to create an animated overlay without Photoshop, you have found the right program for you.
In the software GIMP, the animation timeline is the same as the layers tab. Exactly! The layers become frames and the playback order starts from the bottom layer up to the top layer. The procedure to follow, therefore, is really simple. Just do a little practice and you will immediately get the autonomy you need!
First of all, you need to draw the first state of your overlay in the first level: to start, I suggest you a colored frame (you can follow the previous chapter for creating a frame), after that you need to create a new level, but I suggest you click the button Duplicate Layer, under the layers tab, in order to get an exact copy of the first layer.
Now you can change the color or shape of the second layer to your liking, so that it differs from the first. You can create as many levels as you want and progressively modify some elements to your liking: remember that the playback order of the levels will be from lowest to highest. When you have prepared all the levels for animation, Hide the level of background, in order to have the transparency of the overlay.
At this point, just go to the menu Filters> Animation> Optimize (for Gif) (up). If you want, you can see a preview of the animation from the menu Filters> Animation> Execution. If you are happy with the animation, you just have to save it, then click in the menu File> Export As and, in the export window, choose the destination where you want to export the overlay and set the extension . Gif in the box Select file type. Infine, click the button Export.
In the window that just popped up, make sure you have the boxes selected As an animation e Loop, in order to have a continuous and repeated animation. Great: now click on the button Export to get your animated overlay with .GIF extension. Mission accomplished!
How to create an overlay for Twitch
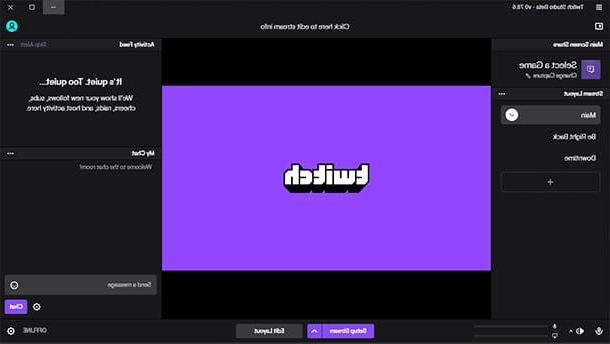
With the well-known platform of Twitch Studio static overlays can be applied in minutes. Unfortunately, it is not possible to load animated overlays as the platform translates them as static images. However, it is possible to upload small video clips as an alternative to animations. But let's not go further, I'll explain how to create an overlay for Twitch in a few simple steps. Find all the details in this chapter of the guide.
To get started, draw your favorite overlay following the directions I gave you earlier to create a static overlay. When you got the file in . PNG, start the platform Twitch Studio. At the bottom of the main screen, then click the button Edit scene.
At this point, click on your button + placed in the layers tab located at the top left and then click on the button Image. You will see a selection box in the center of the screen: you can move it wherever you want and give it the size you prefer; later, on the left column, you will have to click on the button Shop by Department and choose an image to upload inside. When you have located your overlay in . PNG, click here apri.
The overlay you have chosen will automatically adjust to the size of the selection box, but you can post it, enlarge it e make it smaller at will, by clicking on a corner and dragging it in the direction you want. When you're done customizing the scene, click the button Save located at the bottom of the screen.
Done! Now you can experiment with creating new overlays and uploading them to Twitch Studio to customize your live stream in a unique and creative way!
How to create an overlay for StreamYard
The Web platform Streamyard allows the insertion of overlays only in paid plans. Unfortunately, the free live stream account does not allow you to make major changes to your channel. However, the basic plan (which is the cheapest) is enough to access many features like this, including that of being able to load animated overlays.
Find all the details on the economic plans on the official StreamYard page. If you are using this platform with the Basic plan and you are wondering how to create an overlay for StreamYard, you will be pleased to know that you can find all the information necessary for this purpose in this section of the tutorial.
So to start, draw an overlay following the directions on how to create a static overlay or how to create an animated overlay that I gave you earlier. After exporting your static or animated overlay, log into your Streamyard through the browser you usually use to browse online.
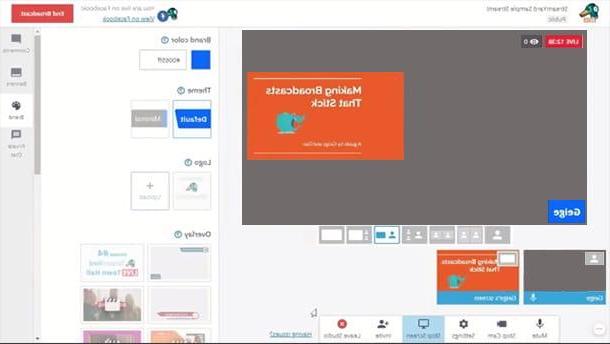
Now, if you have a stored Broadcast, click on the option Enter Broadcast Studio; if you don't have a Broadcast, click on the option Create Broadcast and give your new channel a title. In the Broadcast Studio screen, you must then click on the icon Brand (that form of color palette) located in the right column. At this point, all you have to do is click on the button + located under the heading Overlay, to load your static overlay with extension . PNG or an animated overlay with the extension . Gif.
You will notice that StreamYard will load the overlay in full size, therefore full screen. Unfortunately, customization of the size or position of the overlay is not allowed.
How to create an overlay for OBS
If you are using OBS Studio, famous software for recording and making the most famous live videos in the world (which I told you about here), you will surely have wanted to customize the appearance of your channel. Well, if you've come here to understand how to create an overlay for OBS, I'll settle you immediately.
To get started, draw an overlay by following the directions on how to create a static overlay or how to create an animated overlay I gave you earlier (that's right! OBS also supports animated overlays with the extension . Gif).
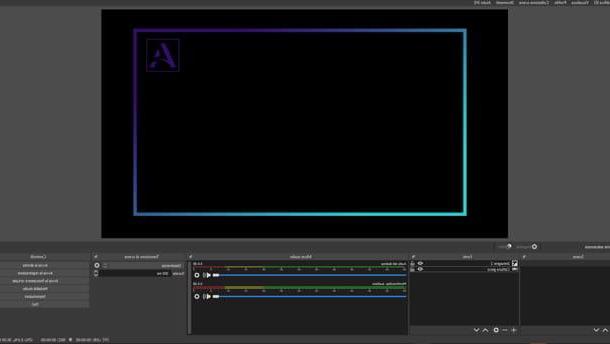
After creating your overlay, launch the software OBS Studio, right click in the center of the scene and go to the menu Add> Image, up. In the window that has just opened, choose the item Create a new source and by clicking on the button OK. Then click on the button Shop by Department to search and select your overlay and introduce it into the scene.
If you want to upload a animated overlay, you need to add a Multimedia source instead of an image: in the confirmation window, you can click the button Shop by Department to search and select animated overlay with extension . Gif. Check that the option Repeat, placed just below the path of the file, is selected, so as to allow the animation to repeat itself continuously without stopping; otherwise, the media file will run only one animation loop then it will appear as a static image.
Once you have chosen the static or animated overlay to include in the OBS scene, you can move it freely by clicking on it and dragging it in any direction. If you pause the mouse cursor on the corners of the box, however, you can resize it as you wish.
It may happen that after loading the overlay you cannot see any new object inserted, as if it were hidden by the background or video recording. Don't worry, take a look at the card References, located at the bottom. You will notice that your overlay (image or media source) has ended up below the Video cattura device or under other image layers: all you have to do is to drag the level of the overlay in one position top to the level of video capture and that's it.
How to create an overlay