How to create graphics for Instagram
Administering a social page is not as simple as it seems, there are really many factors to take into consideration, which if underestimated, would make your profile invisible to the rest of the users of the platform, such as the creation of graphics, for one.
Instagram, for example, it is one of the most used social networks in the world, and therefore it is vital to know how to correctly reach your target, that is, your potential followers.
The first impression is very important, because within a couple of seconds a graphic can approach a user, if done well, or move him away, if done wrong, without him even paying attention to what is the content of the profile visited. There are some fundamental points that must be taken into consideration to give a good "glance": let me illustrate them.
- Wallpaper Background image - in case you are trying to show your brand or to make your followers understand which product you want to market, you must take into account some characteristics of the image. First of all you will have to respect the standards of the platform: in the case of Instagram, the format of the images is equivalent to a square in the case of the profile photo and a vertical rectangle, for the stories. As for profile photos, I recommend using a format equal to 1080 1080 pixels x, for stories you can use a format equal to 1080 1920 pixels x. The image used can be either a photo, which conveys the message you want to launch, and which must be clear and understandable at first glance, or one or a set of colors, correctly matched, on which you will overlay a text or images.
- Lettering and images - make sure that the images inserted in the post match each other, therefore avoid using a low-contrast writing compared to the background, otherwise the reading will be difficult and will drive away a possible new follower. If you have a yellow background, for example, avoid any similar or clashing colors, such as orange or blue. Choose something that contrasts but is at the same time pleasing to the eye, such as black or red writing.
- Style - try to create your own style and keep it within all your posts. What do I mean by this? Well, what sets you apart from the rest of the people can be a set of colors, a specific font, or a setting in your post grid. Try to superimpose colors that go well together, perhaps with an Internet search, try to understand which are the combinations that inspire the feelings you want to convey to your followers, or choose a unique font that can represent your channel in a unique way. Always keep in mind that your posts will go around the world, it is therefore very important that your brand is recognizable at first sight.
- Balance of the elements - remember that your image must pass a message, try not to fill it, therefore, with many discordant elements that would confuse the user, rather try to enhance a single element. An important criterion to respect is the rule of thirds, a principle according to which, dividing the image into a grid - even imaginary - 3 x 3, your subject must be positioned in the center of it, or in the presence of more elements they must be located at the outermost intersection points.
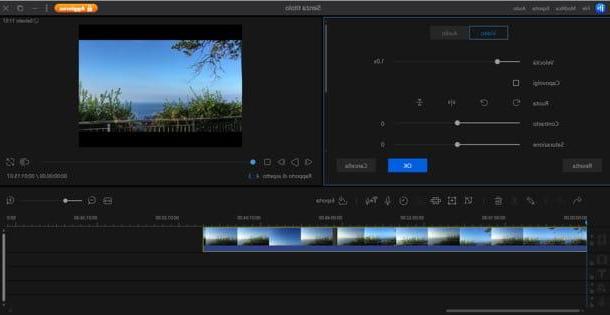
By following these criteria, I am sure you will be able to reach a very large number of people. Let me give you a practical example. In my case, I used the smartphone application Adobe Spark, available both for Android (even on alternative stores, for devices without Google services) and for iOS, I highly recommend it.
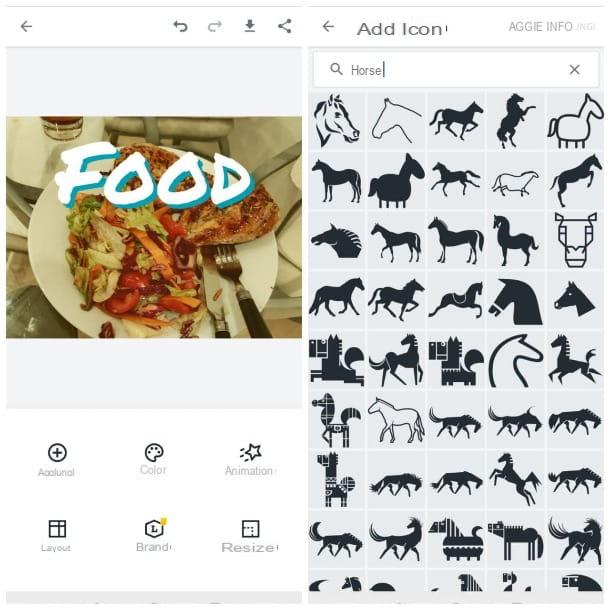
First of all I created a solid color for the background by pressing the icon of + and selecting the tab Solid color, on which I then inserted some icon (already present in the app). In this case I have chosen colors that go well with each other, except in the case of the writing, for which I chose a dark and low-contrast theme on a black background just to make you understand the difference. I recommend that you take a look at this site, thanks to which you can get all the color combinations by entering only one.
Adobe Spark also allows you to select from various format settings suitable for the platform you want, such as Instagram, Facebook e YouTube, so that you don't have to crop and edit images after editing them. I highly recommend this app, also for its ease of use and for the various additional features present in it, such as the ability to animate text, delete backgrounds from images and use color palettes proposed by the app itself. For further information related to the functioning of Adobe Spark, you can read this guide of mine.
How to create Twitch graphics
If you are a streamer, you surely know how important it is to "retain" your listeners, as a greater number of viewer (i.e. who is watching you at any given time) represents greater growth. To do this, it is vitally important to be able to catch the eye of those who, by chance, pass on your channel when you are inactive, so as to give a general idea of what content is treated on your profile.
In general, the indications I gave in the previous chapter are also applicable in this context, however there are some things that differ from Instagram. Let's start with the format of the images: Twitch uses a standard of 1920 480 pixels x, while for the video player 1920 1080 pixels x. Therefore try to respect this formatting to avoid having “out of phase” images or writings.
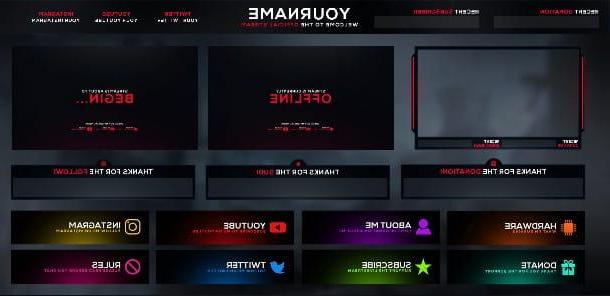
As for the content of the images, starting from the banner, I would advise you to choose a color that represents you and, following the same contrast rules that I explained before, add elements such as the name of your channel and, if you wish, arepresentative image of the topics covered in your profile. If, for example, the main theme of your channel is a game (eg League of Legends or Fortnite), perhaps choose the image of a character you use, which however does not clash with the color of the writing adjacent to it.
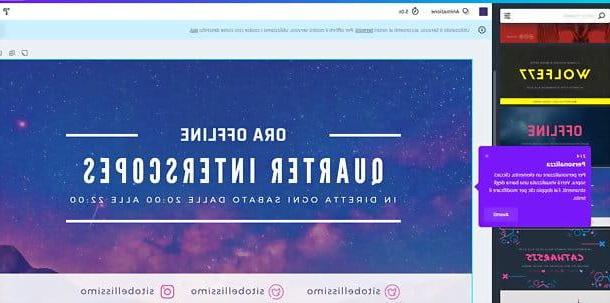
The image of the video player, on the other hand, will be shown every time you are offline, therefore I would recommend that you use something that contains all the key information about your next live shows, such as dates and times, always taking into account the criteria I listed above.
To create a graphic to use during live shows, however, keep in mind which interface you tend to show during streams (if you use a video camera, for example, it would be a good idea to create a frame to contain it, so as to make it more pleasant. visually the gap between the two videos). If you use your channel only to talk and direct, you could create a frame and dedicated spaces in which to insert the chat and the list of any donations. If, on the other hand, video games are the main theme in your channel, it might be a good idea to cover the areas containing any skills or objects with custom outlines.
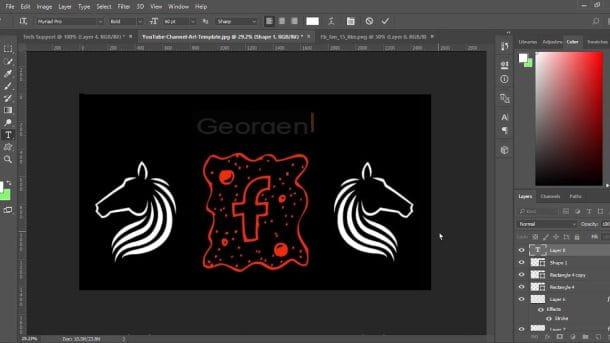
In this case, the programs that I recommend for this operation are the most popular ones in the field of photo editing on PC: Photoshop, which I don't think needs an introduction, e GIMP, the best free and open source alternative to Adobe software. Don't worry if you don't know how to use them, I've also written tutorials on how to use Photoshop and GIMP.
Basically, you just need to take a screenshot of the screen you normally use for your live broadcasts and transport it to one of the two programs I mentioned. Then you just have to indulge yourself by adding the various areas that you want to modify within the image (you can also find them ready on the Internet), choose the size you prefer and, once finished, delete the background and export the image you made on the software you use for streaming, it's really very simple.
To learn more about the subject, I warmly invite you to consult my tutorial in which I explain how to create highly effective overlays.
How to create YouTube graphics
Are you an aspiring youtuber and want to start creating your first graphics for the channel? No problem, I'll explain everything you need to know on the subject right away. Let's say that on YouTube, as in the case of Instagram, the graphics used for your profile and for the thumbnail (ie the previews of the videos, which however can only be customized by having a profile verified on the platform) are a "window" that reflects the content of the channel, and that make the difference for a user, often convincing or dissuading him from watching the content or if switch to someone else's videos.
The advice I gave in the previous chapters also applies in this case. Keep in mind, therefore, that a original font, pleasant colors and a set of effective images can help you climb to the heights of YouTube. For your channel cover, the format to use is 2560 × 1440 pixels, even if thesafe area that will be displayed on each device is 1546 423 pixels x, so try to fit all the main information in here. As for the thumbnails, the resolution to be respected is 1280 720 pixels x, with a minimum width of 640 pixels.
If you have one verified profile and consequently you can customize the previews of your videos, my advice is to use captivating titles and with colors that stand out, therefore avoid images with dull and faded colors, instead focus on something bright and cheerful, which however makes you understand to the viewer what content they will find in your video.
For the creation of the YouTube graphics, I would like to recommend the smartphone app again Adobe Spark, which already contains templates for both the video previews and the channel. In fact, you just need to select the YouTube preset and add the text and images you want to see displayed on the cover of your channel.
As for video previews, I think a more professional touch can help reach more people, so I recommend using classic PC photo editing software, such as Photoshop o GIMP: in this way you will be able to create much better works.
How to create t-shirt graphics
Create the graphics for a t-shirt it's really very simple: give me a few minutes and everything will be clear to you. The first thing to do is to understand what is the goal you want to achieve with the graphics you are about to create; are you going to resell it or do you just want to use it for a nice shirt to wear when you go out with friends? Once you have found the answer to this question, you can proceed with the practical part.
If it is a work to be used professionally and for resale, you will certainly need a tool to prepare the right graphics, such as Adobe Illustrator, which I explained how to use in detail in a special guide. Or maybe Inkscape, its most interesting free and open source alternative.
Try to follow the instructions I gave in the paragraph on how to create a graphic for Instagram, then choosing a combination of colors that can bind effectively, therefore avoid inserting dark symbols or writings on black backgrounds, for example, and try to keep a good level of contrast between the various elements.
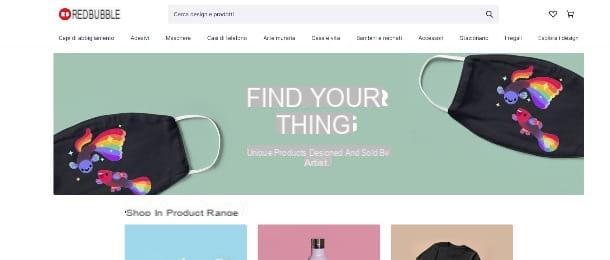
Once you have defined the image you want to represent on the t-shirt, all you have to do is report it on your product; in this regard, there are numerous sites that allow you to both print the image and sell it, such as Spreadshirt or RedBubble, many of which will allow you to choose directly from the platform which images to upload and where to place them. In the case of Spreadshirt, for example, it is even possible to create graphics directly from the platform, inserting and displaying the elements you prefer in real time.
Other solutions to create graphics
The solutions I have mentioned to you so far are not the only ones available, just as the platforms I have dealt with are not the only ones that exist. There are also other options you can consider to create your own graphics, some of them directly online and available for free: here are some of the best.
- Photopea - it is a free online tool very similar to Photoshop and which mimics its functionality in an almost identical way. If you do not have the possibility to use the Adobe program, this is definitely the solution for you, it is really very easy to use and allows you to export the files created in different formats, including .JPG, .PNG and .PSD. More info here.
- canva - I highly recommend the use of this free online tool for the creation of your Twitch banners, however within the platform there are several functions to create graphics suitable for other sites as well. More info here.
- placeit - if you are planning to create a logo to add to your YouTube, Twitch or other platform graphics, this site is definitely the one for you. In a couple of minutes, thanks to the presets on the site, you will be able to create what is right for you.
I have also talked extensively about additional graphics programs in another guide of mine, if you want to know more or if you are not satisfied with the programs listed above, it really deserves a read.
How to create graphics