Create iCloud account from computer
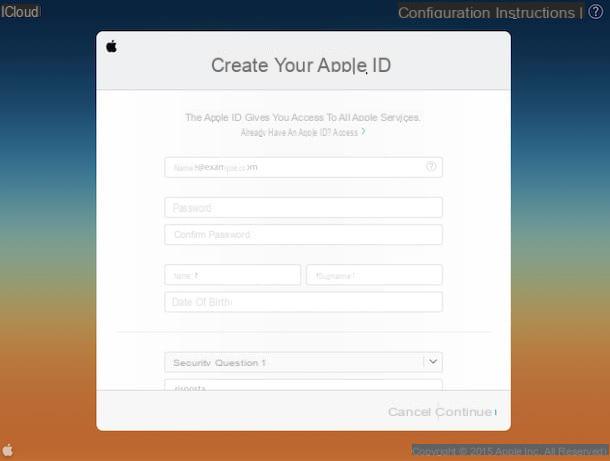
If you want to create iCloud accounts from your computer, the first step you need to take is to connect to the iCloud.com website and click on the item Create yours now which is at the bottom of the page that opens.
At this point, fill out the form that is proposed to you by entering all your personal data (name, surname and date of birth), the email address and the password you want to use to access the account (to be typed in two fields different) and set three security questions through the appropriate drop-down menus. Security questions are extremely important. In fact, they are those that, in case of loss of the password, will allow you to regain access to the account and / or will allow you to change the access key.
To conclude, choose whether to receive press releases and offers from Apple by keeping or removing, depending on your needs and preferences, the check mark from the appropriate items, copy the security code in the appropriate text field and press on the button Continue which is located at the bottom right.
Now you need to verify your identity. To do this, access the e-mail address referring to the previously entered email address, open the message you received from Apple and type the code you find in the latter on the iCloud site. Then press the button Verifica and you can start using your Apple ID.
At this point you can finally feel satisfied ... or almost! The procedure we have just seen together has in fact allowed you to create an Apple ID to be used on Mac, iPhone, iPad or other devices produced by the Cupertino company and therefore represents only the preliminary phase to be able to create iCloud accounts. You will therefore have to perform further steps in order to obtain an @ icloud.com email address. Either way, don't worry, it's child's play.
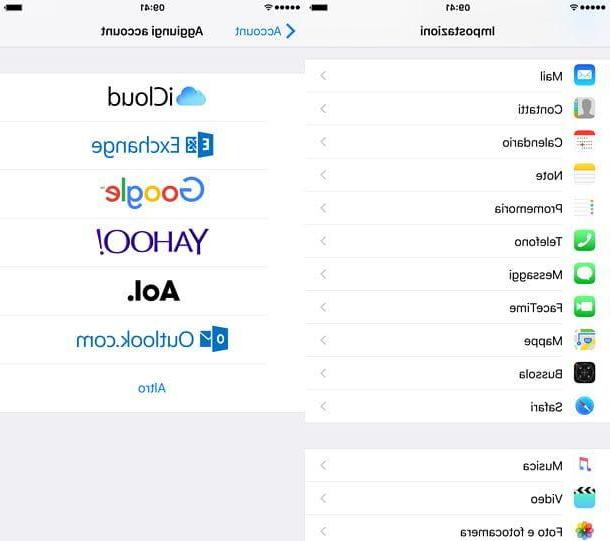
To get your @ icloud.com email account you must have an iOS device and associate it with the ID you created via your computer. If you don't know how to do it, just access the iDevice home screen, press in Settings, fare tap your Mail, select the item Account and then press on Add account. At this point, select the logo of iCloud, enter the email address and password you previously used to create your account on iCloud.com and first tap on NEXT and then Accept (to accept the terms of use of iCloud).
Alternatively, you can also go to Settings, select the item iCloud attached to the screen that is shown to you and configure your account from there.
If everything goes right, in a few moments you will get your email address suffixed by @ icloud.com and having the same domain as the email address you chose to use to create your Apple ID. Since it wasn't that complicated?
Create iCloud account from iPhone / iPad
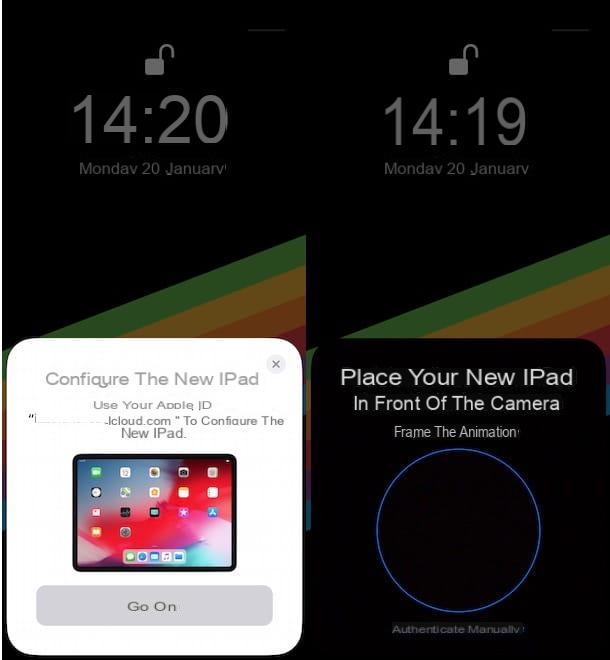
If you're about to activate a new iPhone or iPad, you can create your iCloud account directly from it. All you have to do is follow the initial device configuration procedure that is automatically proposed to you when you turn on the device or after resetting it. Then select your language, your country of residence, establish an Internet connection via Wi-Fi and choose whether or not to activate the location services.
At this point, choose to configure the terminal as a new iPhone / iPad, select the item Create a free Apple ID from the screen that opens and provide all the information that is requested of you.
You must first indicate your date of birth and then you must press the button Following located at the top right and type your name and surname. After this step too, press on Following, metti il segno di spunta accanto alla voce Create a free iCloud email address and go on with the account setup procedure by typing the username (and therefore the e-mail address) you want to use on iCloud.
After filling out the form, click on Following e Crea, type the Password you want to use to log in to your account and still go ahead. Now you need to set up three security questions (mandatory) and a secondary email address (optional) to retrieve the login details for your iCloud address in case of loss.
Finally, choose whether to receive Apple's newsletters by activating or deactivating the appropriate lever, presses on Accept to accept the terms of use for iOS, choose whether to activate iCloud e Find my iPhone / iPad, set up a security PIN for your device and you'll have your new @ icloud.com address ready to use!
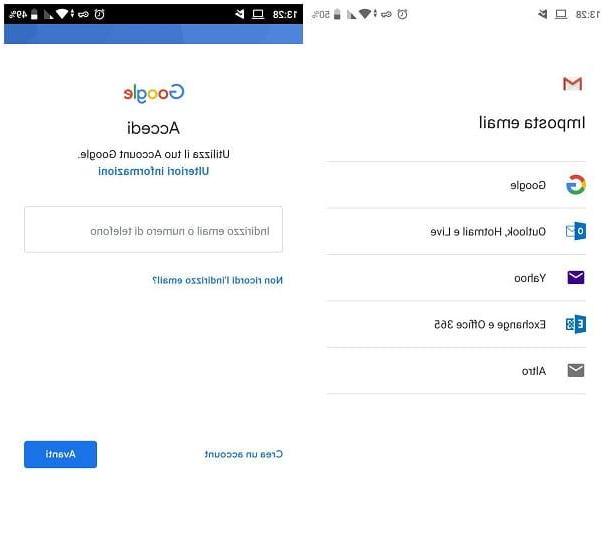
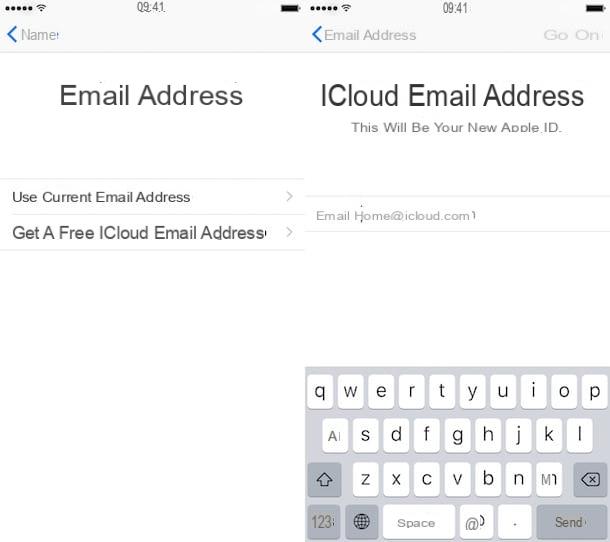
If, on the other hand, you have activated your iOS device and you want to create a new email address @ icloud.com, proceed in this other way: go to the menu Settings, select the voice Mail from the screen that is shown to you then presses first on the item Account and then Add account and select the logo of iCloud.
At this point, fai tap sulla voce Create new Apple ID, enter your date of birth, then your name and choose to receive a free iCloud email address. Then type the username you want to use to access iCloud (which will then correspond to the first part of your e-mail address), presses on Continue, Then Crea and set the password to use to access the account.
The rest of the procedure is practically identical to what we have seen in reference to the activation of a new iPhone / iPad: you have to set up security questions, enter a secondary email address (optional) and so on.
Management of aliases
Apple allows you to create up to three aliases for each @ icloud.com email address. Don't know what aliases are? No problem, now I'll explain it to you. Aliases are "fictitious" addresses associated with your main email address that allow you to receive messages from people and companies to whom we do not want to reveal our real email address. It is not an effective tool like temporary emails (as the messages arrive at our real address anyway) but it can be useful to avoid the annoyances or to manage your electronic correspondence more efficiently.
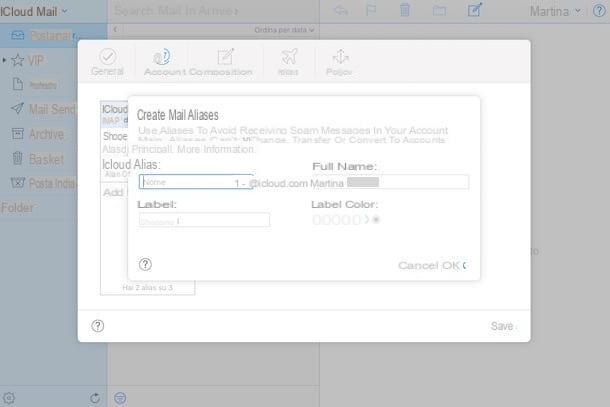
To create an alias, connect to the iCloud.com website and log in using your Apple ID data. Then click on the icon of Mailselect l 'gear located at the bottom left, click on the item Preference ... attached to the menu that is shown to you, presses on the card Account present in the box that opened and then click on the option Add an alias ....
Then choose the email address you want to use as an alias (which will always have @ icloud.com as a suffix) and specify the name to be associated with the latter by filling in the appropriate field that you find next to the item Full Name:. If you deem it necessary, you can assign a label and a color to the newly created alias so that it can be identified more easily. To conclude, click on OK.
If and when a specific alias created is no longer useful, you can delete it simply by going back to the tab Account of the section Preference ... di Mail accessible by clicking on thegearby clicking on the “offending” alias and selecting the entry Delete.
If instead of permanently deleting an alias you just want to disable it temporarily, put a check mark on the box next to the item Disable aliases. Of course, if and when necessary you can re-enable the alias by removing the check mark from the appropriate option.
You can also choose which one, between your iCloud email address and its aliases, to set as default. To do this, go to the tab Composition of the preferences of Mail and select the address you want to use as default from the drop-down menu that you find next to the item Set as default address: present nella sezione Send to. Very simple.
How to create iCloud account