3D This (Online)
If you want to create a cube with photos to print and compose on the spot, 3D This is the solution for you: it is, in fact, a site that allows you to create photographic cubes directly from your PC and export them in PDF format, so as to print and "compose" them with scissors and glue.
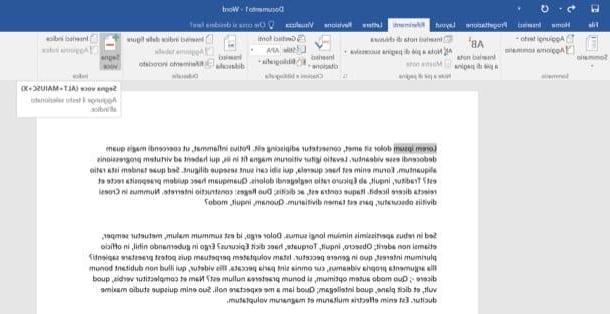
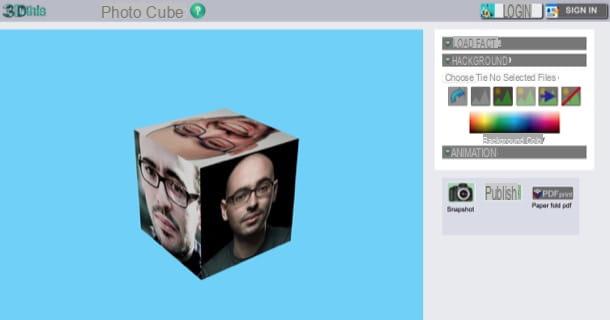
To use the service, click here, in order to connect to the 3D This page in which there is the tool through which to create the photographic cube, expand the menu Animation located on the right and presses the button Stop to stop the animation and work more quietly (without risking dizziness!).
Then expand the menu Load Face also located at the top right and upload the photos you want to place on the six faces of the cube: click on the first face (the one red), select the photo you want to add and repeat the operation for the other faces.
As soon as you have finished this first step of the work, click on the button PDF print located inside the gray box located on the right and, in the new page that opens, click on the button arrow or on that of floppy disk to download the PDF file locally, or press the icon of printer, in order to print the file.
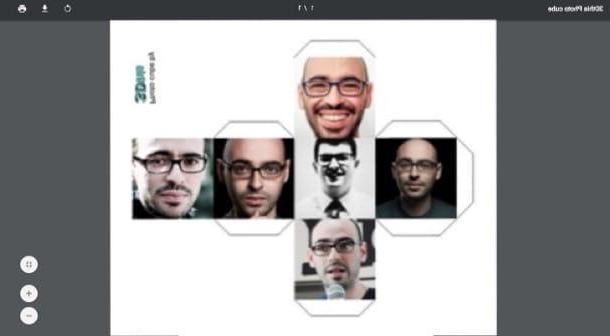
As soon as you have printed the photo cube you made with 3D This, cut the edges of the cube "Broken down" trying to be as accurate as possible (especially in the areas where there are white tabs), fold the sheet following the guidelines e glue the tabs to make the cube stand upright. Et-voila! Your photo cube is ready! Is not it fantastic?
Pixiz (Online / Android / iOS)
You are not going to print a photographic cube, but would you like to insert your "big face" in one of them creating a funny photomontage? If you answered yes, I recommend that you give it a try Pixiz, a free online service (also available in the form of an app for Android and iOS) that allows you to create photomontages of various kinds. Let's find out together how to best use it.
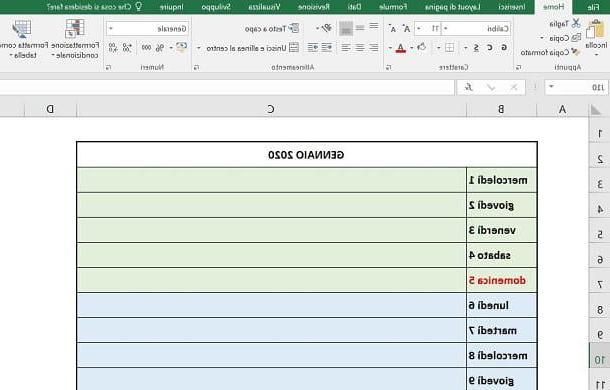
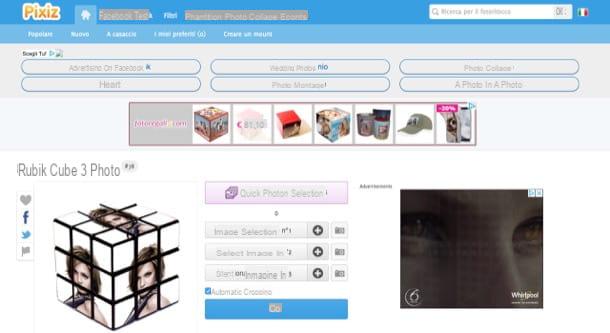
To begin with, connect to this Pixiz page in which there are numerous templates of photographic cubes and select the one you prefer. Then click on the buttons Select image n ° 1, n ° 2, n ° 3, etc. and upload the photos to insert into the faces of the cube. Then put the check mark on the item Automatic cropping and, finally, presses the blue button Go.
On the page that opens, click the orange button Download located at the top right to locally download the output image in JPG format.
Bloggif (Online)
If you want to make a three-dimensional photo cube, try it instead Bloggif: this is another free online service that can be used on major browsers without installing any additional plugins. The cube made with Bloggif, as easily understood from the name of the service, can be downloaded in GIF format.
To use the service, connected to the Bloggif page where the tool for creating 3D photo cubes is hosted, click on the button Choose file located in correspondence with the wording Picture No1, upload the photo to insert on the first face of the cube and repeat the operation for the other faces as well (doing so is optional, but it makes the final work prettier).
After loading the photos to be inserted in the various faces of the cube, select the rotation speed of the latter: Ultra fast, to make it rotate as fast as possible; Fast, to apply a high speed; Average, to apply the average speed and Spring, to make it rotate slowly.
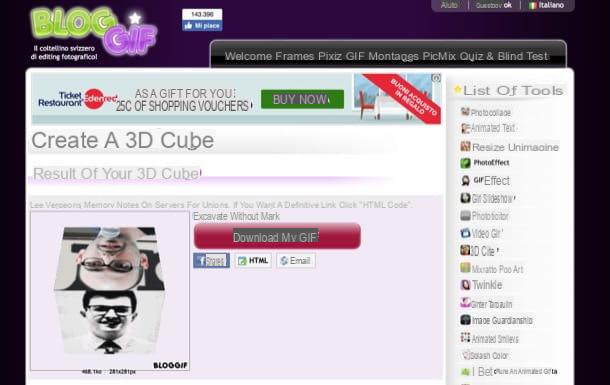
Now, click on purple rectangle located in correspondence with the wording Background color and select the color to apply to the background of the cube or, if you prefer, put the check mark on the item Transparent, in such a way as to apply the transparency effect to the background. Finally, choose the direction of rotation to use by placing the check mark on Droite (right) o Gauche(left) and presses the green button Create my 3D cube.
Finally, wait for the processing of the GIF depicting the cube just created, put the check mark on the item Unbranded download and download the image by pressing the red button Download my GIF. If you want to share the cube on Facebook, include it in yours website or send it away e-mail, presses on one of the three sharing buttons that you find under the button Download my GIF.
Photoregals (Online)
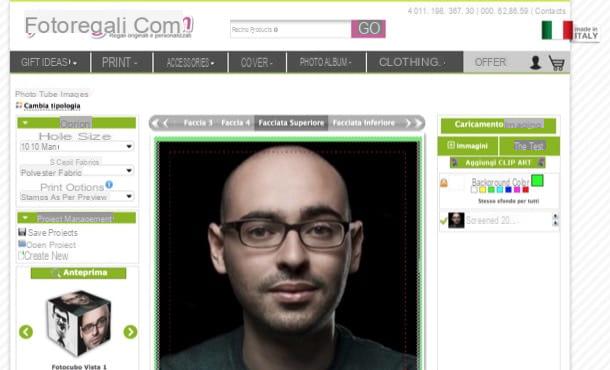
Don't have the time and the desire to make a cube with your photos? Would you like to rely on one of those sites that allow you to buy ready-made photo cubes? In that case, I recommend that you contact Photoregals, a site specialized in printing photographic gifts of various kinds. At the time of writing, it is possible to buy photographic cubes from this site from 24,99 euros.
To order a photo cube on Fotoregali, first connect to the page of the site dedicated to photo cubes, find the model you like best and click on it. On the page that opens, presses the purple button Create and buy and then select one of the available types (eg. classical, With graph, Collage, Etc.).
Now, press the button Upload images and upload the 6 images that will be printed on the faces of the cube and click on the green button Confirmation. On the page that opens, reposition the uploaded photos (if necessary), select them dimensions of the photographic cube, the fabric and print options via the drop-down menus at the top left, browse thepreview of the cube (on the left) to make sure that the work done is of quality and then proceed with the order: press the button Add to Cart, by pressing the button Confirmation and again on Continue with the order.
At this point, click on the link Proceed without registering (or, if you prefer, register by filling out the appropriate form to better manage your orders and your photo-creations), fill out the order form by entering the data concerning the shipment and payment, check in order summary that all the data entered are correct and proceed with the purchase. Within a few days (depending on the type of shipment you have chosen) you will receive your fantastic photo cube!
Other useful resources for making a photo cube

Would you like to find some interesting ideas on how to make cubes with photos? YouTube e Pinterest could be the solutions that are right for you, since these platforms are a veritable mine of useful information for do-it-yourselfers.
To search for video tutorials on how to make cubes with photos, linked to YouTube, type the terms "cube photo"Or"photo cube" in search bar and identify the content that interests you most. If you would like more information about how YouTube works, take a look at the tutorial I dedicated to the subject.
If you want to find hints and ideas on the creation of photo cubes with Pinterest, instead, connected to the social network, type the keywords "photo cube"Or"photo cube" in search bar and identify the content that seems most interesting to you. For more information on how Pinterest works, read the in-depth analysis I dedicated to this social network.
How to make a cube with our photos