Programs to make photomontages with your own photos
As anticipated, to make photomontages with your own photos it is not essential to be perfect connoisseurs of the art of photo editing. Just use the right resources and that's it. In this regard, below you will find indicated those that in my opinion represent some of the best programs in the category. Check them out now, I'm sure they will satisfy you.
PhotoMix
The first among the software that I want to suggest you to try is PhotoMix. It is a free resource that allows you to create photomontages in an extremely easy and fast way and that can return incredibly realistic results. It is only available for Windows. Let's see in detail how it works.
The first thing you need to do in order to start using the program is to go to the page to download it and click on the green button at the top right Download Latest Version.
When the download is complete, open the file obtained and click on Yes / Run and then on the button Next. Then accept the conditions of use of FotoMix, putting the check mark next to the item I accept the terms in the license agreement, and click on first Next five consecutive times and then on install and Finish finish the installation procedure and start the software.
Please note: If you want to avoid the installation of toolbars or other unnecessary extra programs, pay particular attention during the setup of the FotoMix and remove any ticks referring to these elements.
In the window that will now open on the desktop, click on the button first background placed in the upper left and then up Open to upload the image you want to use as the background of your photomontage. If you want to use a solid or gradient color as the photo montage background instead of a photo, put the check mark next to the item Artificial Backgroundclick your In Shade o H shade to enable the gradient and choose the shades you prefer by clicking on the colored box located in the left part of the window.
You can then click on the button Size in the toolbar on the left of the program window to adjust the size and appearance of the loaded image.
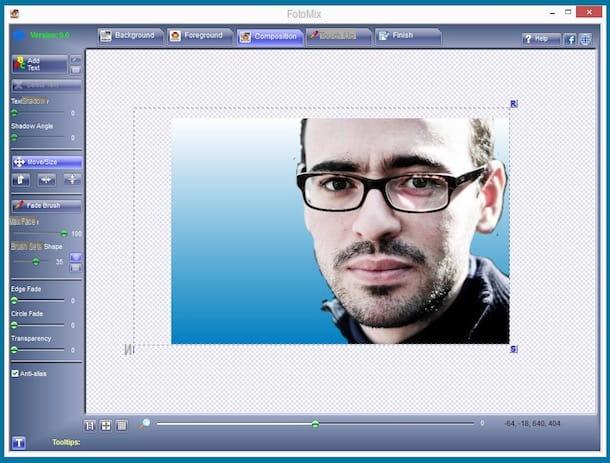
At this point, click the button first Foreground placed in the upper left and then up Open to load the image containing the elements to be placed in the foreground in your photomontage (eg: a front photo of you).
Then use the slider to color the elements you want to delete from the foreground photo in the photomontage (ex: the background of a photo where you are in the foreground). To adjust the size of the brush to use, use the bar located under the heading Brush size.
Now, click on the button Composition at the top left and drag with the mouse the foreground elements of the photomontage to the point of the background you want most. Then click on the gray box containing the letters "R", to rotate the photos of the photomontage subjects, or on the gray box containing the letters "S", to resize them.
You can then refine the details of your montage by clicking on the button Touch up and using the tools on the left side of the window: Color Brush to use a colored brush, Tint Brush to color the photomontage without overpowering the photos, Clone brush to clone photomontage parts, etc ..
When you are satisfied with the result, click the button Finish located at the top right, apply, if you want, a frame to your photomontage using the sliders on the left and adjust the color using the appropriate buttons always on the left then click on Save to save the image to your computer.
Photoshop and GIMP
As an alternative to the above program, you can turn to the use of wide-ranging software for photo editing and image editing which, however, also offer useful tools, in fact, to make photomontages with your photos. Since the description of the various functions is more complex than the software above, I will refer you to some of my dedicated guides to allow you to find out how to use them. So let's see what these programs are.
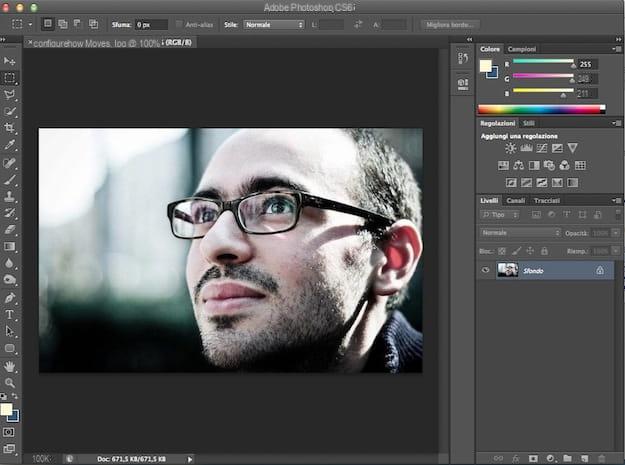
- Photoshop - It is the commercial software par excellence for what concerns the art of photo editing and it can be used on both Windows and Mac. If you want to understand how to use it for the purpose in question as well as how it works in general, you can read my tutorial on how use Photoshop.
- GIMP - It is the main no-cost competitor of the aforementioned program from Adobe. It offers a rich assortment of tools and functions for photo editing and allows you to make great photo montages. To find out how you will serve, you can read my guide on how to use GIMP.
Online services to make photomontages with your own photos
Now let's move on to online services, those with which you can make photomontages with your photos directly via the Web, without having to download and install anything on your computer. They work as a browser (any) but to use them you must be connected to the Internet. To find out which ones in my opinion represent the best in the category continue reading, you will find them indicated below.
Photo Funia
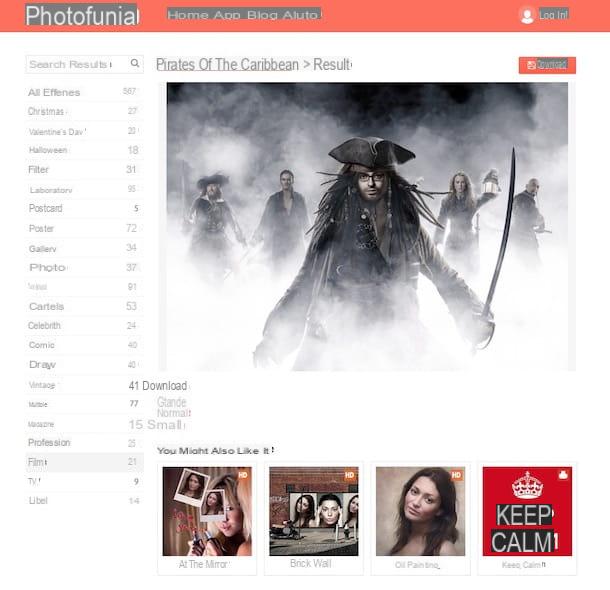
Among the various online resources available on the square through which it is possible to create photomontages with photos, I want to advise you first of all to try Photo Funia. It is one of the most popular web services. It can be used without registration and allows you to create many different photomontages simply by uploading the image to be used.
You ask me how to use it? I'll explain it to you right away. To begin with, connected to the home page of the site, explore the various categories in the sidebar and select the one you are interested in, then choose the photomontage that most attracts you from the various proposed by clicking on it. If you want, you can also help you choose by clicking on the buttons New e Popular at the top so that you can view the new and most popular additions first, respectively.
Once you have made your choice, click on the button Choose photos to upload your image and choose, by clicking on the relevant button, whether to upload from your computer Upload from PC), whether to take it at the moment from the webcam (Camera) or whether to use an image uploaded to social media or to one of the supported cloud storage platforms (Online).
Once the upload is complete, crop the image to better fit the montage using the on-screen editor. Once this is done, you can finally apply the uploaded image to the montage by clicking on the button Go.
Once the final result is displayed, you can choose whether to save the photomontage on your computer by pressing the button Download or on links Great, Normal e Small below to select the image size. The image will be downloaded as a JPG file.
Photofetti
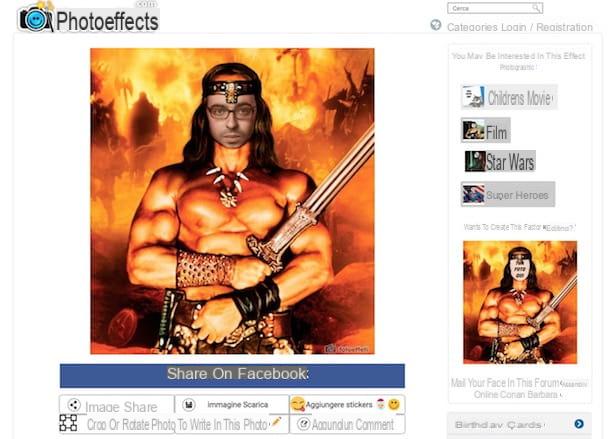
As an alternative to the above service, you can contact Photofects, another website that offers the possibility to create beautiful photomontages in a really simple way. It allows you to choose from many different models and the returned result is always a lot of fun.
To use it, connected to the main page of Fotoeffetti, click on the item Categories which is at the top and choose the category of your interest among the various available attached to the menu you see appear. On the page that will then be loaded, select the photomontage you like best from the various available by clicking on it.
Now, press the button Upload a photo and select the photograph on your computer that you want to use to make the photomontage. Wait a few moments for the image upload procedure to start and complete, then check the boxes below to determine if you also want to add text, if you want to adapt the automatically uploaded image, if you want to add filters and if you want to remove the watermark applied by the service (operation possible up to three times a day). Then click on the button The next that you find at the top.
Based on your choice, use on-screen tools to adjust the image, add text and filters. In the meantime, you will be able to preview your photo montage on the right so that you can notice the changes. To confirm the changes made, click on the button Finish.
Finally, you will be shown your photomontage. You can share it on Facebook by clicking on the appropriate button below or you can download it locally in JPG or PDF format by pressing the button Image Download. The additional buttons available allow you to share on other online services and make changes to the image by adding stickers, writings and comments.
App to make photomontages with your own photos
To conclude, as I said at the beginning of the guide, I would like to show you some applications for smartphones and tablets that you can use to create your photomontages even on the move, from Android, iOS and Windows Mobile. You will find them indicated below. Choose the one that you think will do the most for you, download it and start using it right away. Have fun!
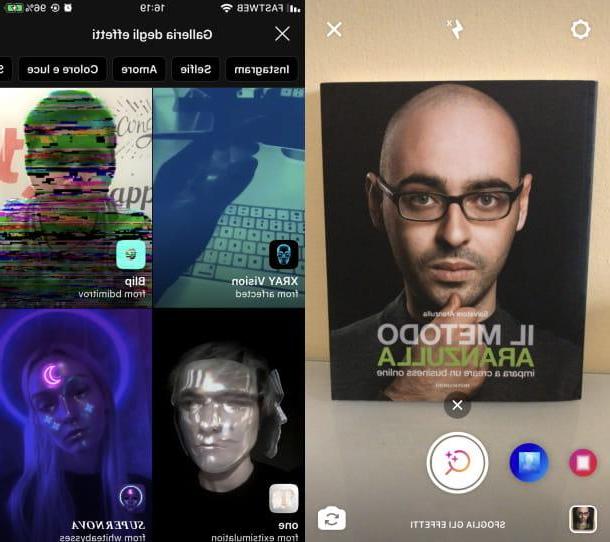
- SuperPhoto (Android / iOS / Windows Mobile) - Interesting app belonging to the category in question that focuses primarily on the application of artistic effects to photos but which also includes scenarios in which you can enter your own states to obtain noteworthy photomontages . It is free to download.
- PhotoMontager (Android / iOS / Windows Mobile) - You can guess it from the name almost immediately: it is another app belonging to the category through which you can create incredible photomontages with your photos by inserting frames, filters, stickers and various other lenses. It is free to download.
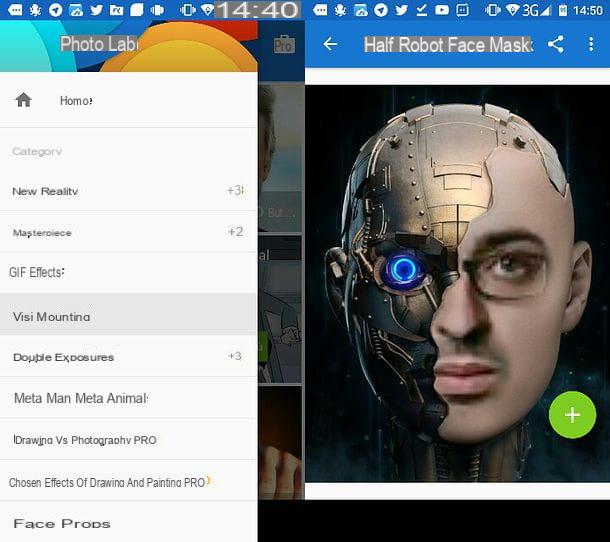
- Photo Lab (Android / iOS) - Fun photo montage app that includes numerous functions suitable for the purpose. It also allows you to create funny animated GIFs with your face, to customize the shots taken with artistic effects, frames and much more. It is free to download.
For further information and to get to know other applications used for this purpose, I invite you to read my article dedicated, in fact, to applications for photomontages through which I have dealt with the subject in great detail. Please, take a look at it at least!
How to make photomontages with your own photos