Create a brochure with Microsoft PowerPoint
If you want to create a brochure using the software Microsoft PowerPoint, available both on Windows that of MacOS, you can decide to take action by creating a template from scratch or by importing a predefined one from the Office online database. You will find in detail all the procedures to follow in the next chapters.
Import a predefined template
The easiest way to create a brochure with Microsoft PowerPoint is to download one of the predefined Office templates, which you can find from Microsoft's online database. You have two solutions to do this: take the template directly from PowerPoint or download it from the Office site.
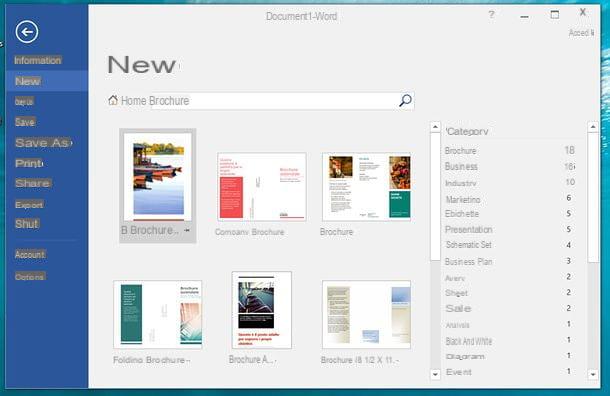
In the first case, all you need to do is start Power point on your PC and select the item New. At this point, use the search bar at the top to type the word "brochure”And you will see different search results, which you can filter by selecting the category Brochure among the items displayed on the right. When you have identified the model you like best, click on it and then press the button Crea, to download it and use it in PowerPoint.
As an alternative to the method I indicated in the previous paragraphs, you can also act directly from the Web, through the appropriate section of the Microsoft website. After reaching the link I provided, scroll down the screen and locate the model you like best, taking care to select the one with the tag Power point.
When you have found the template you want to use for your brochure, click on it and, on the page you are directed to, press the button Download, to download the file to your PC. At this point, all you have to do is go to the folder where the presentation file was downloaded and double-click on it to open it with PowerPoint.
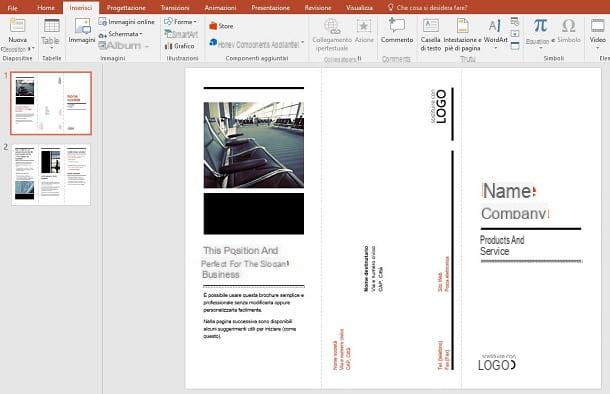
The default Office template already contains most of the elements to use. The only operation you need to do is to customize it with information about the project you need to carry out.
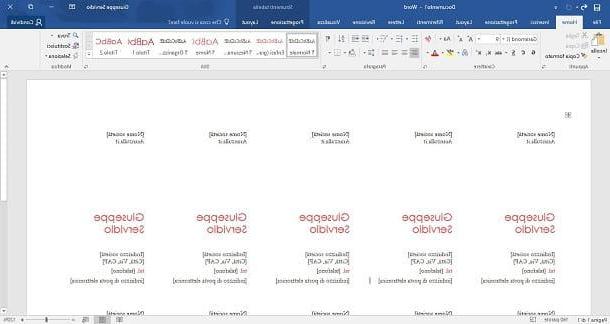
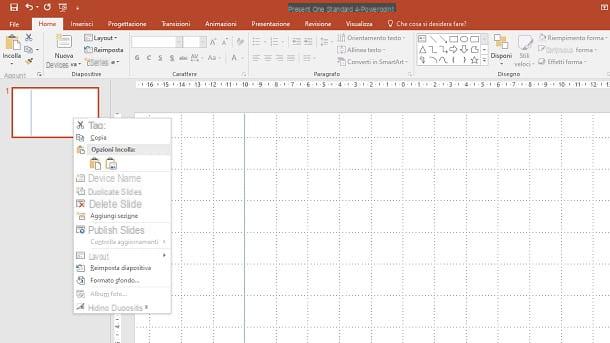
Therefore, you just need to replace the sample text and images to reflect the work you need to do. To edit the text, you need to click on it: you will be able to delete its content, replace it and format it correctly using all the tools you find on the card Home or in that Size, in high.
For images, however, once selected, delete them using the appropriate key on the keyboard (Canc o Backspace) and add new ones using the key Images, located in the tab Inserisci, also placed at the top. Within this tab you will also find the button Form, which can help you add other decorative elements, such as colored rectangles to use as separators or any other element that can help you to embellish your brochure.
When you have completed your work, click on the tab Filletat the top and select the item Save from the latter, to save the changes you have made to the file; or tap on the item Printto make a test print immediately. If you want to make more customization changes to the template first, I recommend that you consult the tips you will find in the next chapter.
Create a new brochure

If the default Office templates don't suit your taste, you can try building a project from scratch using. After starting Power point, then select the item New and premium tasto New Presentation.
Now, the first thing you need to do is reach for the tab Showat the top and activate the boxes Ruler e Grid. These features will allow you to position the elements of the project in an orderly way, without risking inaccuracies.
With that done, move to the tab Planning e seleciona le voci Slide Size> Custom Slide Size. In the panel that is shown to you, you can then choose the format of the brochure, the dimensions in terms of width and height and the orientation of the slide itself: this is important to set up the project correctly, especially if you will have to print the brochure.
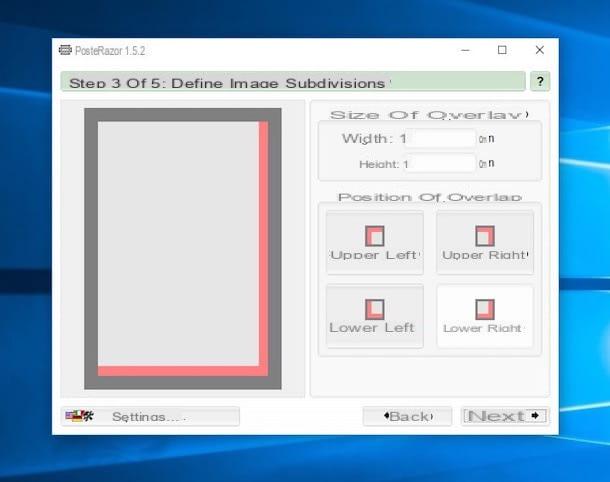
After configuring the basis of the project, it's time to separate the elements of the sheet, considering the different sections it will have to have. In other words, it will be necessary to divide the slide into equal pages to subsequently insert all the information that the brochure must contain.
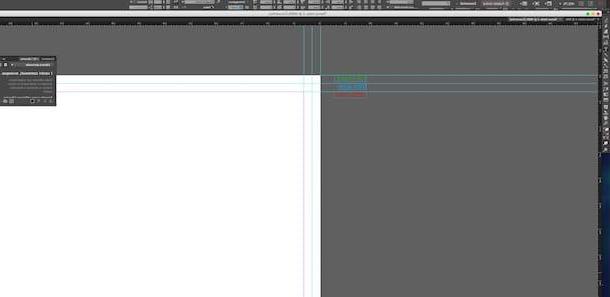
To do this, select the tab Inserisci, at the top and, via the button Form, choose one line simple and trace it vertically on the slide, helping you with the ruler and grid. After you have drawn all the lines and, therefore, have obtained all the sections of the brochure, it is time to duplicate the slide.

This procedure is essential to avoid creating sections manually on each slide and thus running into errors. By duplicating the slide, in fact, you can have the basis ready to fill in all the information that will then be available on the back of the brochure. Then right-click on the miniature of the brochure, located in the sidebar, and select the item Duplicate Slide give the menu answer.
Now that you have created the structure of your design, it is time to insert all the decorative elements, text and images that will contain your brochure. You can access all of these items via the tab Inserisci: the button Images allows you to insert images on your PC; the button Form allows you to insert rectangles, lines and any other colored shape to use as decoration, while the button Text box gives the possibility to create text areas.
Whenever you add one of these elements to the slide, the tab will be available Size, through which you can customize the selected elements. For example, in the case of geometric shapes, you can change their colors or their arrangement on the slide. When you type text in the appropriate area, however, you can use the tools on the tab Home to change its formatting.
If you want to know more about how to use PowerPoint to better customize your brochure, I recommend that you read my guide on how to use this software. As already explained in the previous chapter, when you have completed your project, all you have to do is select the tab Fillet (top left) and press the item Save from the menu that opens, to save the project, or Print, to make a test print.
Create a brochure with PowerPoint Online
If you don't have Microsoft PowerPoint desktop version, you can also use the web version of PowerPoint to create your brochure. In the next few chapters, I'll then walk you through how to import a default Office template and how to create a new project from scratch via PowerPoint Online, which can be used at no cost by logging in with any Microsoft account.
Import a predefined template
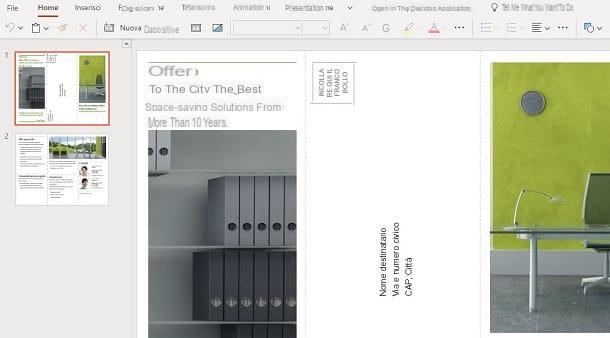
If you want to speed up the work of creating the brochure with PowerPoint Online, what you need to do is choose one of the templates available in the Office database.
To do this, go to the section of the Microsoft website relating to brochure templates that you can consult. Out of all the examples shown to you, identify the ones that have the tag Power point and choose the one you like best by clicking on it.
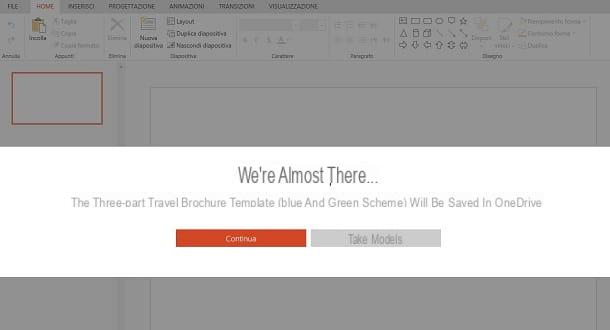
In the new page that is shown to you, click on the button Edit in browser, to start PowerPoint Online. In case you have not yet logged in with your Microsoft account, type the email address and password associated with it in the appropriate boxes. If, on the other hand, you do not yet have an account, you can easily create it by following the instructions I have given you in this guide of mine.
At this point, you will be shown a warning on the screen and you will have to press the key Continue, in order to import the model to your cloud of OneDrive (Microsoft's cloud storage service, which Office's online services rely on to store data) and start editing it. PowerPoint Online is very similar to its desktop counterpart: although in the web version there are no different features, you can use all those that I have already indicated to you in this chapter of the tutorial to delete or replace the images and texts with those that should contain your brochure .
All the elements to be inserted can be found inside the card Inserisci: the buttons Images, Form e Text box they allow, respectively, to add images, geometric shapes and text areas, with the aim of inserting all the information useful for the creation of the brochure.
When you're done working on your project, know that you don't need to save it, as any changes are automatically saved to OneDrive. In case you want to print the brochure, select the items File> Print from the top menu, while if you want to download a copy of the project on your computer, reach the items File> Save Copy and press the button Save Copy.
Create a new brochure
If you want to make a new brochure from scratch in PowerPoint Online, click the button New blank presentation present in the main screen of the service and wait for the project to load. You will be shown a blank slide, to which you can add all the information related to your brochure.
First, set the slide size by selecting the items Design> Slide Format> Custom Slide Size from the top menu. In the box that is shown to you, then set the size of the page and its orientation.
Once this is done, you will need to insert separator lines (Insert> Shapes> Lines) of the different sections of the brochure. Unfortunately, in the Web version the ruler and the grid are not available, which I told you about in the chapter on the desktop software, so you will have to go "by eye". PowerPoint Online has guided element positioning only to locate the center of the slide.
After doing this, add new captions with text and images and new decorative elements, such as geometric shapes or icons, using all the buttons you find in the tab Inserisci, up. When you select an element, you can modify some parameters via the tab Shape. You can also use the buttons on the tab Home to format the words you typed in the text boxes.
The project does not require any saving, as this happens automatically on OneDrive. However, you can export a copy to your PC by selecting the items above File> Save Copy and then pressing the key Save Copy. To print, instead, select the items File> Print.
Create a brochure with PowerPoint from smartphones and tablets
If you want to create a brochure using the Power point, available on Android and iOS / iPadOS, I inform you that, although this operation is somehow feasible, you will have it available compared to those present on PC.
You should also know that the app is free on devices with displays of 10.1 inches or less, while on larger ones a subscription is required. Office 365, with costs starting from 7 euro / month o 69 euro / year, which also adds new features, such as the ability to customize the colors of geometric shapes or add WordArt elements.
Generally speaking, the functionality of the PowerPoint app is similar to that of the web version (already limited compared to the desktop software), but has additional limitations that hinder the creation of a brochure. Having said that, let's take action.
Once you've downloaded the PowerPoint app to your smartphone or tablet, you can decide whether to import a predefined template from the web or create one from scratch. My advice is to operate on a ready-made model, for the reasons I explained to you previously.
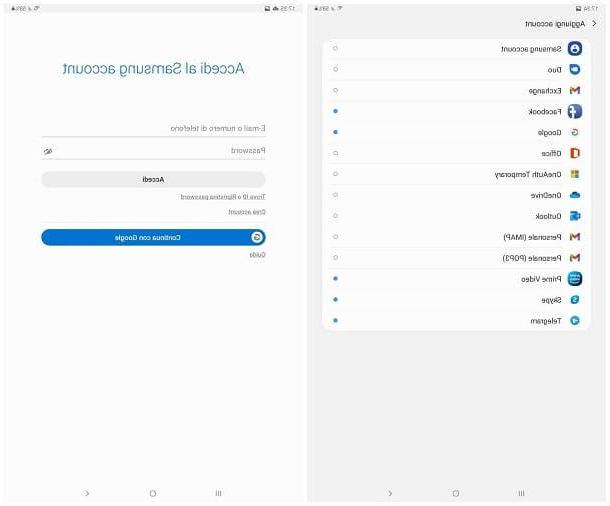
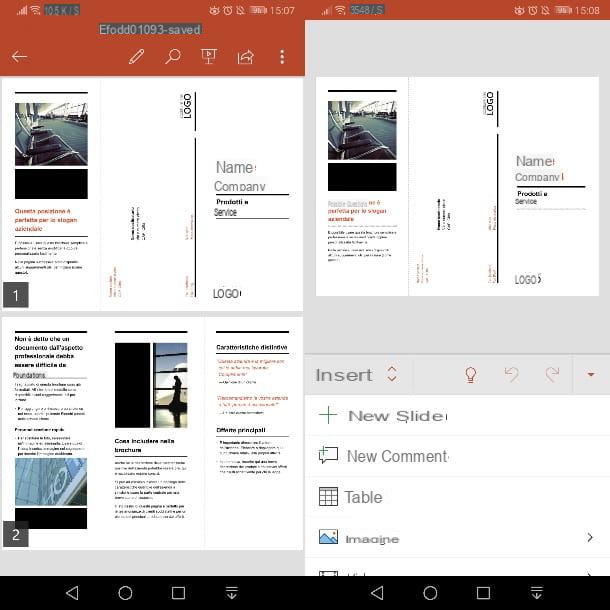
To import a template from the Office database, I recommend that you follow the same instructions I gave you in the previous chapter of the tutorial. Once you have downloaded the file to your device, open it, using the PowerPoint app. The project will be opened in reading mode, but you can modify it by pressing thepencil icon, in high.
All the tools you need to carry out your project are found in the tab Inserisci, located at the top (on tablets) or in the drop-down menu at the bottom (on smartphones). You can therefore add images, text boxes and geometric shapes, as well as modify and replace the contents already present in the model, by tapping on them and selecting the tools you find in the appropriate tabs. For
customize your brochure, you can refer to what I have already explained to you in this chapter. As with the web platform, the PowerPoint app also automatically saves data. You can also share files on other platforms, such as WhatsApp or an email client, using the appropriate share button, which you find at the top. Easier than that?
How to create a brochure with PowerPoint