Create a photo mosaic from your computer
Do you use a Windows PC or a Mac and are you interested in using a special program that allows you to create a mosaic photo directly from your computer? Then I can't help but advise you to take a look at the resources listed below. They are free and very easy to use.
AndreaMosaic (Windows / Mac / Linux)
The first of the purpose-built resources I suggest you try is AndreaMosaic. It is a free software usable on Windows, Mac and Linux which, in fact, allows you to create photo mosaics by choosing the images that will make up the creation, the size of the mosaic, the resolution and the number of pieces in which to divide it. It's super easy to use and it's a lot of fun too.
You ask me how to use it? I'll explain it to you right away! To begin with, connected to the download page of the program and click on the name of the operating system you are using and that you find in the section Stable Download Version to download the program to your computer.
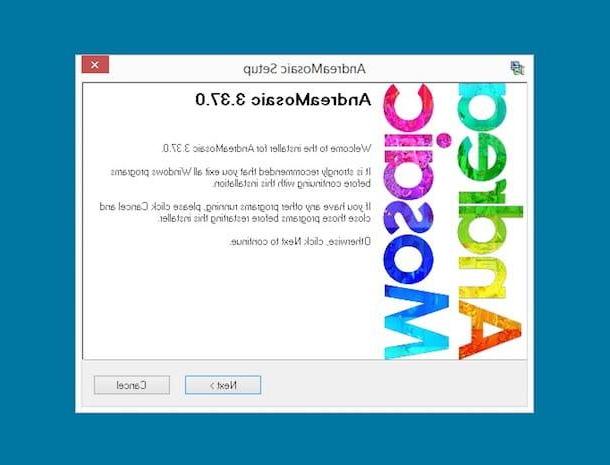
When the download is complete, if you are using Windows then double-click on the downloaded .exe file, click on Yes / Run and, in the first window you see appear on the desktop, presses on Next. In the next window, put the check mark on the item I agree to the terms of this license agreement and click once more Next. From now on, always click Next and then Finish to install the program.
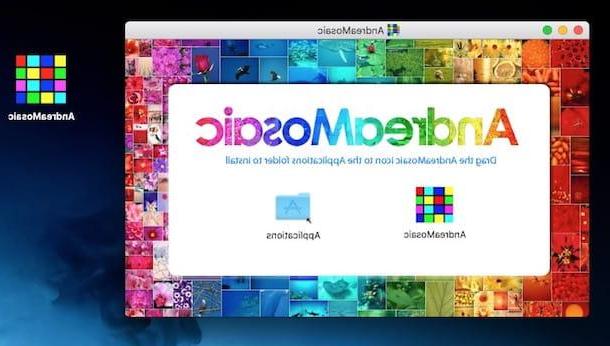
If, on the other hand, what you are using is a Mac, open the package in .dmg format you just obtained, accept the terms of use of the program by pressing the button Agree in the window that appears on the desktop and then drag the software icon to the folder Applications via the additional window you see appear on the screen. Then go to the folder Applications macOS, right click on the program icon, select apri from the menu and confirms the choice made in such a way as to be able to open AndreaMosaic, however, going around the limitations imposed by Apple against third-party developers.
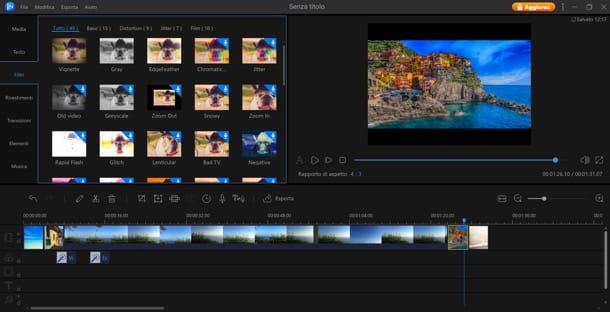
Subsequently, regardless of the operating system in use, start AndreaMosaic, select in which format you want to generate your mosaic by clicking on the button corresponding to what you are interested in in the window that appears on the screen, then choose the main image to use by clicking on the button "+" And the number 1 at the top left, click on the button with the two photos and the number 2 that you find at the top right, select all the images you want to use for your composition and save the list.
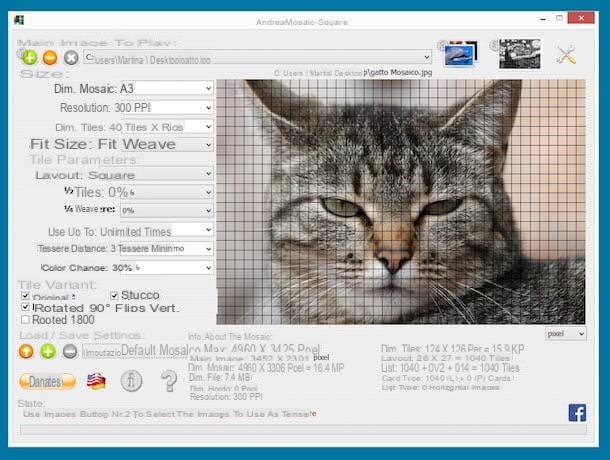
If you want, you can also intervene on the parameters of the mosaic by adjusting its dimensions using the appropriate section on the left side of the main window of the program. For example, you can define the size of the beings, the arrangement, the distance etc.
By clicking on the icon with the screwdriver and the wrench which is in the upper right part of the software window, you can adjust the other options for using AndreaMosaic by changing the processing quality of the mosaic, the saving format of the final image, the folder in which to save the returned mosaic photo etc.
To conclude and therefore to obtain your mosaic photo, click on the button with the mosaic and the number 3 which is at the top or right then make yourself comfortable and wait for the program to create your mosaic. Or rather your photo-mosaic! You will be able to follow this through the progress bar at the bottom. When the processing procedure is completed, you will see a special warning appear on the screen through which you can also directly open the destination folder.
iMosaic (Windows)
As an alternative to the above program, I suggest you try iMosaic. Unlike what the name would imply, it is a tool that can be used natively on Windows that is used to break down a photo into many divided and separated parts like a mosaic. It is free and very simple to use.
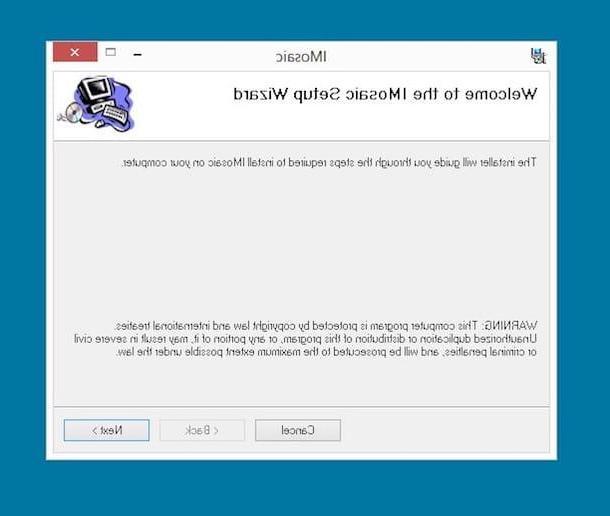
To serve, connected to the download page of the program and click on the link IMosaicSetup_0_9_6.msi to download software installation files. Then open the file obtained and click on the button Next for four lives in a row, then on Si and to conclude on Close.
Then start the program by calling dal Start menu or through the appropriate link that has been added to the desktop, click on the item Fillet attached to the software window you see appears on the screen, select Open Soruce Image from the menu that appears and choose the image saved on your computer that you want to transform into a mosaic.
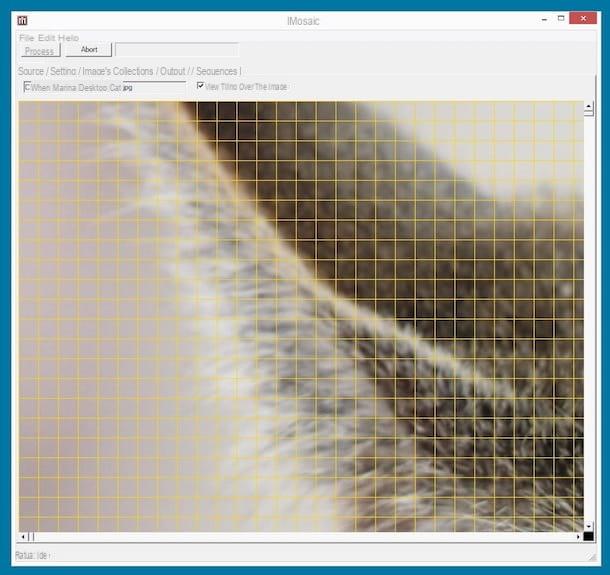
Then click on the item Edit present at the top, select Images Collection and click on the buttons Add File (s) o Add Directry to select, respectively, images and folders that contain the photos with which you want to compose the mosaic.
Then use the cards Settings e output present in the upper part of the program window to adjust the settings relating to the creation of the mosaic, the format of the final image and the saving position, then click on the button Process which is at the top and wait for the procedure for the genre of the mosaic photo to be started and completed.
Create a photo mosaic online
Does the idea of creating a mosaic photo suit you (and not a little!) But you don't want to or can you download and install anything on your computer? Do not worry, you still have the opportunity to succeed in your intent by turning to the use of one of the ad hoc online services that you find reported in the following lines.
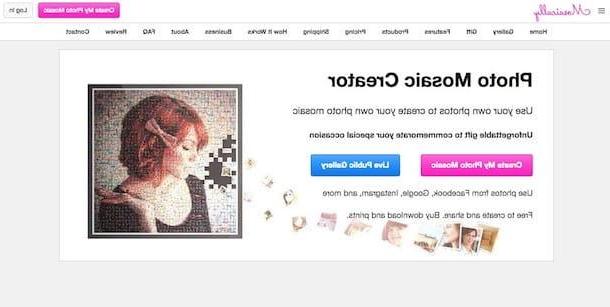
Mosically
If you are looking for a resource accessible via the Web that allows you to create a mosaic photo, I suggest you try it first Mosically. This is a free online service that works on any Web browser (as well as any operating system) that acts in a more or less similar way to the software I mentioned in the previous lines: you can upload a photo and make it a mosaic of other images by first uploading the main shot and then uploading all the others. The final image can then be saved to the computer or even if n hate printing.
To use it, go to the Mosically main page and click on the button Create My Photos Mosaic then choose where to take the main image on which to structure the whole mosaic by clicking on the buttons under the heading Step 1: Chose Your Big Picture. Based on your needs and preferences, you can upload from your device (My Device), from Facebook (Facebook), from Instagram (Instagram), from the Google account (Google) or from the Web (Links).
If you want, you can also use one of those in the service catalog as the main image that you can view by clicking on the reference category in correspondence with the wording You can also chose from sample below!
Once the main image upload is complete, click on the button Next to go to the next step. If you want, first you can also apply a possible filter to the main photo by pressing the button Apply Filtr you see appear and selecting the one you prefer from the various available. To apply the changes then press the button Save.
Now, instead, you have to load the other images that will make up the mosaic. The step you have to take is practically the same as seen together in the previous lines: you have to select the source for the upload. Alternatively, you can use the images part of the catalog. Then click on the button Next to go to the next step.

On the page that will be shown to you at this point you will finally see your mosaic photo appear. You can therefore choose, by clicking on the appropriate buttons below, whether to download it to your device in the form of a JPG file or to order and purchase one of the printing solutions available.
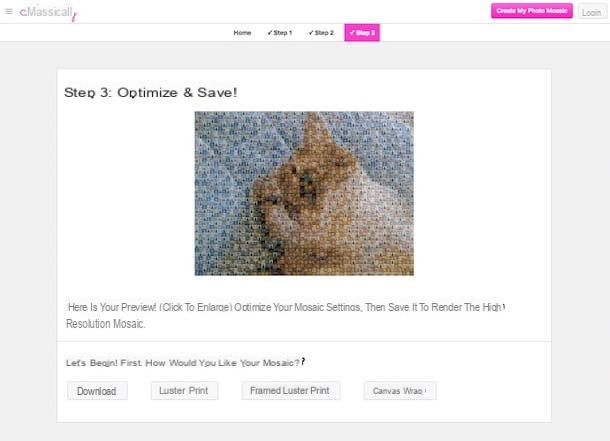
In both cases, once you have made your choice, you will be offered to define the image frame, the quality, to apply any color optimizations, etc. In order to proceed, however, you will necessarily have to create a free account on the service using your e-mail address or using one of the supported services.
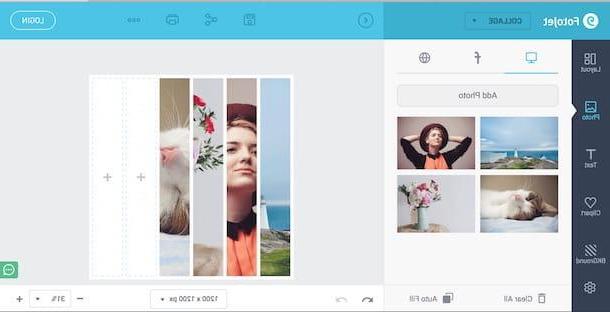
PicArtia
Another nice online service used for the purpose that I recommend you put to the test is PicArtia. It offers a beautiful online mosaic generator allowing you to customize numerous parameters. It can be used for free and the final result can be downloaded to your computer in JPG format. The only things you need to keep with are that it doesn't allow you to use your own photos to compose the mosaic but allows you to choose only the main one and that affixes a watermark on the final image.
To use it, first connect to the relevant home page and click on the button Start Creating then drag the photo on which you want your mosaic to be based in the browser window or select it manually by clicking on the button Select files. Then wait for the upload procedure to start and complete, then click on Next step.

Now, you have to choose the photos that will go to your photo collage. Select a reference category on the left and then click Next Step. Finally, customize the mosaic using the available options (number of cells and dimensions) and then press the button Generate Mosaic.
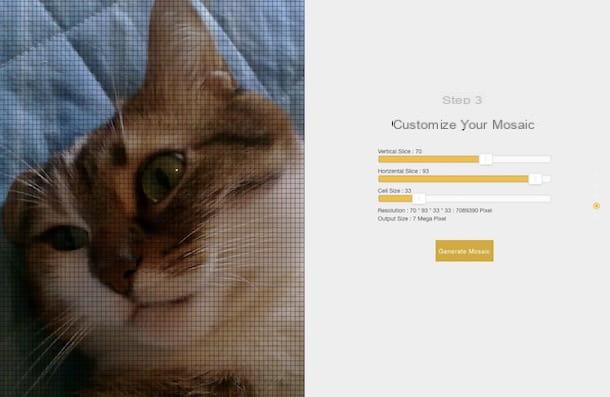
Wait a few moments for your mosaic photo to be processed and generated, then you can download it by typing your name and your e-mail address in the fields on the left and then clicking on Send Original Mosaic. You will therefore receive an e-mail message to the address previously indicated with a link through which you can download your creation.
Alternative solutions
Did the final effect obtained using the above resources impress you but not fully satisfied? So instead of creating a mosaic try to make a full-fledged photo collage. The basic concept is similar but the final result is very different as, in fact, you will get a collage. There are both programs and Web services used for this purpose as well as special apps.
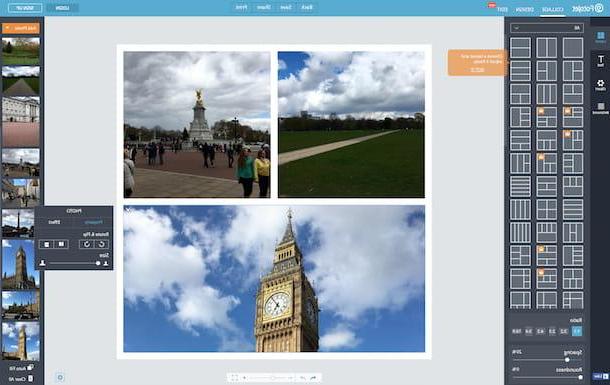
If you are interested in this and therefore want to deepen the subject, I highly recommend you to rely on my tutorial on how to make photo collages and my article dedicated to programs to make photo collages. If, on the other hand, you are looking for some solution that can be used directly from smartphones and tablets, you can take a look at my post on applications for making collages.
How to create a mosaic photo