Create a folder on macOS
create a folder on Mac, you have all the predefined tools of the macOS operating system at your disposal. The first thing you need to do, therefore, is to identify the location in which to create a new folder: you can create one on Desk or inside other folders, reachable via the Finder.
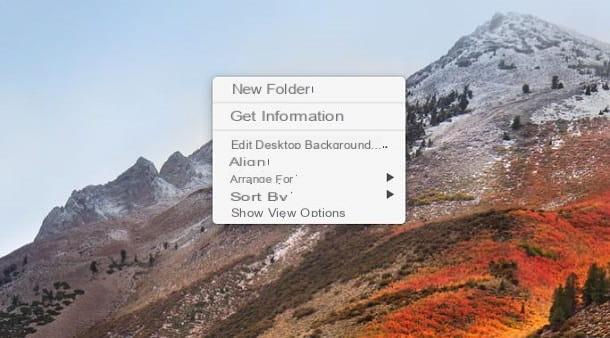
After reaching the position where you want to create the new folder, click with the right mouse button in an empty spot on the screen and, in the context menu that is shown to you, select the item New folder. Once this is done, you will see the icon with the folder symbol called Untitled folder.
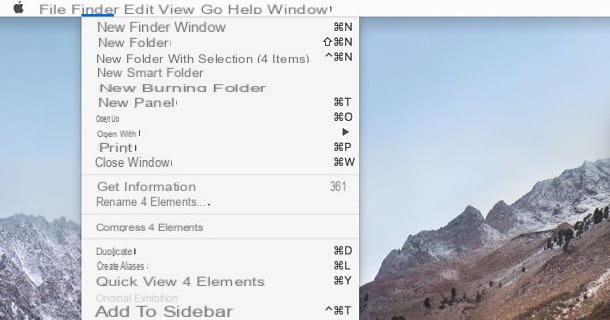
Alternatively, you can reach the voice Fillet, in the top menu bar and select the item New folder from the context menu. Moreover, you can get the same result by pressing the key combination shift+ cmd + n on the Mac keyboard.
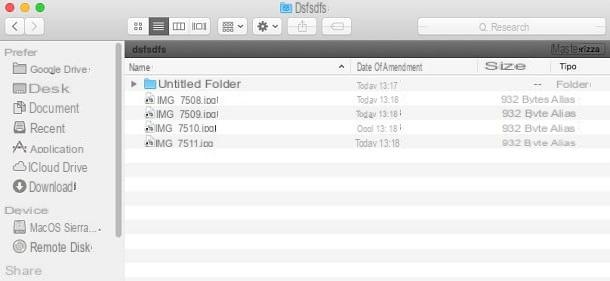
If you want to create a new folder starting from one or more highlighted files, reach the item Fillet in the menu bar at the top and, in the context menu, select the wording New folder with [filename] o New folder with selection (X items).
By doing so, the files will automatically be moved to a new folder, located in the same location where they were. Alternatively, you can perform the same operation using the key combination control + cmd + n.
Finally, if you want to rename a folder, just select it and then click on its name, in order to enter the edit mode. Otherwise you can select the folder and press Submit on your computer keyboard or, again, you can select the folder and go to the menu Fillet > Rhinomine located at the top left.
When renaming a folder on Mac, remember that the use of punctuation is prohibited Sweaters, Jerseys and Cardigans as the first initial character of the name, as this type of formatting is reserved for system folders. Also, you can't use the punctuation mark of colon anywhere in the folder name.
Create a folder from Terminal
As an alternative to the method I indicated in the previous chapter, you can create a folder using the terminal of macOS. First, launch the terminal by selecting it from the folder Other of the Lacunhpad.
Another way to start the Terminal is to click on the icon with the symbol of a magnifying glass (Spotlight) that you find in the menu bar, top right, type the word terminal in the search field and click on the corresponding result.
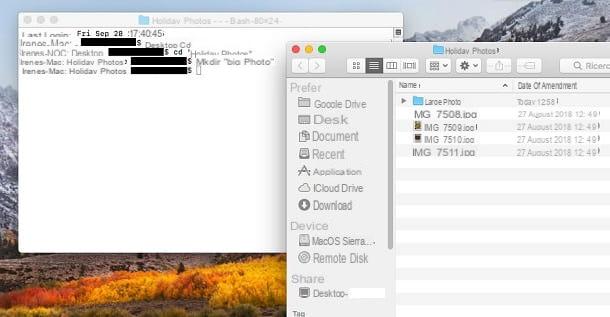
In the screen that is shown to you, then type the command cd [path] to navigate to the location where you want to create the new folder. For example, let's say you have a folder on your desktop called "Vacation Photos" and you want to create a subfolder inside it; in this case, you will need to type the command cd desktop, Followed by Submit on the keyboard, and then cd "vacation photos"by pressing again Submit.
By doing so, you successfully access the folder through terminal of macOS. Then type the command mkdir [folder name] to create a new folder inside the one you just reached. If you want to create multiple subfolders in one command instead, type mkdir –p [folder 1] / [folder 2] / [folder 3]. Continuing with the previous example, write mkdir –p "Day 1" / "Sea photo", to create the “Sea photos” folder, inside the “Day 1” folder, located in “Vacation photos”. Easy, right?
Create a folder in the Launchpad
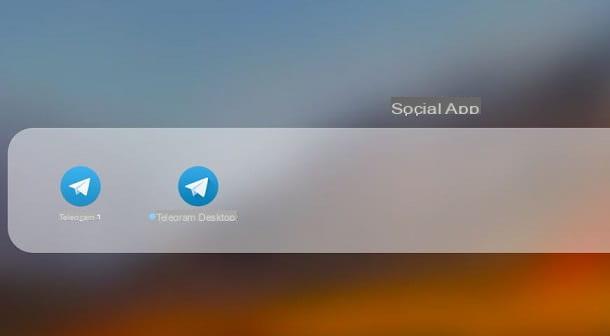
If you want to order the applications are in Launchpad, you can create folders to sort them in the order you prefer. To do this, simply hold down the left mouse button on an application icon, so you can drag it.
At this point, move the app icon over another one to immediately create a new folder. In fact, a screen will open that will show you the two apps inside a box. Above this you can read the name created folder, which you can customize by clicking on it.
After creating the folder in the Launchpad, you can move other applications inside it with the same method that I indicated in the previous lines.
Create a folder for burning
If your intention is to transfer files onto a CD or DVD, you can create burning folders. To do this, reach the Desk macOS and click on the entry Fillet that you find in the menu bar, at the top left. In the context menu that is shown to you, locate the item New burn folder and click on it.
After creating the folder, you can immediately assign a new name to it by typing it on the keyboard. Then press Submit to confirm and then double-click on it to access its content. The folder will initially be empty, but you can drag and drop any file or folder you want to burn into it.
When you have finished, simply press the button Burn, found at the top right of the folder screen, and follow the wizard to write the data to a write disk. For more info on this, check out my guide on how to burn on Mac.
Please note: the folders for burning can also be created in locations other than the macOS desktop. In this case, you just need to access the location where you want to create this type of folder and follow the same procedure that I indicated in the previous lines.
Create a smart folder
On Mac there is a type of folder called Smart. These have the purpose of creating search indexes that collect files and folders according to the parameters set by the user. A smart folder it therefore has the purpose of grouping, for example, all the images on the computer or in a certain path or showing the most recent files.
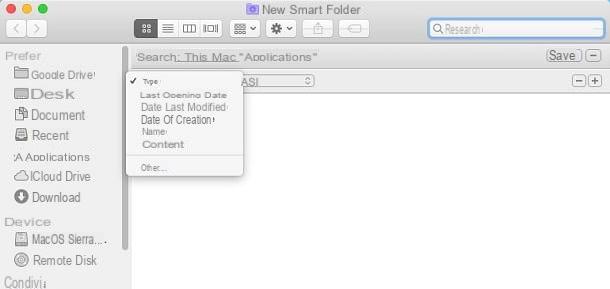
To create a smart folder, click on the item Fillet in the menu bar at the top and, in the context menu, click on the wording New smart folder. If you want to apply a search index within a predetermined folder, access this and follow the same procedure that I indicated in the previous lines.
After creating it, you will be shown a screen in which you must first indicate the location where the search must be performed; then click on the entry This Mac or on the one beside that indicates the name of the custom folder you have previously reached.
Now, click on the button with the symbol + and use the drop-down menus to set the search parameters. Using the buttons with symbols + e -, you can add or remove parameters. After you have configured the smart folder, you need to save it by pressing the button Save. Then select the name you want to give it and the path where to place its access icon.
Create a shared folder
If your intent is to create a folder on Mac to share it on the network with another PC or in the cloud with other users, in these cases I can help you easily. How? I will explain it to you in the next lines.
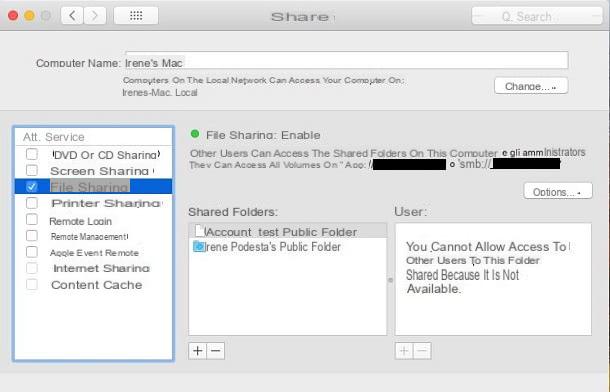
If you want to create a folder to share on the network, you must first enable the sharing feature in macOS settings. To do this, click on the icon with the symbol of a bitten apple, located in the upper left corner of the menu bar. In the context menu that is shown to you, click on the item System preference and select the item sharing, in the panel of Settings say macOS.
In the new screen you see, put the check mark on the item File sharing and then press the button options. Then select both boxes you see on the screen to enable sharing via SMB e AFP. Don't you know what these acronyms are? They are two acronyms that stand for respectively Server Message Block (SMB) is Apple Filing Protocol (AFP), network protocols that allow the exchange of files between two devices.
While SMB is a Windows protocol, AFP is what allows communication between Apple devices. You can therefore activate both protocols if you have computers with Windows and macOS operating systems in the same network, otherwise you can choose one or the other.
Now, check the box next to theMac account and indicates the Password to allow the connection of a Windows PC. Then press on end, to complete.
If you want to add a network share folder, click on the icon with the symbol +, otherwise go to the folder and right click on it; in the context menu that is shown to you, choose the item Get information and, in the screen that opens, put a check mark in the box Shared folder.
In addition to sharing on the network, you can also share a folder in the cloud, using the services made available by Apple (iCloud) or from other services such as Google Drive o dropbox. If you have followed to the letter all the procedures indicated so far to create a folder, it will not be difficult for you to perform this operation on one of these integrated services or that you have installed on macOS.
However, if you have any problems, I suggest you learn more about the subject through some of my guides, such as those on how to share files on Dropbox, how iCloud works and how to share files with Google Drive.
How to create a folder on Mac