Preliminary Information
Before explaining in detail the procedures that will allow you to download, install and use OBS Studio, let me tell you about this program and its main features.
You need to know, first of all, what OBS is totally free, open source and without any limitation. To use OBS, however, there are gods requirements that your computer must comply with: you must have a computer with Windows 7 or higher, with macOS 10.13 or higher or with a distribution Linux among those compatible. On the hardware side, there are no particular requirements to be respected; in any case it is clear that the more powerful the components of the PC (in particular processor and graphics card) are, the less risk of lag and slowdowns in recordings are run.
As already mentioned above, OBS Studio is a software with multiple functions. In addition to allowing PC screen recording, it also allows live broadcasting on platforms such as YouTube and Twitch.
It also allows you to manage many video and audio sources, even mixing them together. If you wanted, you could for example merge your webcam video to your screen recording, or record from your microphone while you perform the steps on your PC.
OBS Studio is so feature-rich that it is also often used for professional purposes, for example in shows that require particularly elaborate video direction. Furthermore, as I explained to you in the previous chapter, all of this is completely free.
That said, let's take action - I'll explain below how to download, install and configure OBS Studio to allow you to record your computer screen on Windows and macOS. You will see for yourself that, despite the many advanced features available, doing this is not difficult at all.
How to record with OBS Studio
Whether you have a Windows PC or a Mac, OBS Studio will allow you to record your screen very easily. From downloading the software to setting up, it shouldn't take you more than a few minutes. Find everything explained below.
Download OBS

To download OBS, you must first go to the official website of the program. If you are using Windows, then press the button Windows, to download the software, while if you are a Mac user, press the button MacOS 10.13 +.
Once the download is complete, launch the installation package OBS-Studio-xxx-Full-Installer-64.exe for Windows version or obs-mac-xxxdmg for the Mac version.
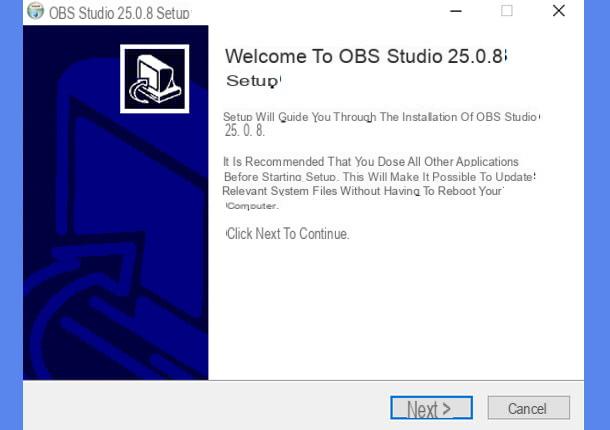
Stai using Windows, press the button now Next to proceed. Press the button one more time Next to accept the conditions of use of the software, then press the button install to begin the installation process. When the process is complete, press the button Finish to finish the installation and start OBS Studio automatically.
If you are using a Mac, all you have to do is drag the icon of OBS Studio in the folder Applications macOS and start the program by double clicking (answering apri on the first start notice). Once this is done, you are ready to record your computer screen: let's see how.
How to record screen with OBS
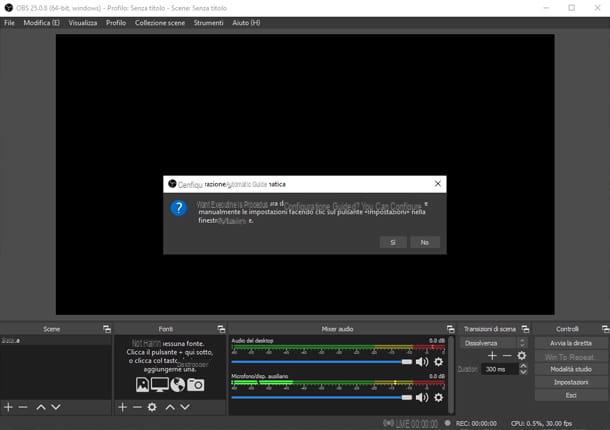
Now that OBS is installed and running, it's time to configure it to allow screen recording and, if you want, microphone audio recording. Know that the instructions I am about to give you are valid for both Windows and macOS, so I'm sure you will have no difficulty following them.
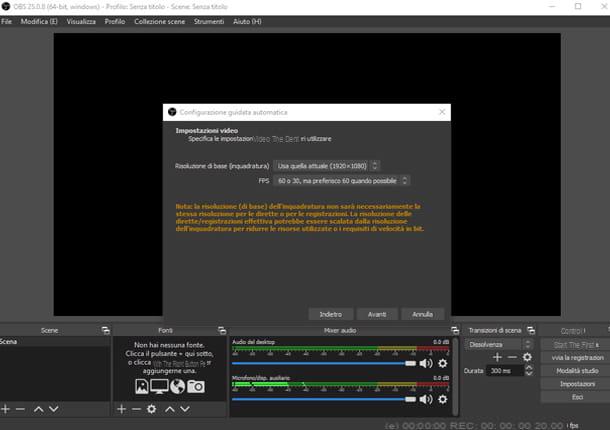
As a first step, press the button Si in response to the message that proposes the guided configuration, in order to start the automatic procedure. Now, select the option Optimize for recordings only, I don't do direct (in today's example I will take care of the videos to be recorded locally and not the direct streams) and press the button NEXT.
On the next screen, keep the proposed options, which will allow you to record the entire screen, and press the button NEXT. To finish, press the button Apply the settings, in order to complete the setup wizard.
Now that OBS is set up and ready to use, here's what you need to do to record your PC screen.
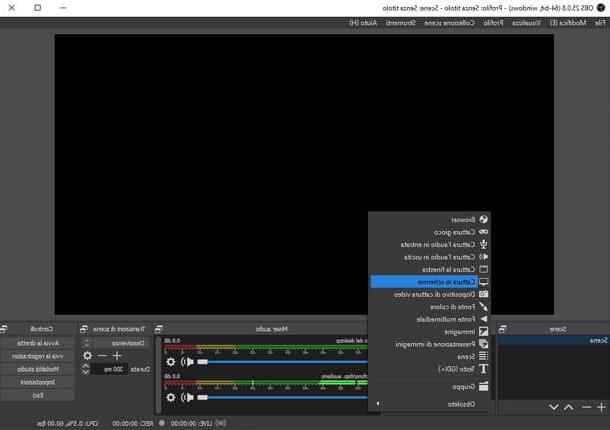
Push the button + in the window References, at the bottom left, to open the source menu. In this menu you can decide what OBS should record. In your case, choose the menu item Capture the screen, to add your screen as a recording source, and press the button OK, to confirm.
In the preview screen that has appeared, you can decide to exclude the mouse pointer from the recording, unchecking the box Cattura il currere. Furthermore, if you have more than one screen, you can select the screen to record, through the drop-down menu located next to the writing Screen. When you are satisfied with the result, press again OK, to finish adding the video source.
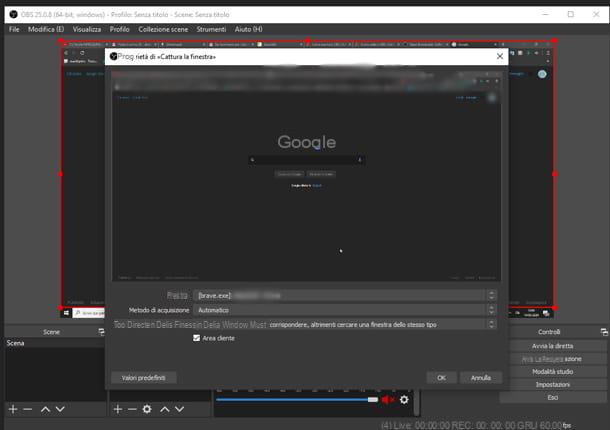
You can also decide to record a single window, for example your presentation program. To do this, press the button + in the window References located at the bottom left, to open the sources menu, and choose the menu item Capture the window.
Then press the button OK. Now you can choose the window to capture through the menu Window and you can decide whether to exclude the mouse pointer from the recording, unchecking the box Cattura il currere. Once you have chosen the window to record, press the button OK.
As you have surely already noticed, by capturing the image of the entire screen, OBS will also try to capture the image of the software itself, producing a somewhat peculiar result. Don't worry, however: this effect will wear off as soon as you change windows.
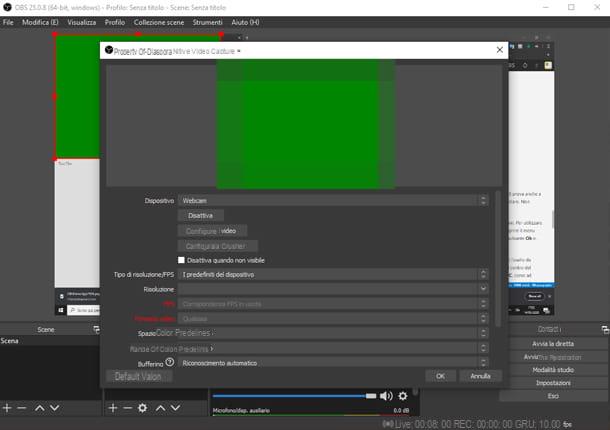
OBS Studio, as mentioned before, even allows you to insert a box containing the footage of yours webcam. To use this feature, press the button + in the window References, bottom left, and choose the menu item Video cattura device.
Now press the button OK and, on the preview screen, select from the menu Device the voice corresponding to yours webcam. Press the button now OK to add the webcam to your source list.
You can move the webcam video source by pressing and holding on the box containing the video being broadcast from the device and dragging it to the desired location. Similarly, you can resize the webcam video by pressing on red squares on the edge of the video itself.
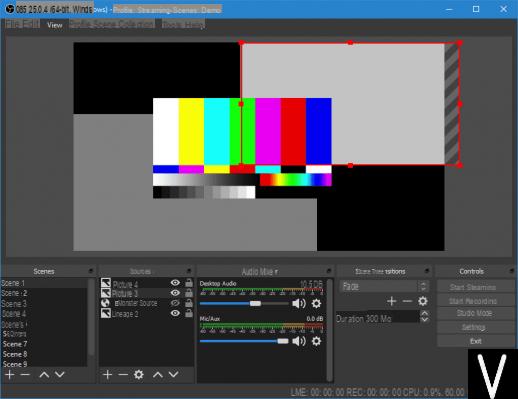
Before we start recording, I want to explain how to set up the audio to be recorded. In the section Audio mixer, placed in the lower part in the center of the software, there are some channels.
These channels represent thepc audio, such as the music or audio of a video, and themicrophone audio (if connected to computer).
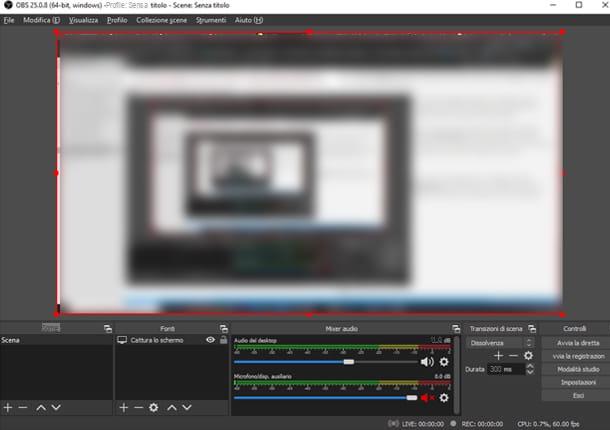
To deactivate or reactivate one or the other, simply press the image with the speaker symbol placed under the channel to be modified. Through the blue line to the left of the icon, you can also adjust the volume of the corresponding channel.
All you have to do is go back to the menu References and add the audio sources you want, for example Capture incoming audio for microphone / webcam audio o Capture outgoing audio, to capture PC audio. Warning: if you have a Mac, in order to capture system audio you must install third-party software: I have told you about it in detail in this guide. If you have further problems with capturing audio, especially if you are using macOS 11 Big Sur or later, you may find it helpful to install the software eqMac, which allows you to equalize the system audio and make it captureable by OBS.
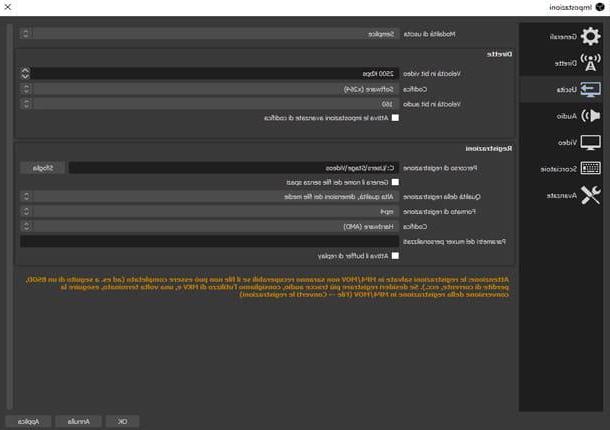
As a last step, you need to set the recording quality and decide where to save the resulting file. Then press the button Settings present at the bottom right and choose the left menu item Exit.
In the Recordings, you can choose the path in which to save all future recordings by pressing the button Shop by Department. You can also set the Recording quality through the relative menu: my advice is to keep the proposed value, that is High quality, medium file size, and only decrease it in case of very long recordings or lack of disc space.
Finally, you can choose the Registration form from the menu of the same name. In this case, I advise you to choose the format mp4, as it is compatible with almost all devices, so you will have no problem sending and sharing your recording.
If you are curious to know more about the settings available in OBS and their functions, I suggest you read my guide on how to set up OBS, which explains in detail the various types of settings available in this software.
Once you have finished making changes to the settings, press the button OK, to return to the main screen. Now that everything is ready for recording, press the button Start recording, to start recording.
When you want to stop recording, just go back to the OBS screen and press Finish the registration. You will then be able to find the file containing the recorded video in the folder you selected earlier. Simple, right?
How to register with OBS