How to record a webinar on the PC
There are a number of platforms for broadcasting a webinar, and some of them offer internal options for downloading broadcast conference recordings. Don't worry though, even if the platform you use doesn't have this feature, I'll show you how to register a free webinar through external tools. But remember: before making a recording, in case you are the organizer of the meeting, you must inform all participants, including those connected later and getting theirs consent to registration. That said, when you are ready, I invite you to continue reading.
How to record a webinar on Zoom
Zoom is one of the main platforms for broadcasting webinars. It comes as a free downloadable program from the developer's website, available for both Windows that for MacOS. If you need it, I've explained how to download and install it in my guide dedicated to the theme.
Although the download is free, the program offers some unlockable settings for a fee, which also affect the ability to record a webinar and save it via in cloud. Either way, don't worry, it's possible record a live webinar also through the free version of the program.
First, you will need to make sure that the videoconference you are participating in is enabled for registration. This opportunity must be given by the user who organizes the webinar, therefore you will not be able to register through the internal service of the platform if the organizer has not activated the possibility.
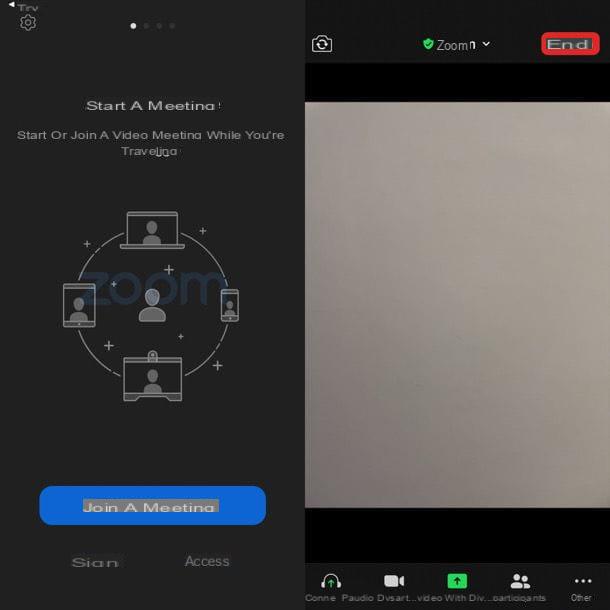
If not, join the videoconference via the link or the Meeting Code that has been provided to you and carefully observe the toolbar at the bottom. If enabled for recording, you should find, on the right, a button called Registration.
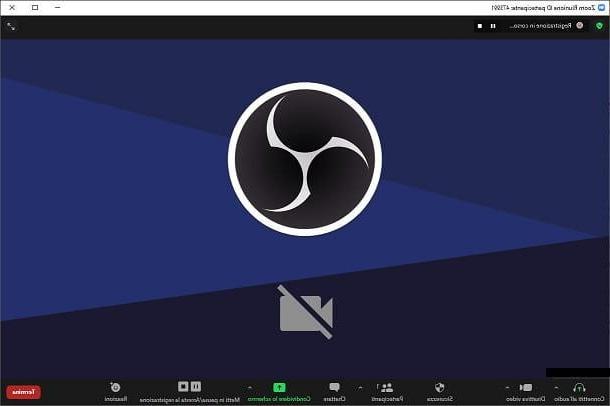
Click on it, then choose whether to save the recording to your computer or to the cloud. But know that to register on the cloud you will have to subscribe to the Zoom PRO plan, from the cost of 139,90 € per year. Then select the option Record on this computer, also reachable by the combination of keys Alt + R.
Once the recording has started, instead of the button Registration you will be shown two options side by side: the one named Pause is that Stop recording useful, precisely, to temporarily or permanently interrupt the recording.
At the end of the meeting, the recording file is converted to MP4 file and can be found in the folder opened automatically at the end of the conversion process.
Nothing could be simpler, but remember that to register the webinar you will need to have the authorization of the organizer. If you were the host, however, know that the webinar participants will be informed of the recording in progress, so I recommend that you notify them in advance to obtain their consent.
How to record a webinar on Meet
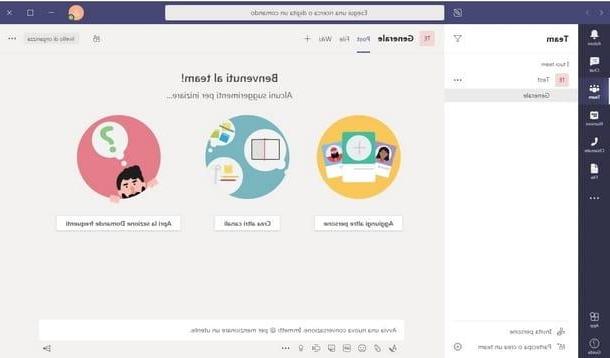
Google Meet is a free online platform developed by Google that allows users with Google accounts to participate in meetings and video conferences. At the time of writing, the Meet webinar registration feature is only offered in the paid versions of the service: Business Standard e More, Enterprise, Education Fundamentals, More ed Essentials.
First of all, therefore, if you are the owner of one of the plans in question, log in to Google Meet; then, if you are an administrator, proceed to activate the service Google Drive. In fact, the recordings will be saved on Google's own cloud space, linked to your account.
Then connected to the Google Workspace login page, click on the button Administration Console, located at the top right, press the button NEXT and select your business or school Google account. Then complete the login by entering the Password and pressing the key NEXT.
In the open screen, click on the menu Applications, then select the submenu Google workspace. In the list that appeared, locate Drives and Documents and click sul pulsating Status of the service. Choose the option Active for everyone, to activate it for all users of the organization, finally press the button Save.
After that, return to the screen Applications, click again Google workspace and press on the item Google Meet. Then click on the items Video settings for Meet e Registration, after selecting theorganizational unit.
Finally, check the box Allow users to record their own meetings. Click on the button Save to confirm. You can consult the official guide offered by Google to learn more in detail.
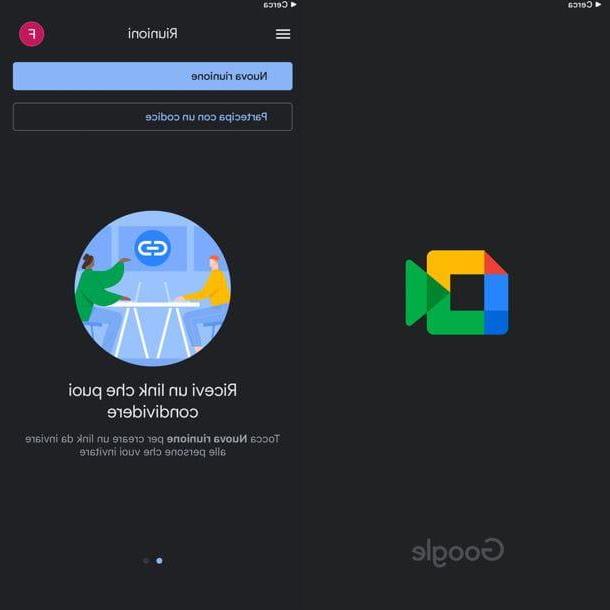
Once you have granted registration permissions, whether you are a participant or an organizer, log in to Webinar or to the meeting via the link and click on three dots at the bottom right.
Select by voice Record meeting from the opened menu and click on the button Accept in the pop-up that appeared on the screen, in which you are asked to confirm that you have obtained consent to registration from all participants.
To stop recording, the procedure is the same as shown above. Specifically, you need to click on three dots at the bottom right and choose the item from the menu Stop recording. Click the button again Stop recording, to confirm.
The recordings are saved on the connected Google Drive account, therefore, to find them, go to the section My Drive and search for the folder Meet recordings, created automatically by the platform.
To learn more, I suggest you consult the guide I have dedicated in detail to recording a video conference on Google Meet.
How to record a Teams webinar
Microsoft Teams is the official platform developed by Microsoft for sharing and broadcasting conferences and webinars. In order to enable registrations, however, it is necessary to have a subscription Office 365 E1/E3/E5/A1/A3/A5, Microsoft 365 Business Premium, Business Standardthe Business basic.
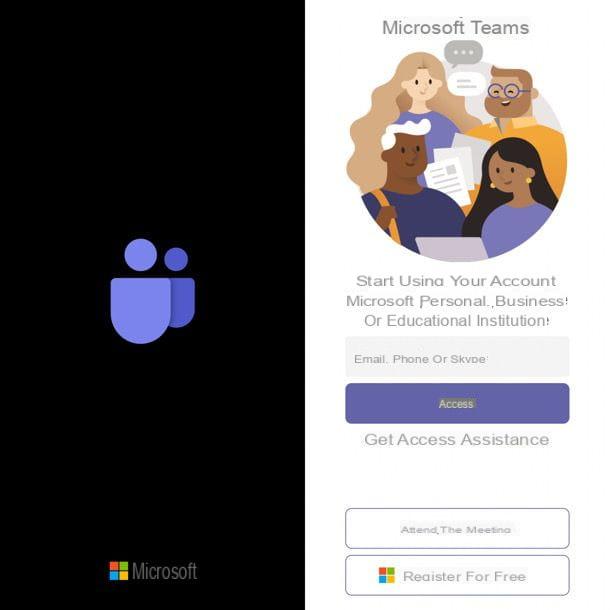
Once you have downloaded the application, and logged into it (I refer you to my guide on the subject if you do not know how to do it), starts a new meeting, or partecipa to a meeting you previously scheduled.
Remember that to record the meeting you must have a license to use the program from those described above and not be identified as a guest user of the meeting or webinar.
Remember to notify the meeting participants of the recording (who, in any case, will receive a notification that the recording has started), then click on the three dots places in the menu bar, named Other options. In the menu that appeared, then choose the option Record meeting.
When you are planning to end the meeting, proceed as above and click the button Stop recording. Then click again on the entry in the confirmation pop-up. After the webinar, Teams will create a unique link, through which you will be able to view and download the recording of the meeting and which can be shared with other members of the same.
The recording is stored within the service Microsoft Streams. To find it, go to the Microsoft 365 home page and click on the option for Microsoft Streams, within which all the recordings made are available.
Then click on the options Personal Content e Video, to view the list of recordings made. Using the buttons on the right of the videos, you can manage the privacy of the recordings and choose who to make them accessible.
Instead, click the pencil to edit the details of a video, or to download it. At the top right you can choose whether to click on the option Download video, to download the movie on your computer, or on Delete video, to delete it. The recording saving process may take a few minutes, depending on the length of the recording made.
How to record other webinars
As mentioned, not all platforms offer the opportunity to record webinars and video conferences. To overcome this possible shortcoming it is possible to use screen recording software, such as the very famous OBS (Open Broadcaster Software), which is free, open source and compatible with all major operating systems (Windows, macOS and Linux). Refer to the guide I have dedicated to this program to know how to download and install it on your computer. Once this is done, you will be immediately ready for record a webinar with Windows, record a webinar with Mac or even with Linux, depending on the operating system you use.
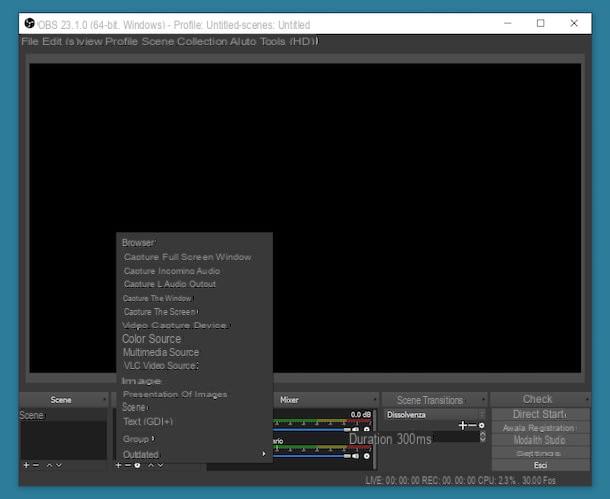
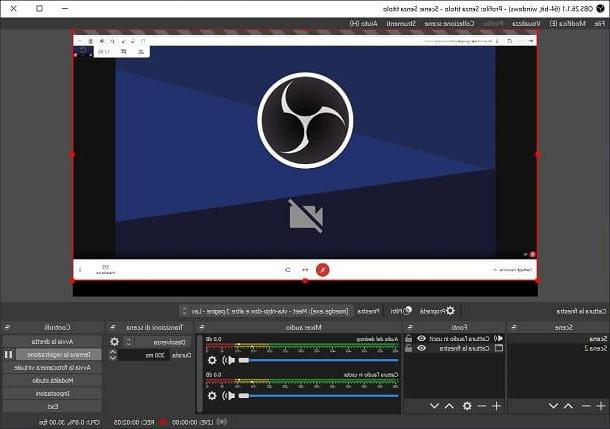
The procedure for record a webinar with OBS it is very simple and does not vary depending on the operating system on which the program is installed. First, open OBS and click sul pulsating +, present in the named submenu References, which is located at the bottom left (if this is the first time you use the program, skip the initial configuration procedure). Then choose the option Capture the Window and look carefully at the newly opened screen.
In the scroll menu Window, select the application in which you opened the webinar (eg the browser), you will be able to recognize it from the image that appears in the OBS window. You can leave the rest on default, but my advice is to click on Hide the cursor, to not show the mouse pointer in the recording.
Then press the button OK and leave the program with the webinar open. Then press the button again + on the menu References and choose the option this time Capture audio output, to record audio coming from the computer. In the appeared menu, then choose how Capture device the audio default, or select the audio devices used by your computer from the drop-down menu. If you have a Mac, unfortunately this option is not available, unless after installing special third-party tools. I have explained everything to you in my tutorial on how to record Mac screen with internal audio.
To capture audio from microphone / webcam, you can select the repeat the above procedure, but this time selecting the option Cattura l'audio in entrata from the source menu.
Finally, access the menu Controls, then select the item Exit and define the settings of the video you want to get: you can enter the Registration path Recording quality, Registration form (it is. MP4 or MKV) and the Video encoding. Before exiting the settings, click on the buttons Apply e OK.
Once everything is set up correctly, click on the button Start recording, to start recording. Once the recording has started, you can click on the button Pause, to stop recording momentarily, or on Finish the registration, to permanently stop recording and save the video file. You can find the complete registration by clicking on Fillet and then View recordings.
How to record a webinar on smartphones and tablets
In case you need to record a webinar on mobile devices, such as smartphone o tablet, know that there are both functions internal to the applications on which they are transmitted, and recording functions included in the operating systems Android e iOS / iPadOS. Here's everything in detail.
How to record a webinar on Zoom
Zoom is available on Android (also on alternative stores, for devices without Google services) and iOS / iPadOS and its official app allows you to record webinars with the consent of the organizer, but only after purchasing the paid version, Zoom Pro, which at the cost of 139,90 euro per year allows you to have access to the cloud space on which the recordings are stored.
To proceed, in the menu ... present at the bottom right of the live screen, you have to press the button named Registration. You can then click on Stop recording to stop recording. The video will be automatically uploaded to the cloud service provided by Zoom, while it will not be possible to save the video locally.
How to record a webinar on Meet
Google Meet is available as an application for Android and iOS / iPadOS. Unfortunately, however, this does not allow the registration of webinars or live broadcasts through an internal function.
Don't worry, though: I'll show you some useful methods for recording live broadcasts on this platform from both Android and iPhone later on.
How to record a Teams webinar
Microsoft Teams is present on the Android stores (also on the alternative stores, for devices without Google services) and iOS / iPadOS through an application that offers the same functionality as the Web version. Once logged in, video recording is only enabled for users with accounts with subscriptions Office 365 E1/E3/E5/A1/A3/A5, Microsoft 365 Business Premium, Business Standardthe Business basic.
You cannot record the meeting video through the internal service, even if you are registered as a guest (guest), so to do this you have to resort to alternative methods of recording the screen, which I will explain later.
If, on the other hand, you are the organizer of the live broadcast or have access to the registration opportunity, go to three dots present at the bottom right of the live screen and tap on the item Record meeting.
Attendees will be notified of registration via a notification, so let them know before you start registering. The webinar will be saved in Microsoft Streams at the end of the recording, which occurs when you press the button again Stop recording, placed in the menu with the three dots.
How to record other webinars
Both devices Android than those iOS / iPadOS have internal functions that allow you to record your screen. Be careful though: some applications, like Google Meet, do not allow you to record live audio. To work around this problem, when registering, make sure you also select the option to register themicrophone audio, therefore, turn the volume to maximum and keep the phone in a quiet place while the webinar is playing. It is not exactly the best, but it is the only viable solution, sorry!
That said, on most devices with Android 5.0 or successivi there is an app named Record Screen o Screen Recorder. To use it, after opening the webinar, leave the screen for a moment and open the screen recording application, then tap on the button to start recording and provide all required permissions. Sometimes, the screen recording app is also present in the Notification Center of Android, in the form of a video camera icon.
The phone will start recording everything on the screen, then return to the platform on which the webinar is being broadcast and leave the smartphone active on the live broadcast to continue recording. In case you want to stop recording, tap on the record button which should be superimposed in a corner of the screen, or on the button Stop placed in the notification bar, then wait for the video to be saved in the Gallery of your smartphone’s battery.
If your smartphone does not have the screen recording function, I will point out a few external applications very useful, which can do for you. Consult the guide I dedicated to recording on Android devices to learn more.
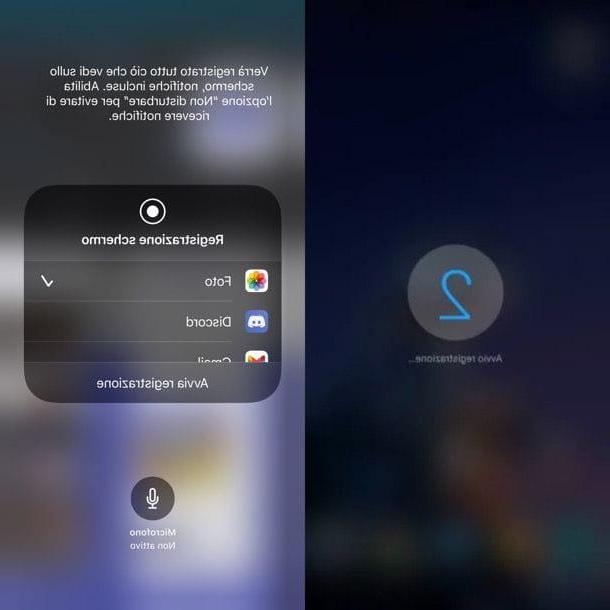
On devices iOS / iPadOS, the registration procedure is really simple and intuitive. In fact, you just need to log in to the Control Center with a swipe from the top right corner down (for devices with Face ID) or from bottom to top, in the center (on devices with a physical Home button).
Then locate the icon with the shape of a cue ball and, once tapped on it, the screen recording will start (after a countdown). Hold down the ball for a long time to also activate the recording of the microphone.
If you do not find this option, to make it appear, go to the menu Settings> Control Center> Customize Controls. Finally, tap on the icon + placed next to the item Screen Recording And that's it.
At the end, tap on thered indicator in the top bar, to stop recording, which will be saved in the app Gallery. For all the details, I recommend that you read my guides on how to record iPhone and iPad screen.
How to record a webinar