OBS requirements and compatibility

Thanks to OBS, free and open source software created for recording and streaming multimedia content, it is possible to create creative and illustrative videos by choosing from a large number of sources, which can also be used simultaneously, while remaining comfortably seated in front of your computer.
If you are wondering what are the hardware and software requirements to use it, I can safely tell you that this program is fortunately not demanding at all, because it is compatible with operating systems Windows (gives Windows Vista SP2 in poi), MacOS (macOS 10.13 or higher) and Linux.
Open Broadcaster Software (full software name) is free and requires only 400 MB minimum free disk space and a compatible graphics processor with DirectX 10.1 (for Windows systems).
Clearly, the processor plays a fundamental importance: the more the number of sources to be acquired and the resolution of the same increases, the more computing power you will need if you do not want to detect annoying slowdowns.
Although the hardware requirements inside the PC are quite low, it is also true that depending on the type of source to be included in the recordings it could be useful to have a good webcam, video camera and / or camera, as well as good headphones and microphone.
If you already have all the devices you need I recommend you try them with OBS, however if you feel you need to step up and buy better ones then I can recommend some webcams, camcorders and cameras myself.
For example, you can find advice in this buying guide on the best webcams available, or if you think a good pair of headphones with microphone is right for you, you can find my advice here. I also point out my guide to buying video cameras and the one relating to the best cameras.
Furthermore, before proceeding I would like to point out that if your intention is to create many recordings and save them on your computer, you will need plenty of space, which is why I would also recommend a good external hard drive to use as a "warehouse" of content, easily accessible and transportable than the internal ones.
Finally, if you need to do live broadcasts of your recordings, make sure you have one good internet connection, let's say at least 2 Mega in upload.
How to record PC screen with OBS Studio
The use of OBS it is very simple in itself, although the initial setup steps require a little more attention. Do not worry, however, nothing alarming, also because I have decided to describe in detail all the most important steps and the precautions that I consider most useful for a correct use of the program. So let's ban the chatter now and see how to download and install OBS on Windows and macOS!
Download and install OBS
download OBS on your PC, all you have to do is connect to the official OBS website and click on the button for the operating system in use on your computer, for example Windows o MacOS.
When the download is complete, if you use Windows, april il .exe file you just got and click on the button first Yes and then Next, then tick the item I Agree and finish the setup by clicking on the buttons Next, install e Finish.
I invented a Mac, april il .pkg file obtained and click on the button first Continue twice in a row and then on Install. Then type the Mac admin password and finish the setup by clicking on the buttons Install software and then Close e Move (to trash the installation package).
How to set up OBS to record
Once the program is installed, it's time to see how to set up OBS to record. At the first launch of the software, you will be greeted by the suggestion to proceed with the Automatic guidata configuration of the same: this is a very useful function for setting the basic elements and functions of OBS, such as recording or streaming.
This configuration procedure starts after clicking on the button OK (to accept the terms of use of the program). So, accept the procedure as well Automatic guidata configuration with a click on the button Yes. Since your purpose is to record PC screen, choose to optimize OBS for recording with one click preference Optimize for recordings only, I don't do direct and confirm by clicking on the button NEXT.
The next step prompts you to select the Basic resolutionbut my advice is to leave the choice on Use the current one [your screen resolution], then choose the FPS leaving 60 or 30 (60 is preferable but it all depends on the hardware capacity of your computer, so if you have doubts leave 30).
Having made these choices, you can click on the button NEXT and complete the OBS configuration procedure by clicking on the button Apply the settings.
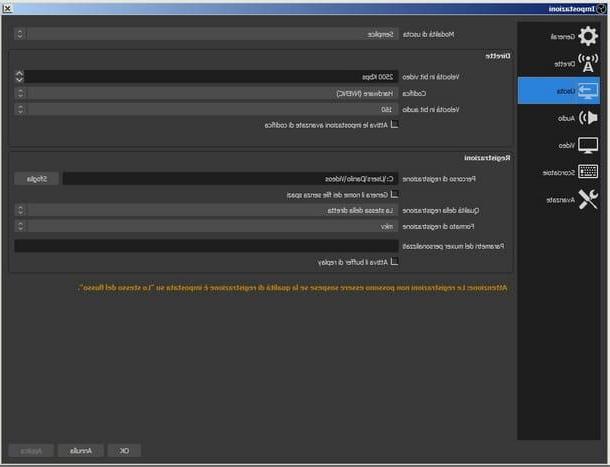
After this first basic setup, it's time to access the more advanced settings. You can enter the appropriate menu by clicking on the button Settings placed in the box below, called Controls. From this new window you can navigate through the settings by scrolling the menu on the left. The first change to be made is that relating to the choice of output from the menu Recordings.
To do this, click on the icon Exit and type or copy and paste the Registration path. In other words, this is the folder in which OBS saves each recording, so you can choose the destination that is most convenient for you to manage and consult.
Still from the same menu you can find the settings concerning the Recording quality, Registration form (it is. MP4 or MKV) and the Encode video. After expressing your preferences, remember to click on the button Apply, down, and up OK, to exit the menu making changes to the program.
How to record screen with OBS
Now is the time to “get your hands on”, that is, set up the video and audio sources to include in your recordings.
To add sources, always proceed by clicking on the button [+] from the menu References, down. Among the different sources available, those related to screen recording are Capture the window e Screen capture, while to record audio as well, the most important are Cattura l'audio in entrata e Cattura l'audio in uscita.
Another interesting source is that of capturing images and videos from a video camera / camera or webcam, identifiable by the voice Video cattura device.
I begin by explaining the procedure for capturing the screen. This feature considers everything you see on screen as a video source to record. Insert it into your scene by clicking on the button [+] in the menu of References, and choose the option Screen capture.
You can choose to set a name for this source and click the button OK to move forward. After that you can set some preferences, like Capture the mouse cursor. Remember to always click the button OK when you are done and want to confirm the settings.
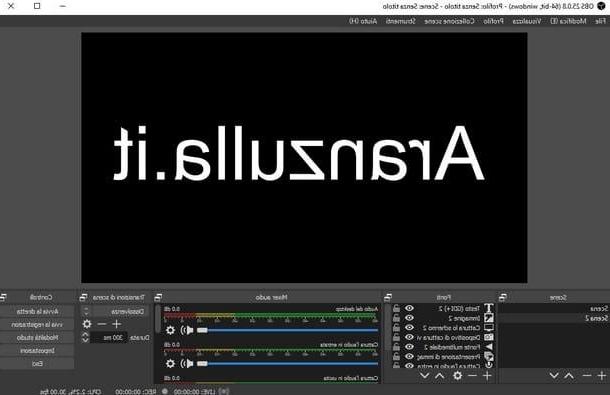
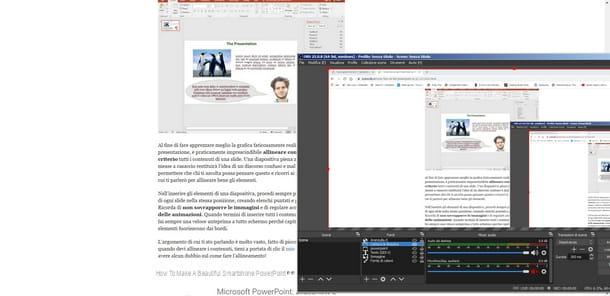
The main screen of the program displays everything you are doing on your PC, in all its parts. This box that welcomes your screen shot is editable using the selection rectangle: stretch it, tighten it or move it according to your directing preferences.
As I told you, for record PC screen with OBS you can also choose the source Capture the window, the purpose of which is to register only the window of a program that you have already started. To add this source, the initial procedure is the same: from the box References, click the button [+] and choose Capture the window.
After assigning the name to the source (optional), click on the button OK, then choose from the first drop-down menu which program you want to be recorded and confirm the addition of this source by clicking the button OK.
After adding video sources, to add one or more audio sources, always proceed by clicking the button [+] from the box References and choose Cattura l'audio in entrata, or Cattura l'audio in uscita.
The difference between the two sources is that the former records from input devices such as microphones, so it comes in handy if you want to add your voice to recordings, while the latter records everything that is played by your PC (e.g. audio of a program). Clearly, nothing prevents you from adding both sources. Up Mac, to capture computer audio you may have to resort to external support software as I explained to you in my tutorial on how to record Mac screen with internal audio.
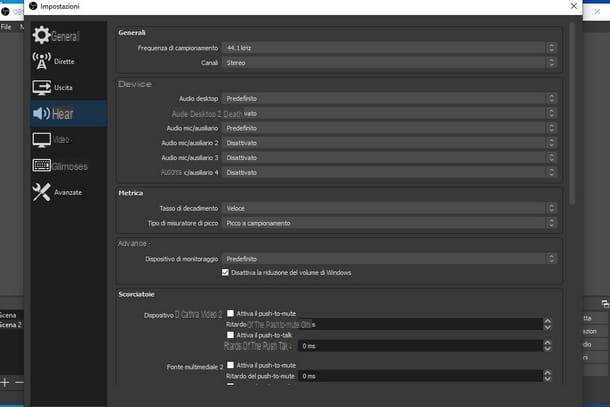
Whatever your choice of audio source, you are asked to assign an optional name and click on the button OK. From this new window you can choose the Device audio and adjust the volume using the mix more down. Feel free to click on the button OK to finish the setup and add the audio source to your recording.
I remind you that to make your recordings more personal you can also add them as a video source footage of your webcam. To insert the webcam into the OBS shot, you must once again click on the button with the symbol [+]I will select the voice Video cattura device, give it a name (optional) and click on the button OK.
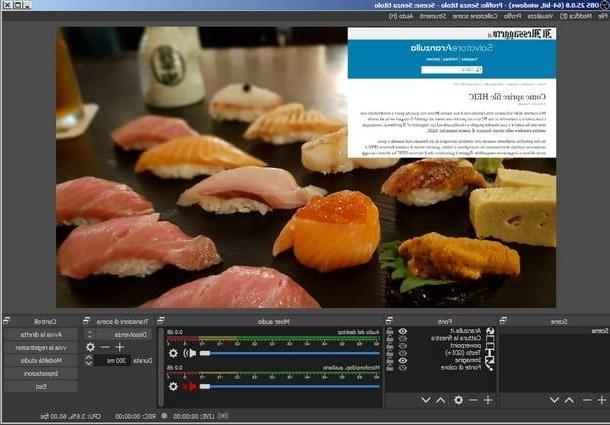
From this new screen, select from the drop-down menu the Device, that is the name of your webcam connected to the PC. You can easily tell if the camera is set up correctly because OBS immediately plays a preview of what it captures.
Finish the configuration by clicking on the button OK and adjust the webcam capture pane, placing it where you see fit.
If you have reached this point and have set up all the sources you need, all you have to do is start recording. You can start recording from the section Controls located at the bottom right of OBS. When you want to start recording, click on the button Start recording and from the moment the button is pressed, OBS records all previously set sources.
In case, during a recording, you want to hide or show a source, you can click on the button depicting an eye located next to each source in the appropriate menu.
Remember that to stop the registration just click on the button Stop recording. In this way, the video file will be processed and acquired by the program and then saved directly in the previously set directory. To see the recording, copy it or delete it, just go to the appropriate folder.
The potential of OBS is truly enormous, not to mention the possibility of configuring it to create live streaming, it is also possible to use it to create creative footage with the webcam, to record game gameplay, or to create collages of videos and images. Interesting, don't you think?
If you too see so much potential in OBS and would like to learn more about it, then I invite you to read my complete guide on how Open Broadcaster Software works.
How to record PC screen with OBS


