Before you begin: images to download or to take inspiration from
Since you are a beginner with the world of digital graphics, before trying your hand at creating logos, I suggest you take a "spin" on Clker and take a look at the images on the latter.
Clker, in case you had never heard of it, is a site that collects designs and logos in the public domain. This means that all the images in question can be downloaded (even in vector format) and reused in both personal and commercial projects. In short: whether you want a simple "inspiration" for the logo you need to create or images to use directly within your logo, this is the site for you!
To find designs and logos suitable for your project, use the search bar placed at the top. The search must be done using English terms, please. Once you have found the image of your interest, to download it in vector format on your PC (SVG), first click on its thumbnail and then on the button SVG present on the page that opens. That's all, no registration is required.

Program to create logos
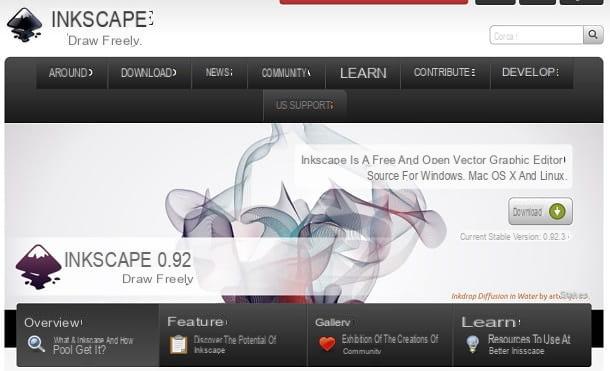
Now we come to the program I was talking about at the opening of the post: it is Inkscape, a free and open source program dedicated to vector graphics. It is very easy to use, its interface is fully translated into your language and is compatible with all major PC operating systems: Windows, macOS and Linux. Let's find out now how to install it and how to use it for create a logo noteworthy!
Inkscape download and installation
To download Inkscape on your computer, connect to the program's website and click on the icon of the operating system you use: the pennant of Windows, the apple macOS and so on.
On the page that opens, if you are using a Windows PC, click on the link installer (msi) found under the heading Downloads for 32-bit Windows versions if you use a 32-bit operating system or under the heading Downloads for 64-bit Windows versions if you are using a 64-bit system.
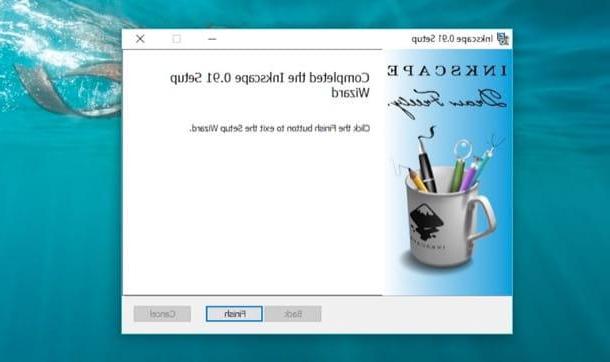
When the download is complete, start the Inkscape installation package (eg. inkscape-0.91-x64.msi) and, in the window that opens, click on the button Next. Then put the check mark next to the item I accept the terms in the License Agreement and finish the setup by clicking on first Next and then Typical, install, Yes e Finish.
If you are using a Mac, you need free software called XQuartz. After downloading the Inkscape installation package for macOS (by first clicking on the apple and then on the voice This .dmg file is for Mac OS X 10.7-10.10 on the program's website), then connected to this web page and click on the link XQuartz-2.xx.dmg to download xQuartz.
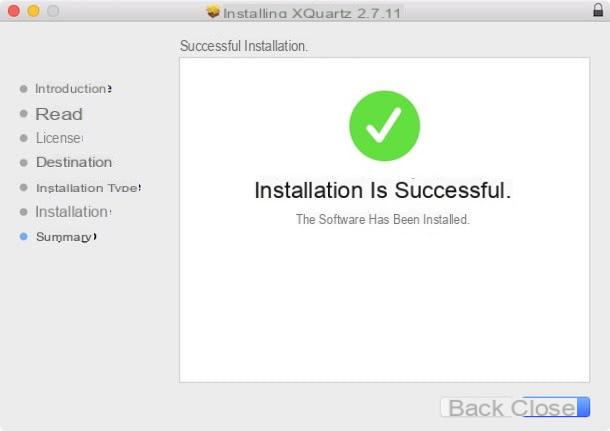
A download complete, apri il dmg package which contains xQuartz, right click on the executable xQuartz.pkg contained in it and select the item apri from the menu that appears. In the window that opens, click on the button first apri, Then Continue three consecutive times, Accept e Install. Then type the password of your user account on macOS and complete the setup by pressing first on Install software and then OK e Close.
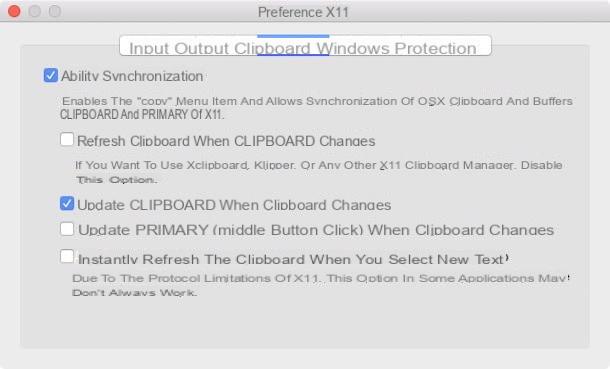
When the xQuartz installation is complete, open the Inkscape dmg package and drag the program icon to the folder Applications of macOS. Then log out of macOS (or restart your computer), start xQuartz, select the voice Pref Renze from the application menu (top left) and adjust the settings in the window that opens following these instructions.
- In the tab Entrance check the options only Enable keyboard equivalents with X11 e Option keys send Alt_L and Alt_R.
- In the tab Clipboard check the options only Enable synchronization e Update CLIPBOARD when notes change.
How to create logos with Inkscape
Now here we are! It's time to roll up your sleeves and create logos with Inkscape. To start the software, on Windows, double click on its icon on the desktop and wait a few seconds. To start it on macOS, instead, go to the folder Applications computer, right click on the icon Inkscape and select the item apri from the menu that appears (this operation is only necessary at first start). It may take a few seconds to display the main program window: try to be patient.
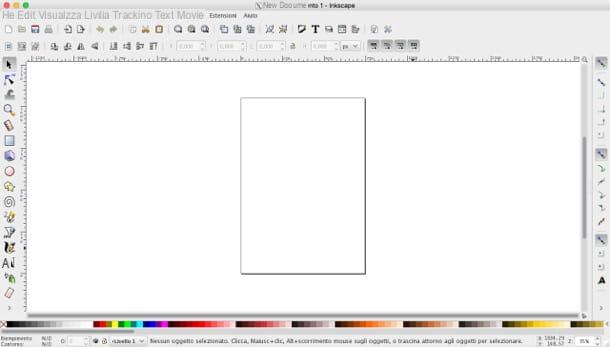
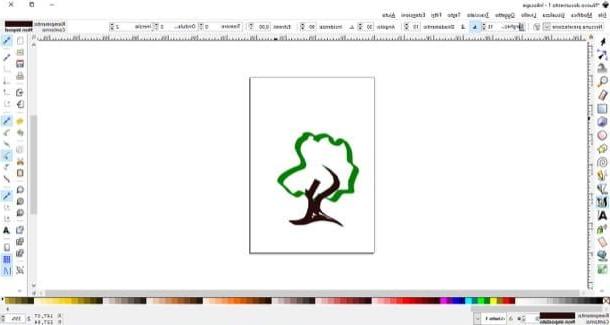
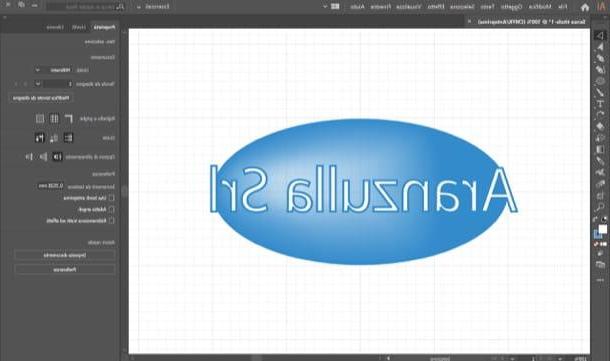
When Inkscape is started, you will find yourself in the presence of an interface as follows: on the left a toolbar with the tools for creating and editing images (geometric shapes, text boxes, brushes, selection tools, etc.); in the centerworking area with the "sheet" on which to create the logo; on the right a toolbar to adjust the type of link between paths, objects, etc.; above the classic buttons for open, save, print etc. and below one palette for selecting colors.
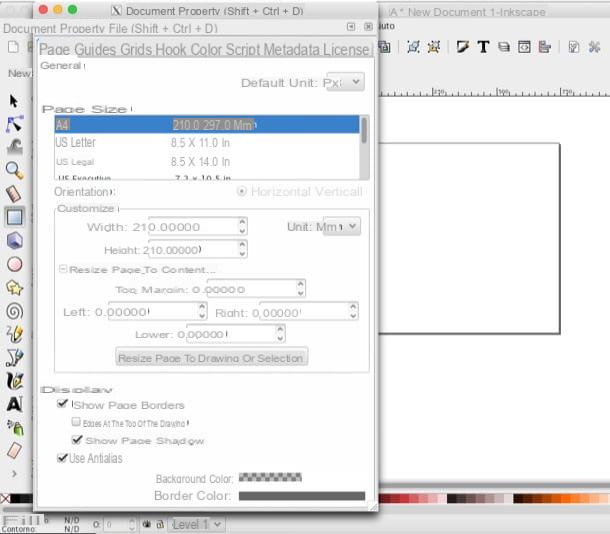
Well, to create your logo you must first adjust the size of the workspace, that is, of the sheet on which to create the logo. To do this, select the item Document ownership from the menu Fillet located at the top left, specifies the dimensions that the "sheet" must have in the fields Width e Height (you can change the unit of measurement to be used via the drop-down menu Unit) and close the window.
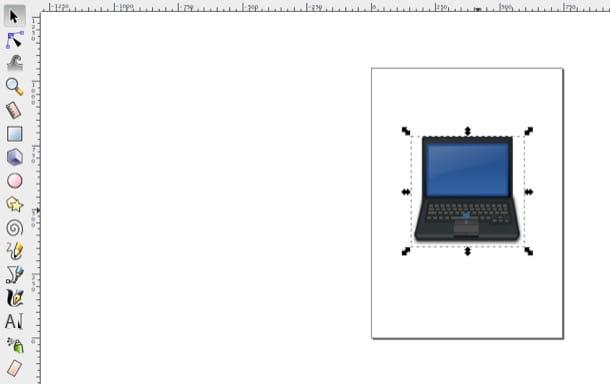
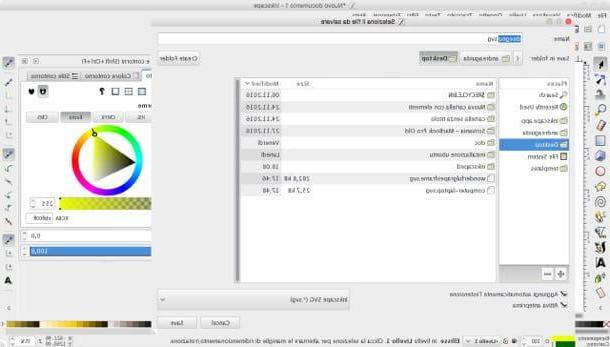
At this point, if you have previously downloaded images to include in the logo, select the item Import from the menu Fillet Inkscape (top left) and select the file SVG to be included in your logo.
When the operation is complete, to move and resize the image just imported in the workspace, select it selection tool from the left sidebar (the black mouse cursor). Indicators will appear through which you can freely move and resize the image.
To add new elements to your logo, such as geometric shapes o text boxes, select the appropriate tools from the left sidebar and use the mouse to "draw" them on the worksheet.
When the operation is completed, you can adjust the fill colors and borders of each element by right clicking on it and selecting the item Filling and outlines from the menu that opens. A side menu appears (on the right) through which you can adjust all preferences relating to fill colors and borders.
For example, if you want to set a solid fill (that is, a single color) for the selected object, select the tab Filling from the right menu, click on blue square placed next to the "x", presses the button Wheel and select a color from the graph that appears.
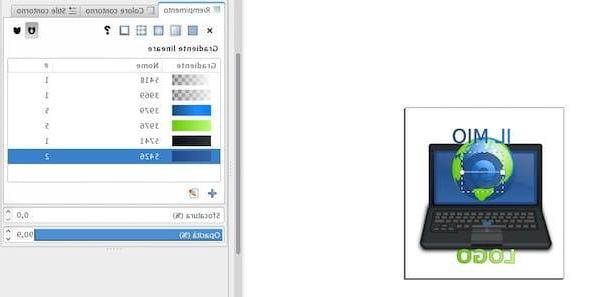
If instead you want to set a gradient fill (consisting of two colors), click on the second square placed next to the "x", presses the button "+" at the bottom and select the two-colored rectangle that appears in the menu Linear gradient. Next, click on two indicators (one square it's one rectangular appear in the corners of the element to be colored) and sets the start and end colors of the gradient. Also from the right side menu, you can also set the levels of blur e opacity fill colors.
As for the borders, you can activate them by selecting the tab Outline color from the right sidebar and clicking on first square placed next to the "x" to make them uniform in color or on the second square if you want to create them in gradient color. To select the colors, follow the procedure seen above for the fill colors, the steps to be taken are the same.
If you want, you can also arrange the elements included in your logo to appear above or below other elements. For example, if you want to move a shape you created below an image you imported earlier into your worksheet, select the shape with Inkscape's selection tool and select the entry Lowers from the menu Subject which is located at the top left.
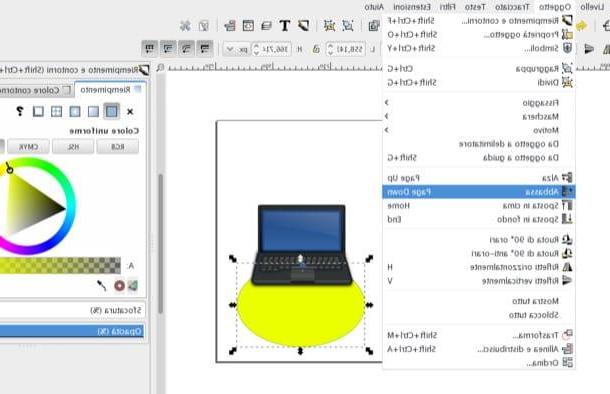
The same procedure can be followed for writings, images and so on. In this way you will have the possibility to organize the elements of your logo so that they respect perspectives and positions in a precise way. In the menu Subject Inkscape also has functions to rotate elements, flip them, bring them to the foreground, etc. In short: you can really do anything.
When you are satisfied with the result, you can save your logo as a vector image in SVG format by selecting the item Save eat from the menu Fillet which is located at the top left. In the window that opens, before confirming the saving of the logo, make sure that the format is selected in the drop-down menu at the bottom right Inkscape SVG.
SVG files generated by Inkscape can be viewed in any browser and graphics software. Furthermore, as already mentioned at the opening of the post, they can be resized and modified freely without any qualitative loss.
To learn more, I strongly invite you to consult the program's website, where you can find many tutorials and video tutorials that will allow you to deepen the operation of Inkscape (of which today I have shown you only the most basic functions, which in any case should be enough for creating a logo as simple as you need).
If Inkscape seems a bit too difficult to use, you can rely on online services such as Youidraw, which is extremely easy to use, however, as announced at the opening of the post, it only allows you to download logos in low definition with a watermark. printed above. If I were you, I would try a little bit to study how Inkscape works: the results you can get are incredible!
Create logos