How to record a videolesson on a PC
If you take your courses mainly from computer, you probably want to know how to record a video lesson through the latter. Am I right? Then I'll settle you immediately.
Below you will find listed tools that allow you to record everything that happens on the PC screen (including audio), with the possibility of specifying individual applications and sources to capture, and you will find illustrated some recording functions included in the videocall platforms (eg . Google Meet, Zoom and Microsoft Teams) that will surely come in handy.
How to record a video lesson with OBS

OBS (Open Broadcaster Software) is an excellent free and open source program that allows you to record everything that happens on your computer screen, having the ability to choose and customize all the video and audio sources to use. It also allows you to perform live broadcasts on Twitch, YouTube and other platforms and is compatible with all major computer operating systems: Windows, MacOS e Linux.
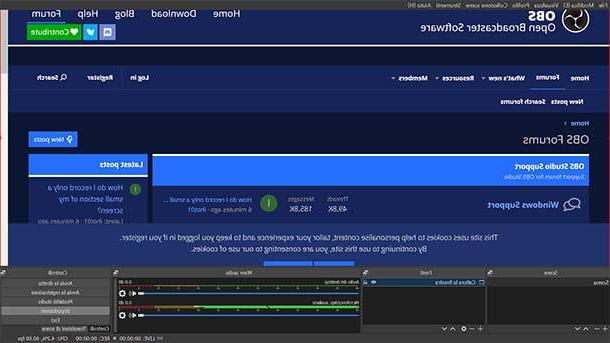
To get it, connect to its official website and click on the button Windows or on the button macOS xx.yy +, depending on the operating system you use. Once the download is complete, if you use Windows, start the .exe file obtained and complete the setup by clicking on the buttons in sequence Yes, Next for two consecutive times, install e Finish. A MacInstead, open the package .dmg ottenuto e trascina l 'icon of OBS contained within it in the folder Applications from the Mac.
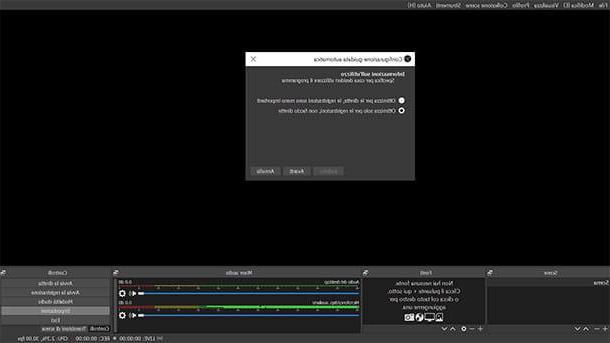
At this point, all you have to do is launch OBS, through its icon that you find on the desktop or in the Windows Start menu or in the MacOS Launchpad. On first launch, the automatic setup wizard, which allows you to set program preferences. For example, you can specify what you intend to use OBS Studio for. That is, for record audio and video. Then select the corresponding menu item and continue until the end of the procedure.
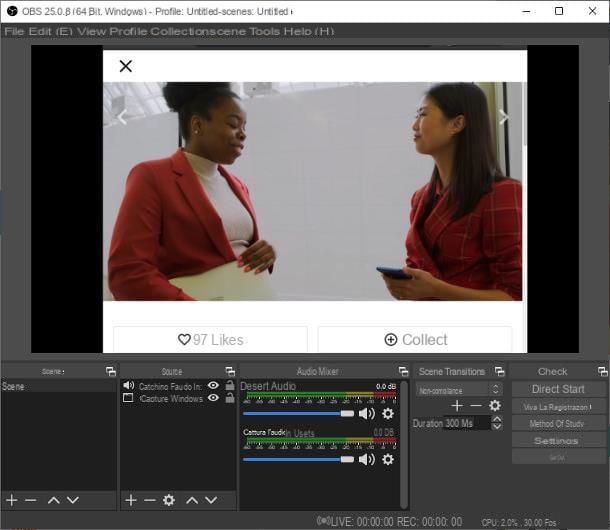
You will then find yourself in the workspace of the program. Here, pay attention to the panel at the bottom, References, through which you will have to choose what to capture: in your case, the window where the video lesson slides. Then click the button [+] to open the capture sources menu, choose the option Capture the window, assign a name to the selected source (eg “lesson window”) and click on the button OK.
Then use the drop-down menu Window to select the window to capture (i.e. the program you use for the videocall or the browser). To conclude, press again on OK and resize as you prefer the frame of the screen to be captured using the appropriate indicators in the preview window of OBS. If you'd rather capture the entire desktop, use as a source Capture the screen instead of “Capture Window”.
As for the audio, if you want to capture the sounds you receive from the lesson (and, in general, all the sounds that are output from the computer), go to the option to add a source and choose to capture theaudio output.
After this step, adjust the volume levels using the box Audio mixer and use the panel Controls to manage your video: the button you need to locate, here, is Start recording.
Then start the video capture by pressing the button in question and you will notice that this will become Finish the registration: you will use it to conclude the acquisition.
Before starting the video capture, however, I advise you to familiarize yourself with OBS which, as you can see, offers many possibilities to adjust the audio and video of the recording.
For example, in the bottom panel you have a audio mixer: You can use it to check the quality of the recording or apply effects. How? Click the settings icon next to the bar Desktop audio, then select filters.
In the panel that opens you can decide to apply different filters and effects to the audio to be recorded: for example the Noise reduction. You can set this effect by clicking the button + in the menu located at the bottom left. By selecting the corresponding menu item, you will have a command to reduce background noise as you like.
This is just one example of the possibilities that OBS offers you. You can adjust tons of other settings by clicking on the button Settings present in the control bar located at the bottom. From the corresponding panel you can adjust various other parameters: for example you can select the item Video to check the resolution and preset dimensions for video capture and, if necessary, modify them.
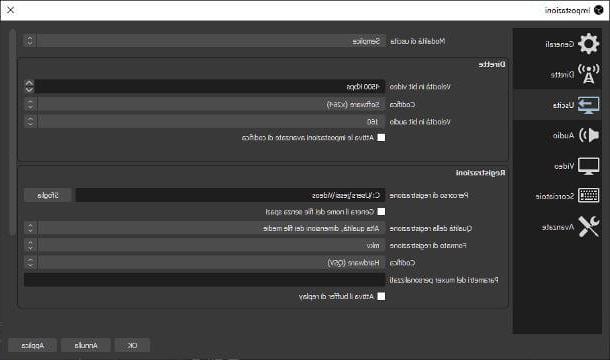
Going up instead Exit you can adjust the settings related to the recording to be obtained: I suggest you set the Exit mode su Simple. Then you can indicate the folder in which to save the recorded lessons (using the button Shop by Department corresponding to the field Registration path), The recording quality and recording format (With art. mkv o mp4) and the type of encoding to use.
Now move to the tab Audio and verify that in the field Desktop Audio is correctly selected audio device installed on your computer or the voice default. If you want to avoid capturing sounds from other sources, set to Disabled all other drop-down menus. Finally click on Apply e OK, to save it all.
Well, once you have checked the various parameters you are ready to record your video lesson. As I explained to you, just click on the button Start recording in the control bar.
The movie you record is stored in the folder you previously specified in preferences. You can access directly from OBS by selecting, from the menu Fillet, the voice View recordings.
To find out more, I warmly invite you to check out my complete guide to OBS in which I have explored every feature of this great program.
How to record a video lesson with Meet
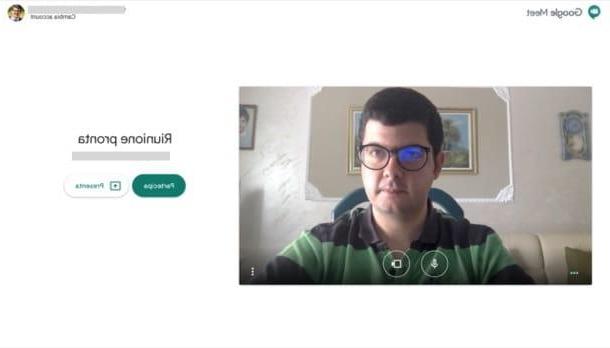
Many videolessons today are held on videomeeting platforms and Google Meet is one of the most used.
record a video lesson with MeetHowever, you must first sign up for the Google Suite. Alternatively, a G Suite administrator attending the video lesson must enable you to register. If you want, you can follow my guide on how to create a G Suite account to know how.
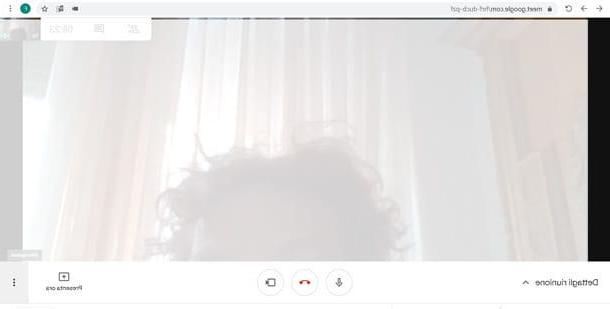
Meet allows the registration, but only on computers. If you are enabled for this feature, you can find the button Register in the command bar, at the bottom right, by clicking on the button with i three dots.
How to record a video lesson with Zoom
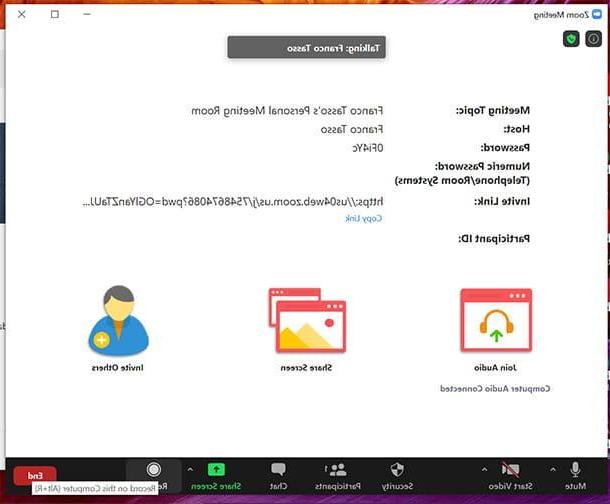
You will probably know Zoom meeting: it is among the most popular programs for videolessons. If you haven't already, you can follow my guide to using Zoom. But here I want to tell you about its integrated recording function: you can find it in the command bar, by clicking on the button Record.
Record on this computer allows you to record your video lesson locally. You will then be able to have it available later, and look at it whenever you want. Just like you planned to do, right?
How to record a video lesson with Teams
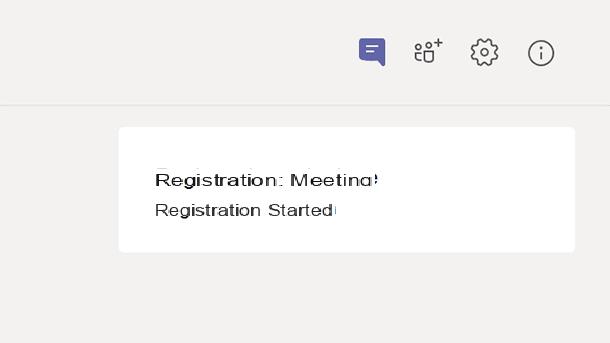
Also Microsoft Teams allows you to record lessons, but to use this feature you will need to complete some preliminary steps. For example, have a valid license to use the program and not be identified as a guest user of the meeting or video lesson.
If you are enabled to register, you can manage it from the command bar: select the button Other Options, Then Record meeting. When you start recording a meeting, all participants are notified. The captured video is later stored in Microsoft Streams; you will receive a link to the file on your account.
How to record a video lesson on smartphones and tablets
Do you follow your video lessons mainly from smartphones and tablets? In this case, I would like to point out that some apps for video calls and conferences, such as those mentioned above, directly include functions to record video calls: you shouldn't struggle to identify them (although in some cases they may require subscription to plans for a fee to be used).
Alternatively, you can take advantage of the screen recording features included in Android e iOS / iPadOS, but beware: many apps inhibit audio capture, then you will get recordings without audio. To bypass the problem, you have to use the recording features included directly in the video conferencing apps or alternatively, you might think about mirroring your phone / tablet screen to your computer and recording your computer screen. You will find all the relevant insights in the tutorials that I will link to you in the following paragraphs.
How to record a video lesson on Android
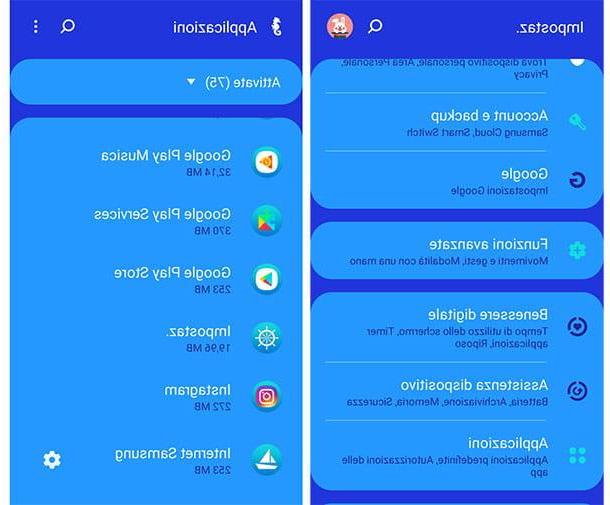
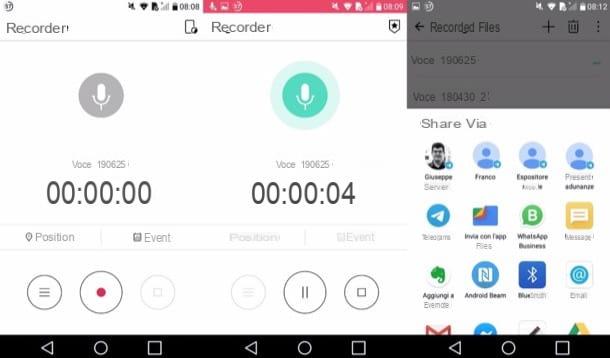
In different models of smartphones and tablets equipped with an operating system Android application is included Screen Recorder, which you can use for your videos (always with the limitation of audio capture in some video conferencing solutions). You should find it by opening the notification curtain (by swiping from the top of the screen to the bottom) and pressing the button Record screen. I told you about it in more detail in tutorials like the ones on how to record the screen of Huawei devices.
You don't find any built-in screen recording feature on your device and are you not given the option to record calls in the video conferencing app you are using? No fear. There are many apps available to you. You can find a good list of them in my guide to applications to record the screen.
How to record a video lesson on iPhone and iPad
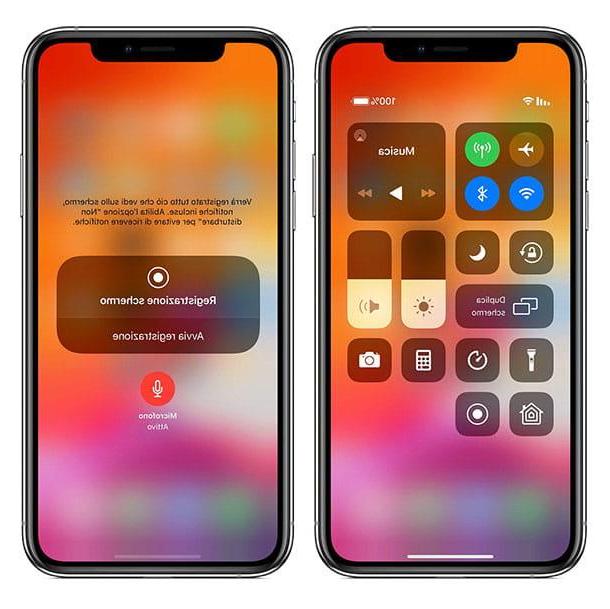
A iPhone or iPad, you can count on a comfortable screen recording function integrated into the system (available from iOS 11 and later). But be careful, because in some apps it does not allow audio recording (as written a few lines above). You can call it up via the Control Center (swipe from the top right corner downwards on iPhones with Face ID and iPads or from the bottom of the screen to the top on iPhones with the Home button), pressing the button REC.
If you don't see it, go to the menu Settings> Control Center> Customize Controls and add the recorder by pressing the relevant button +. For more information, read my tutorial on how to record iPhone screen.
How to record a video lesson