Record iPhone screen with iOS
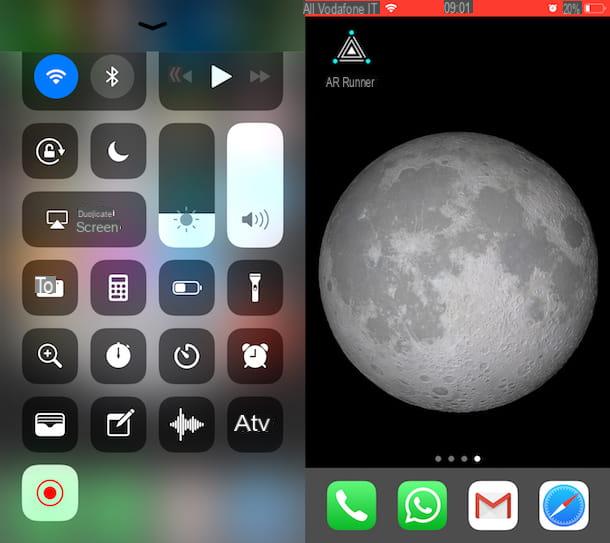
As I told you at the beginning of the guide, if you have an iPhone with at least iOS 11 installed you can record the screen of your iPhone by using Screen recording, the function integrated directly on Apple's mobile devices. To use them, all you have to do is call the Control Center swiping the screen from bottom to top and pressing the button with the symbol REC.
Don't see the button to start screen recording in the control center? Well, obviously you still have to add it. How you do it? Nothing simpler! Go to the home screen of the device, press on Settings, Then Control Center and subsequently on Customize controls then tap the button + (plus symbol) che trovi in corrispondenza della voce Screen recording.
Once the function is enabled, a short countdown will start at the button previously pressed after which it will become colored and the recording of the screen of your iPhone will be started.
Then exit the control center (just do another swipe, this time from top to bottom) and carry out all the operations you intend to perform during recording. Meanwhile, you'll see a appear at the top of the screen red bar which, precisely, indicates the fact that what happens on the display of your iPhone is being recorded.
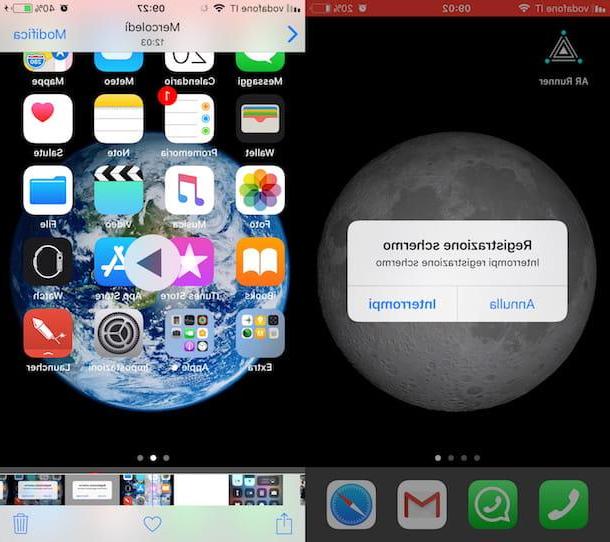
Then when you want to stop recording, all you have to do is press on the aforementioned red bar and then on Stop. Keep in mind that, in addition to as I just indicated, screen recording is also stopped when the iPhone display freezes.
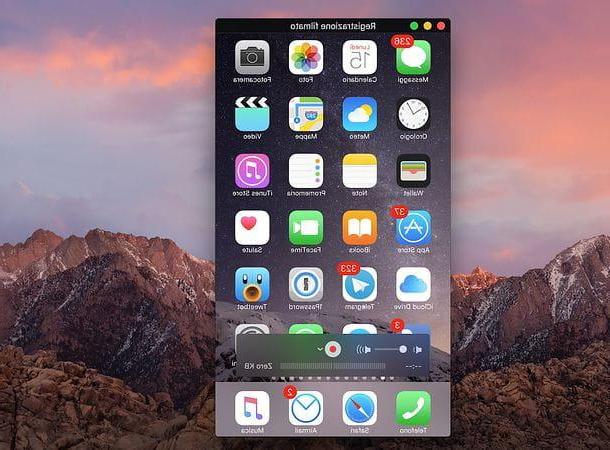
You will then find all your recordings in the app Gallery of the iPhone by, to be exact in the album Video, which you can also access immediately by pressing on the appropriate notification that is shown in the upper part of the display after registration is complete. Recordings are saved in MP4 format and are without audio.
Record iPhone screen with Windows
Now let's see how to record the iPhone screen from a Windows PC. In this case, you have to resort to one of the many applications that allow you to “project” your phone screen onto your computer. Unfortunately there are not many in the free field, but there are some that you can try for free for a few days.
Reflector
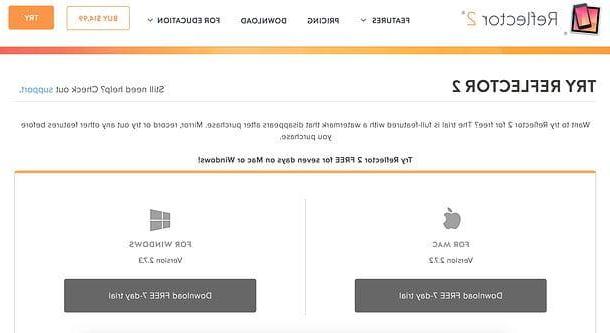
One of the best software to record iPhone screen from PC is definitely Reflector which turns your computer into an AirPlay receiver. This means that it is able to "capture" what happens on the iPhone screen and projects it on the PC screen, and then eventually record it wirelessly. It costs $ 14,99 but is available in a free 7-day trial version (which sadly adds a watermark to your registrations). In addition to allowing iPhone screen viewing and recording with AirPlay, Reflector also acts as a Google Cast receiver for Android, but we'll talk about this on other occasions. Now let's get back to the topic with today's post.
If you want to download Reflector on your PC, connect to its official website and click on the button Try it now located at the top right. On the page that opens, press the button Download free 7-day trial located under the heading for Windows and choose whether to download the 32 or 64 bit version of the software, depending on the operating system installed on your PC. As you have surely noticed, Reflector is also available for Mac, but personally I do not recommend using it - at least for recording the iPhone screen - as on macOS there are more comfortable and affordable solutions (I'll tell you about it shortly).
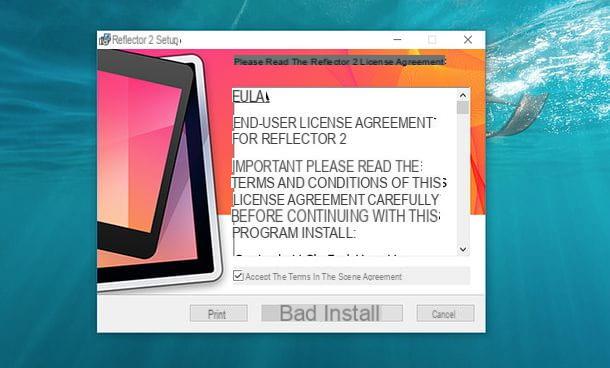
When the download is complete, open the file Reflectorxx.msi that you just downloaded on your PC, put the check mark next to the item I accept the terms in the License Agreement and finish the setup by first clicking on install and then Yes e Finish.
If you are asked to download the . Net Framework 4.0 from Microsoft (a free software without which Reflector cannot work), link to this web page and click on the button first Download and then No thanks. Keep it going. Once the download is complete, open the file dotNetFx40_Full_x86_x64.exe and click on the button Yes. Then put the check mark next to the item I have read and accepted the license conditions and finish the software installation process by pressing on first Install and then end.
Now start Reflector, click the button Reflector Test 2, close any promotional windows that may open and enable iPhone screen mirroring.

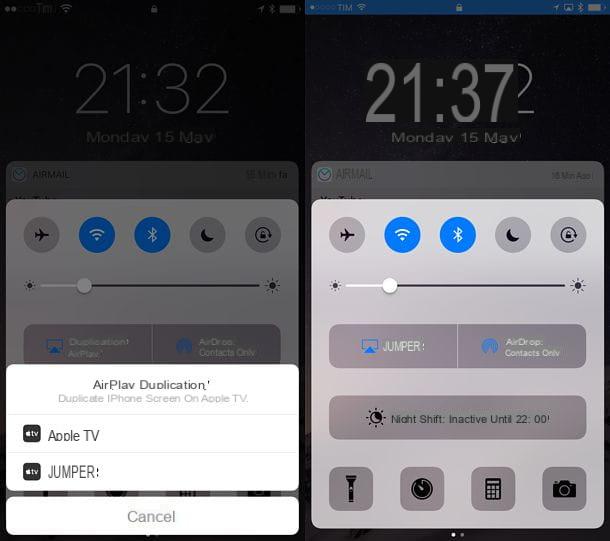
If you do not know how to activate the mirroring of the iPhone screen, call the control center of the phone by swiping from the bottom of the screen to the top, press the button Duplicate Screen or on Airplay duplication (if you don't see it, swipe from left to right to change the control center page), select the name of the your PC from the menu that opens and that's it.
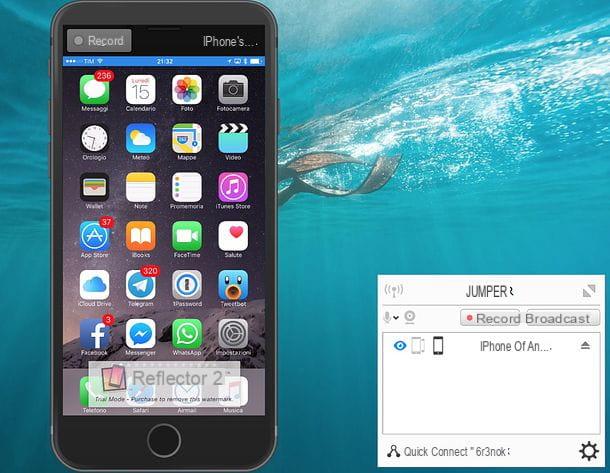
If everything went well, at this point you will see the iPhone screen directly on your PC. To register it, you can resort to two solutions.
- Take advantage of the recording function included in Reflector (the Register located at the top left), which in the trial imprints a watermark in the center of the screen and allows you to create videos in MP4 format without audio.
- Install the free software Open Broadcaster Software, which allows you to record the PC screen and, if desired, also the webcam footage. In this way you will be able to create demonstration videos with the iPhone screen (projected by Reflector), your face (in a box to be placed in the point of the screen you prefer) and an audio commentary recorded live. OBS does not apply watermarks, but if you use the trial version of Reflector you will still see a small software logo at the bottom of the iPhone screen (less invasive than the large watermark that is imprinted on the recordings made directly by Reflector). If you need more information on how Open Broadcaster Software works, check out my tutorial on how to record screen video.
For everything to work properly, the computer on which Reflector is installed and the iPhone must be connected to the same Wi-Fi network. After registration, remember to turn off AirPlay duplication calling up the iOS control center and selecting the appropriate item from the menu AirPlay duplication.
AirServer
If Reflector does not fully satisfy you, you can try AirServer which works in a very similar way to the latter (so it acts as an AirPlay or Google Cast receiver) and allows you to record the screen of iPhone, iPad and Android devices wirelessly. It costs 13,99 euros but you can try it for free for 7 days. Unfortunately, the trial version does not allow you to record the iPhone screen and imprints a small watermark in the lower right corner of the iPhone screen projected on the PC.
To download AirServer on your PC, connect to the program's website and first click on the button Download located at the top right, then on the button Download for free and finally on the button Download 32-bit o Download 64-bit, depending on the version of Windows installed on your PC.
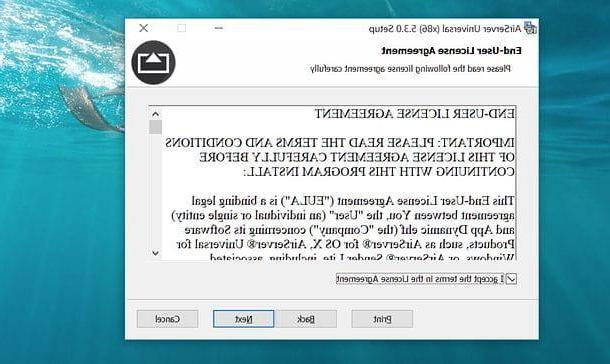
A download completo, apri il file AirServer-xx.msi and, in the window that opens, click on the button Next twice in a row. Then put the check mark next to the item I accept the terms in the License Agreementclick your Next, metti il segno di spunta accanto alla voce I want to try Universal AirServer (to request the free trial of the program) and complete the installation by first clicking on Next three consecutive times and then on install, Yes e Finish.
When installation is complete, start AirServer, press the button Try / Fine (to try the program for free) and activate the iPhone screen mirroring as explained in the passage of the tutorial dedicated to Reflector, then calling the control center iOS, by pressing the button AirPlay duplication and selecting the name of the your PC give the menu check if you press.
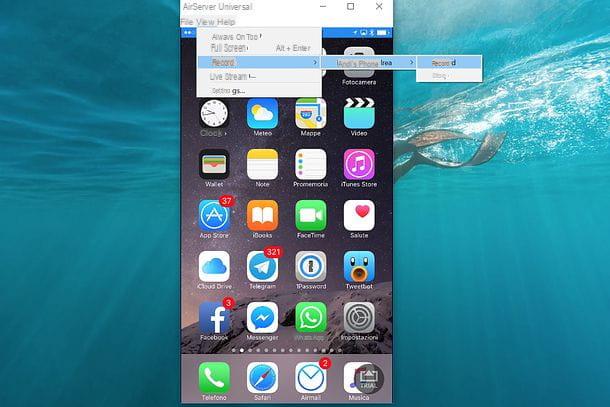
You should now see the iPhone screen on the PC. To switch between full-screen and single-window views, click anywhere on the screen. To start an iPhone screen recording (function accessible only in the paid version of AirServer), call up the item Record from the menu View> Record> [iPhone name] of AirServer, top left.
If you use a trial version of the program, you can record the iPhone screen by mirroring with AirServer and recording the PC desktop with the Open Broadcaster Software I mentioned earlier or other similar solutions (as I have always explained to you in my tutorial on how to record a video screen that I linked to you a few lines above).
Record iPhone screen on Mac
If you have one Mac, you can record your iPhone screen in a much easier way than seen in the previous lines on Windows. All the software you need is already included on your computer. Do not you believe it? Then try it now.
Connect iPhone to Mac using the cavo Lightning / Dock that came with your phone, open QuickTime Player (the video player included "standard" in all versions of macOS), right click on the program icon that appears in the Dock bar and select the item New movie recording give the menu answer.
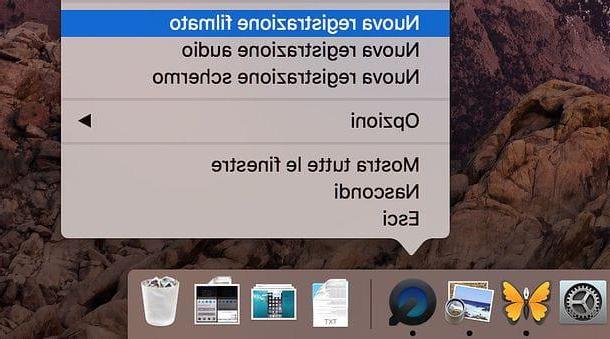
At this point, click on arrow located next to the button Rec in the window that opens, select the item iPhone from the menu Video camera and almost as if by magic the screen of the "iPhone by" will be projected on the Mac desk.
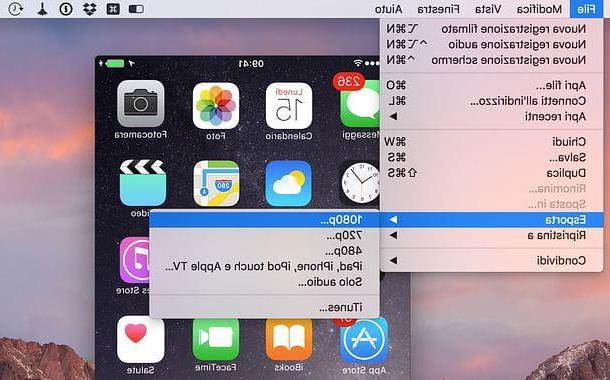
Mission accomplished! Now you just have to press the button Rec (the red dot) and make your registration. When the operation is completed, click on the button Stop to stop recording and save the video by selecting the option you prefer from the menu File> Export. You can choose to export the movie in resolution 1080p, in 720p, in a version optimized for iPad / iPhone and so on.
If you want to include your voice in the recording, click on arrow located next to the button Rec in the QuickTime window and select the option Integrated entrance from the menu Microphone.
Would you like to create a more professional video demonstration that also includes shooting your face via the webcam? In this case you can project the iPhone screen on macOS via QuickTime and record the display using Open Broadcaster Software, the software I mentioned before and which is also available in a Mac version. To find out more in detail how to use it , always read my guide on how to record screen video that I have indicated a few lines above.
Applications to record the iPhone screen
As already mentioned at the beginning, there are no third-party applications that allow you to record the iPhone screen directly from iOS. Or rather, from time to time some appear on the App Store but in most cases they are resources that only allow you to "film" the Web pages and, moreover, in a decidedly impractical way. There are also some apps that are installed by bypassing the App Store, for example by visiting Chinese websites and clicking on buttons, but these are solutions that I consider unsafe, I do not recommend them.
Having made this necessary premise, the only solution left to you (if you do not want or cannot take advantage of the standard iOS function or connect the iPhone to the computer) is to jailbreak the iPhone and install an app, or rather, a tweak to record the iPhone screen da Cydia, the alternative iOS store available only on jailbroken devices. Among the tweaks that allow you to record the iPhone screen, I recommend you AntRec which is free and guarantees great results. It also supports Twitch streams, but we don't care about that right now.
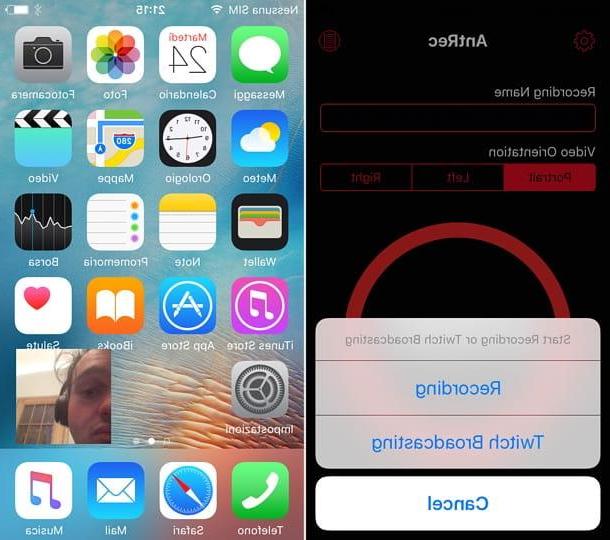
To record iPhone screen with AntRec, launch the app, choose an option from portrait, left o right to indicate the orientation in which to register and presses the icon ofgear located at the top left to adjust video resolution, front camera presence and other settings.
Next, assign a name upon registration by typing it in the appropriate text field, presses the button START and select the item Recording from the menu that opens to record the iPhone screen. At the end of the recording, start AntRec again and press the button Stop. The recording will be accessible from the menu that opens by selecting the icon sheet which is located at the top right (and from the same menu you can also share in other apps or save in the iOS roll).
How to record iPhone screen