Record computer screen video
Let's start with a review of some of the best programs for record screen video on the computer. Whether you have a Windows PC, a Mac or a Linux-equipped computer, you are sure to find what you need.
OBS (Windows / Mac / Linux)
If you are looking for a free, complete and efficient screen recording solution, I highly recommend you try OBS. If you have never heard of it, OBS is a free and open source software that allows you to record your computer screen, capture audio / video streams from external sources (e.g. how to convert VHS to digital) and stream video that works on all major desktop operating systems: Windows Vista SP 2 and later, macOS 10.9 and later and Ubuntu 14.04 and later. Its interface is perhaps not among the most intuitive in the world, but I assure you that after very few uses you will learn how to use it perfectly!
To download OBS on your computer, connected to its official website, click on the logo of the operating system you use (e.g. the windows flag or the macOS apple) and presses on green download button that appears on the right. If the download seems to be too slow, you can download the program via BitTorrent by clicking on the appropriate button. If you don't know how to download .Torrent files, read my tutorial dedicated to the subject.
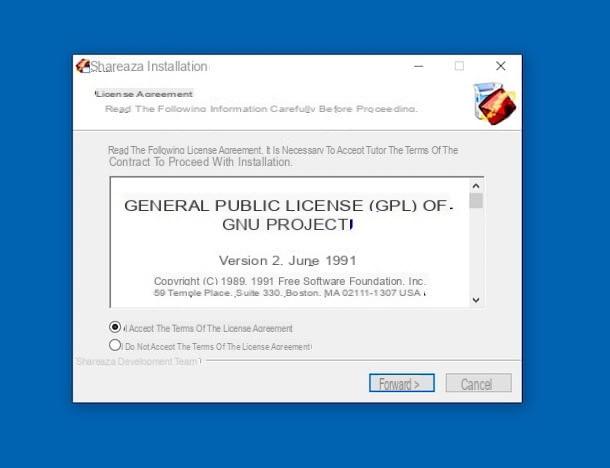
When the download is complete, if you are using a Windows PC, open the OBS installation package (OBS-Studio-xx-Full-Installer.exe) and, in the window that opens, first click on Yes and then Next, I Agree, yet Next and then install e Finish to conclude the setup.
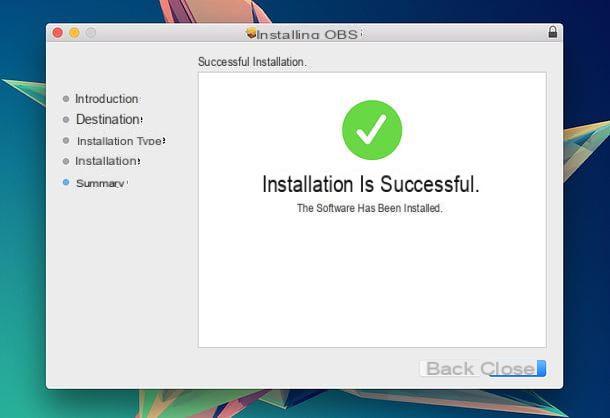
If you use a Mac, open the OBS installation package (obs-mac-xx-installer.pkg) and, in the window that opens, first click on the button Continuetwice in a row and then on Install. At this point, type the password of your user account on macOS (the one you normally use to access the system) and first click on Close and then Moveto finish the setup and move the pkg package to the Trash.
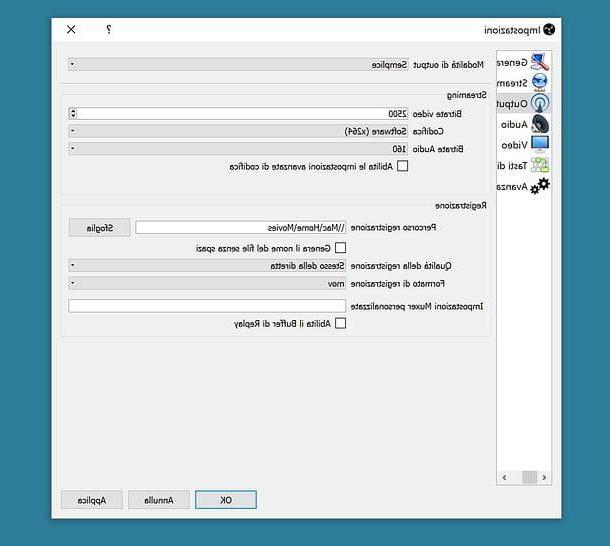
Now you can take action and record your computer screen with OBS. First, therefore, go to the settings program, select the item output from the left sidebar and choose the format and bitrate you want to use for your recordings. How recording format I recommend you use the mauve or l 'mkvwhile for the bitrate I advise you never to go below 1000 kbps if you want to get good quality movies.
By clicking on the button Shop by Department located next to the item Registration path, you can also customize the folder in which to save your recordings.
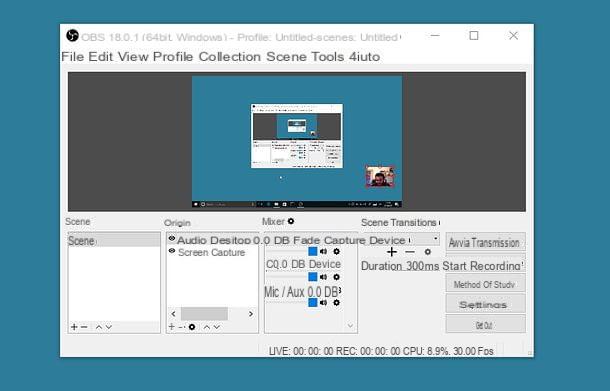
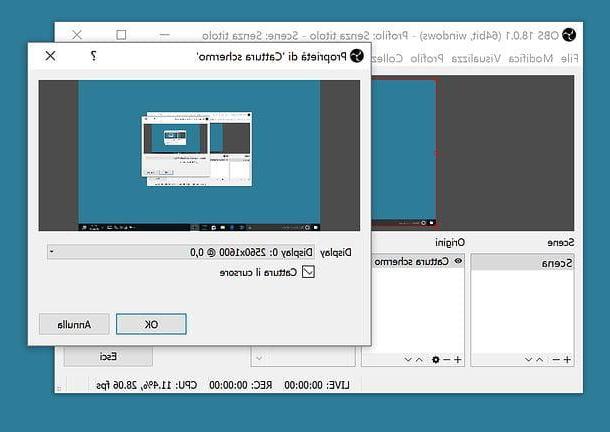
Once you have set your preferences for the output format, you need to “tell” OBS which sources to record from. Then go back to the main software window, click on the button [+] which is located below the field Origini, select the voice Screen capture from the menu that opens and click on the button OK per due turn consecutive.
If you want to capture only an application window, click on the button [+] which is located below the field Origini, select the voice Capture the window from the menu that opens and use the drop-down menu Window to choose the application to register. To film a game played in full screen, instead, click on the button [+] which is located below the field Origini and select the item Capture window in full screen (Game) give the menu check if you press.
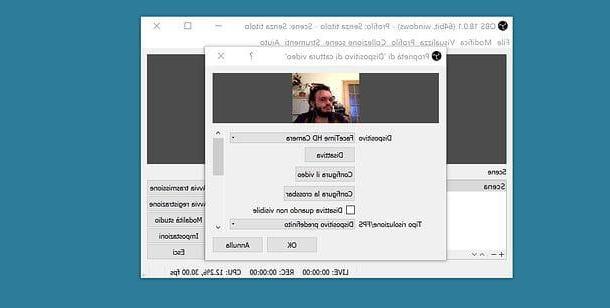
Now, if you want to associate the webcam recording with the desktop recording (so that you can see it inside a box), click on the button [+] which is located below the field Origini, select the voice Video cattura device from the menu that appears and click on the button OK in the window that opens.
Then select the name of your PC webcam from the drop-down menu Deviceclick on your button OK and move / resize the frame with the webcam shot using the mouse on the recording preview located in the center of the OBS window. If you want, following the same procedure, you can also resize or move the box relating to the shooting of the screen (or window).
Finally, adjust the volume of theaudio to capture using the appropriate bars located at the bottom center (Desktop audio for audio coming from the computer; Mic / Aux for the microphone and so on) and click on the button Start recording to create your registration.
The recording will be saved in the folder and file format you specify in the OBS settings menu. To stop recording, just click the button Stop recording located at the bottom right.
QuickTime Player (Mac)
I use a Mac? Then know that you can film your computer screen without downloading external programs. All you need is QuickTime Player, the default macOS media player.
To record a screen video with QuickTime Player, start the program by clicking on its icon in the Launchpad and go to the menu File> New Screen Recording which is located at the top left. At this point, click on white arrow present in the window that opens to select the source from which to capture theaudio (eg the Mac webcam) and choose whether to highlight the mouse click in the registration.
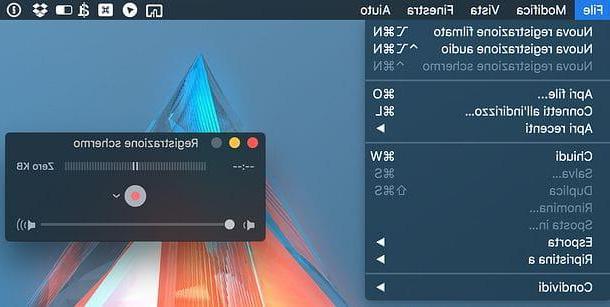
After this step too, he presses on red dot and click anywhere on the screen if you want to record the entire desktop or, if you want to record only a portion of the screen, select it while holding down the left mouse click.
At the end of the registration, click on the button stop located at the top right of the menu bar (next to the macOS clock) and wait a few seconds for a preview of the recording to appear. At this point, you can decide whether to save the video directly by selecting one of the options available in the menu File> Export (Eg. 720p o 1080p to save the video in HD or Full HD resolution) or to edit it with one of the functions available in the menu Modification by QuickTime: Cut out, Split clips, Turn left, Rotate to the right, Upside down, Speculating.

If you want to include a webcam shot in your recordings, do this: before starting the desktop recording, go to the menu File> New Movie Recording, make sure your computer's webcam is set as the recording source and activate the option Always in the foreground from the menu Vista.
At this point, move / resize the window with the webcam shot in the way you prefer and start the screen recording as explained above. Please note that this is just a “gimmick”, the webcam overlay is not a feature officially supported by QuickTime Player. This means that if you start a full-screen application or switch to another desktop while recording, the window with the webcam shot will disappear (unless you move it "manually").
Screenshot (Mac)
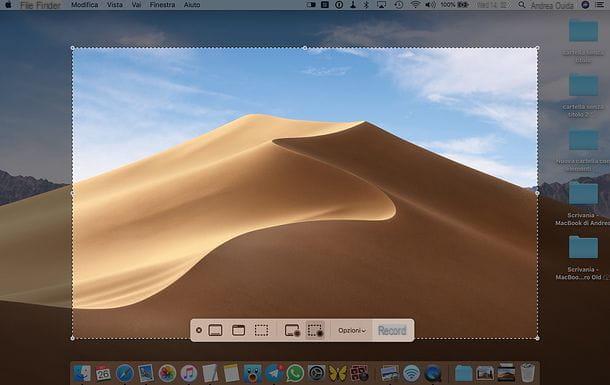
On macOS 10.14 (Mojave) and later it is possible to record what happens on the Mac screen also through the utility Screenshot, included "standard" in the Apple operating system. To invoke the utility in question, all you have to do is press the key combination cmd + shift + 5 on your computer keyboard.
You will find yourself in front of a toolbar with some buttons dedicated to capturing screenshots (the first three), recording the screen (the next two) and adjusting settings related to screen capture (the button options). To proceed, therefore, click on the button for record full Mac screen or on that for record only a portion of the desktop, then click on the button Register and make your screencast.
When the operation is completed, press the button stop present in the macOS menu bar (top right) and, if you wish, click on the video thumbnail that appears in the lower right corner of the screen. In this way, you can cut the movie you just made, share it online or trash it, using the buttons at the top of the window. Quick Look that will open. If you don't click on the thumbnail, the video will automatically be saved in the folder where macOS screenshots are also saved (the desktop, if you haven't changed the default settings).
Screencast-o-Matic (Windows / Mac)

Now I want to talk to you about Screencast-o-Matic: an online service that, through the use of a small application to download on your computer, allows you to create screencasts on both Windows and macOS. It is free, but with limitations: it allows you to create only video recordings of max 15 minutes, print a logo bottom left in all recordings and does not capture computer audio. Instead, it allows you to capture the webcam and the audio coming from the microphone (or from the webcam itself). To remove these limitations, and acquire the ability to edit videos before saving them, you need to subscribe for a $ 15 / year subscription.
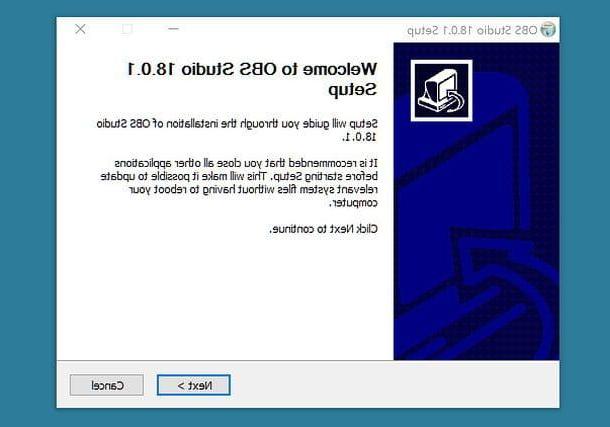
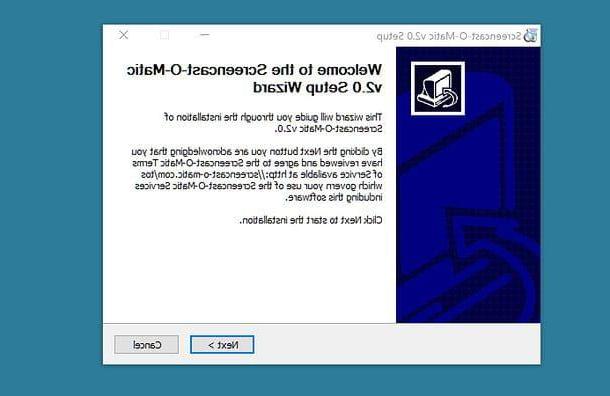
To download the application necessary for the operation of Screencast-o-Matic, connect to the website of the service using the link I have provided you a little while ago and press the button Download install. When the download is complete, if you are using a Windows PC, open the program installation package (InstallScreencastOMatic-xx.exe) and, in the window that opens, first click on Yes and then Next, install e Finish to conclude the setup.
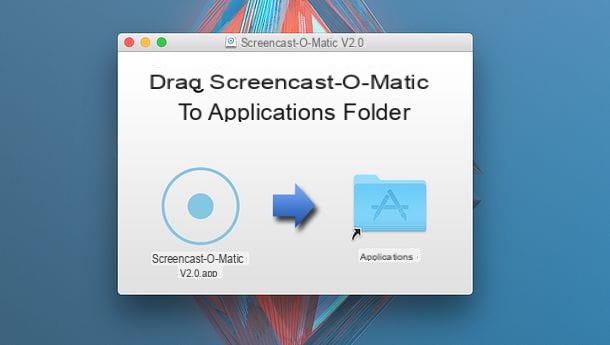
If you use a Mac, to install the Screencast-o-Matic software you need to open the file InstallScreencastOMatic-xx.dmg that you have downloaded to your computer and you need to drag the program icon to the folder Applications of macOS. After that you have to right click on the icon of Screencast-o-Matic and start the software by selecting the item apri from the menu that opens (this is only necessary at first start).
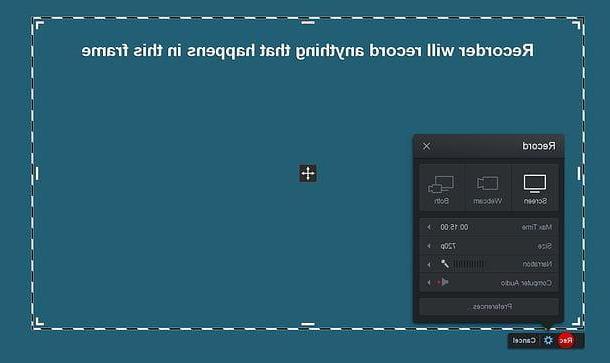
You are now ready to record a screen video with Screencast-o-Matic. Then start the application of the service you just installed on your computer (or connect to the Screencast-o-Matic site and click on the buttons Start recording e Launch recorder), cheap with Free recorder and set your registration preferences in the box that opens.
If you want to record only the computer screen (or part of it), click on the button Screen and use the mouse to select the screen area to record. If, on the other hand, you also want to record the webcam shot, click on the button Both and place the frame with the webcam shot in the spot on the screen you prefer.
To set the resolution of the video to be made, click on the button Size. As for the audio, however, you can choose the recording source (eg computer microphone) by clicking on the button Narration.
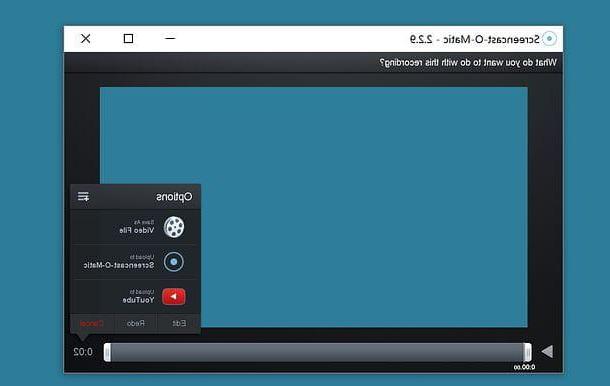
At this point, pigia sul pulsating Rec and make your screencast. When registration is complete, click on the button first Pause of Screencast-o-Matic and then on Done (lower left). So choose whether to save the video on your PC by clicking on the button Save as video file or whether to publish it on YouTube or the site Screencast-o-Matic pressing the appropriate buttons.
Camtasia Studio (Windows / Mac)
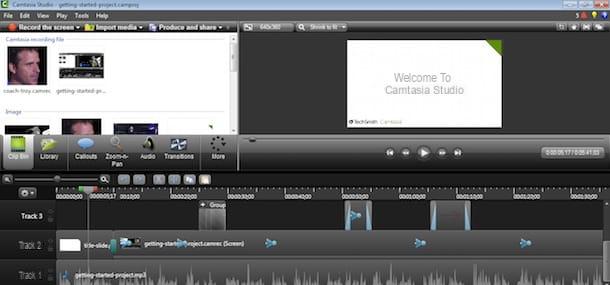
If you are looking for a program to create professional-level screencasts, contact Camtasia Studio which allows you to record your desktop, webcam, computer audio, microphone audio and allows you to easily edit your recordings thanks to a integrated editor. It is compatible with both Windows and macOS. It costs $ 199, but you can download it in a free 30-day trial version (upon registration). If you want to know more and want to learn more about how it works, read my tutorial on how to download Camtasia Studio.
ScreenFlow (Mac)
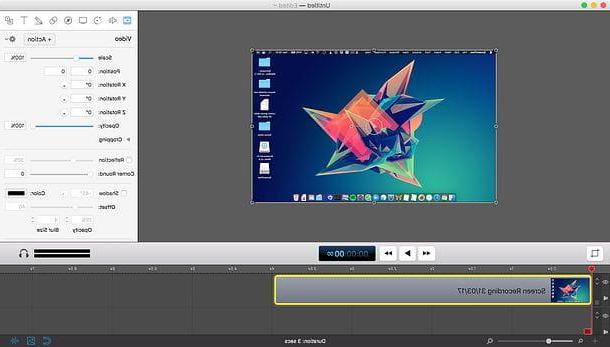
If you are using a Mac and Camtasia's $ 199 seems a little too much, you can turn to ScreenFlow: an excellent desktop recording software that allows you to record the macOS desktop, webcam and record both incoming and outgoing sounds. exit. It also includes a very simple editor that allows you to edit the recorded videos, cut them and edit them with various effects. This is probably the best software of its kind available on the Apple platform, and costs "only" $ 99. Also you can download it in a free trial version that has no deadlines but stamps a watermark on the recorded videos. If you want to know more, read my tutorial on how to film the Mac screen where I told you about the program in an extremely detailed way.
Online services to record screen video
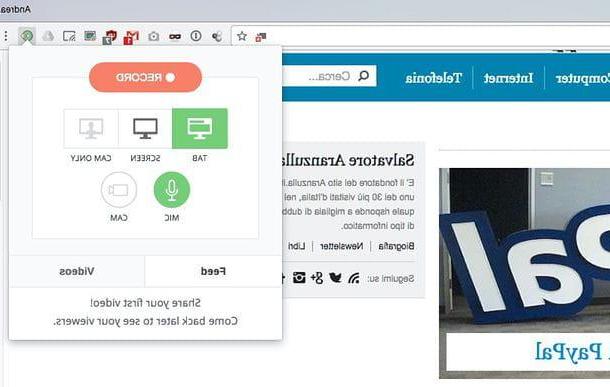
Screencast-o-Matic isn't the only online service that allows you to film your computer screen. There are also other solutions, almost always distributed in the form of extensions for Chrome, which allow you to quickly create screencasts and share them online in just a few clicks. To find out more, check out my guide on how to register online.
Record screen video on smartphones and tablets
Would you like to record a video of the screen of your smartphone or tablet? No problem, you can do that too. You just have to get the right apps or software or, again, take advantage of the special "standard" functions: let's find out together what they are.
App for Android
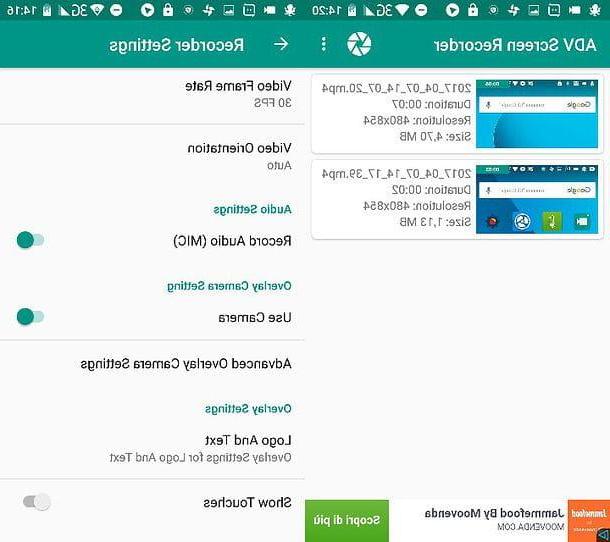
A terminal was used Android, you can record the screen of the latter using various apps. One of these is ADV Screen Recorder which is completely free (with an in-app purchase of 1,82 euros to remove ads), allows you to record videos up to 60FPS, capture microphone audio, shoot the front camera and allows you to trim videos after recording is complete. Works with all Android versions from 5 and up.
To use ADV Screen Recorder, download the app from the Play Store, start it, follow the short initial tutorial and press the button Continue to access its main screen. Then on the button (...) which is at the top right and go up Settings to adjust the recording settings. In the menu that opens, use the option Video resolution to set the resolution of the video to be recorded and toggle the options Audio record e Use camera to enable or disable microphone audio capture and front camera capture.
At this point, go back to the ADV Screen Recorder home screen, press thetarget icon at the top right, authorize the execution of the app by pressing the buttons Start now e Allow (the latter must be pressed only on Android versions equal to or higher than 6.0) and, when you are ready to start your screencast, tap on the icon of the camera which appeared at the top right.
Once the registration is complete, tap on the dell icon camera located at the top right and the video will be saved in the ADV Screen Recorder folder (which should also be accessible from the Android Gallery). Then go back to the main screen of the app and select the thumbnail of the movie to play it. To edit or share the video, hold your finger on its thumbnail and choose one of the available options: Share to share it or Trim to cut it.
If ADV Screen Recorder does not fully satisfy you, you can try Mobizen Screen Recorder, AZ Screen Recorder or other apps that I told you about in detail in my tutorial on applications to record the screen.
App for iOS
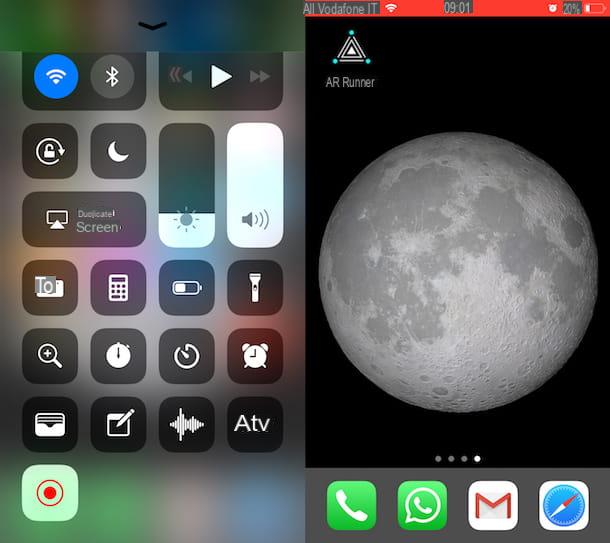
If you have one iPhone or iPad, I'm sorry to tell you but you can't count on apps that allow you to record iOS screen. Due to restrictions imposed by Apple, such solutions are not allowed on the App Store. But don't despair! If you have a device updated to at least iOS 11 you can take advantage of the standard function that allows you to record what happens on the screen without having to download anything!
To use it, call the Control Center by swiping from bottom to top and tap on the button with the symbol REC (the one with the circle with the dot in the center).
If you are unable to see the button to activate the highlighting function, it is because you have not yet proceeded to enable screen recording from the settings. To do this, tap on the icon of Settings (Quella with l 'gear) on the iOS home screen, step on the item Control Center and then Customize controls. Per conclusdere, pigia sul pulsating + (plus symbol) that you find next to the item Screen recording.
After pressing the button to start recording the screen, a short countdown will start and then the "filming" of what happens on the display of your iDevice will start. A will also appear at the top of the screen red bar indicating, in fact, that the registration is in progress.
When necessary, you can then stop the registration by pressing on the already mentioned red bar and subsequently on Stop. Screen recording is also stopped when the device is locked or goes to sleep.
You will be able to view all the recordings made by going to the app Gallery iPhone or iPad and then accessing the album Video where you can possibly go immediately also by tapping on the appropriate notification that you see appear at the top of the screen after registration is complete.
If it is not possible for you to take advantage of the system I have just indicated, you can still record the screen using a special one tweak per device jailbroken available Cydia. So if you jailbreak your iPhone or iPad you can easily bypass the problem.
More precisely, if you jailbreak your iPhone / iPad, you can record the iOS screen using the free AntRec tweak that allows you to record everything that happens on the device screen (also offering the possibility to broadcast it on Twitch), capture the microphone audio and front camera shooting.
To use it, all you have to do is select the orientation in which you want to register (portrait, left o right), type the name you intend to assign to the registration and press the icon ofgear located at the top right to access the recorder settings.
At this point you can choose the resolution of the video to be recorded, whether to enable or disable the capture of themicrophone audio and the resumption of front camera and so on. When you're done adjusting all the settings, press the button START and select the item Recording from the menu that opens to start the screencast.
At the end of the registration, open AntRec and press on button located in the center of the screen to stop recording. Then select the icon sheet located at the top right, authorizes AntRec to access the Roll of iOS and select the thumbnail of the video you just made to view it, save it in the iOS Photos app (option save to camera roll) or share it in other applications.
Programs to record phone screen from PC
If you encounter difficulties in using the apps that I have previously recommended or you have an iPhone / iPad with an iOS version installed prior to 11 or, again, not jailbroken, you can use programs that allow you to record the smartphone screen and tablets by connecting the latter to the PC.
- QuickTime Player (Mac) - The default player of macOS allows you to capture the screen of iPhone and iPad simply by invoking the function File> New Movie Recording. I told you about it in more detail in my tutorial on how to record iPhone screen.
- Reflector (Windows / Mac) - Software for Windows and macOS that transforms your computer into an AirPlay / Google Cast receiver and therefore allows you to capture the screen of iPhone, iPad and Android devices wirelessly. It costs around 14 euros, but is available in a free 7-day trial version. To learn more, read my tutorial on how to record iPad screen.
- Mobizen (Windows / Mac) - One of the best applications to record the screen of Android devices wirelessly or with cable. All free. To learn more, read my tutorial on how to film the mobile screen.