Skype (Windows / macOS / mobile)

As mentioned at the beginning of the post, it is possible record video from Skype using the official client of the service for Windows and macOS (from version 8 onwards) or the official Skype app for Android, iOS and Windows 10 Mobile. During conversations, in fact, by pressing the button +, you can call up the Skype recording function through which you can create videos of your conversations. The recordings are then shown within the chat screen and remain available for 30 days. You can stream them (as they are automatically uploaded to Skype's cloud space) or you can download them offline.
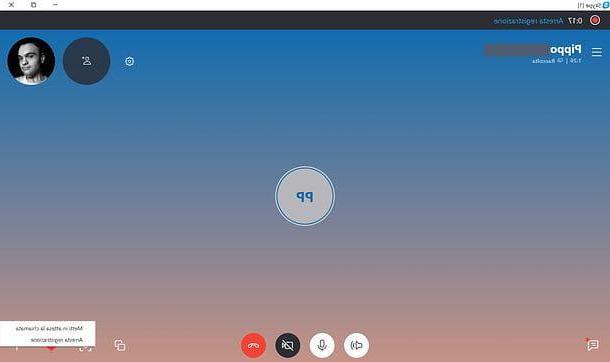
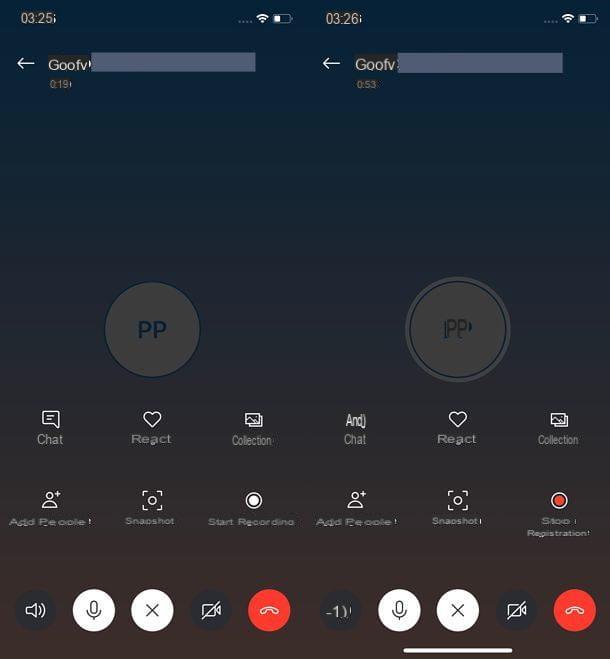
If you want to know more and, above all, you want to try firsthand to record a call made on Skype on your computer, start the official Skype client for Windows or macOS, select the person with whom you want to start a call or video call, using the list of contacts on the left, and presses the icon of handset (to initiate a voice call) or the video camera (to start a video call).
Once communication is established, click on the button + located at the bottom right and choose the item Start recording from the menu that opens, in order to start recording the chat (event that will be notified to both you and your interlocutors, for privacy reasons).

Next, to stop recording, click on the entry Stop recording which is located at the top left or, if you prefer, press the button again + located at the bottom right and choose the option Stop recording give the menu check if you press.
To view the created recordings, go back to the chat screen for the user you chatted with and press on miniature of the latter. To download the offline recordings, instead, click on their thumbnails, then on the ⋮ button located at the top right and choose the item Save with name give the menu check if you press.

As for the mobile environment, and therefore theSkype app for smartphones and tablets, the procedure to follow to record the video call is practically the same as I have just shown you for the desktop: you have to start a video chat, press the button + at the bottom and select the item Start recording give the menu check if you press.
Then, to stop recording, you have to press the button + located at the bottom and choose the item Stop recording give the menu check if you press.
The recorded conversations, as well as in Skype for computer, also in the Skype app for smartphones and tablets, remain available on the chat screen and can be viewed / downloaded for 30 days (after which they are deleted from the service's servers).
To view a recording made, tap on its miniature. To save it offline, however, tap his first miniature, then on the icon (...) or icon of sharing (the up arrow on iOS or the three connected dots on Android) and finally on the option to save the file.
Please note: if the call recording function is not yet available on your smartphone or tablet, be patient. Microsoft is gradually releasing it to all users.
Callnote (Windows / macOS)
Doesn't the video call recording feature included in Skype satisfy you? No problem: as already mentioned at the opening of the post, there are numerous alternative solutions you can turn to, such as Callnote.
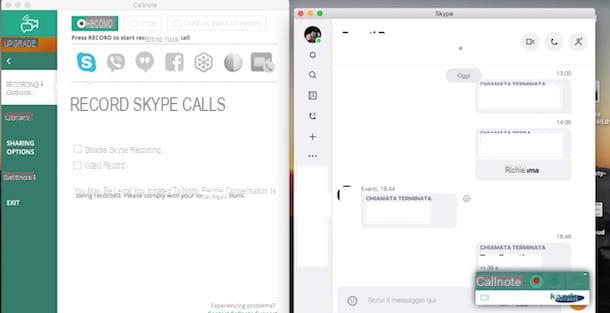
Callnote is a program for Windows and macOS that allows you to easily record both Skype calls and video calls. It looks like a small window with buttons Rec e Stop, through which to start and stop recordings. Once made, the recordings can be viewed, copied and managed as freely as any other file on your computer.
It is possible to download and use Callnote for free, but with a limitation: that of making no more than 10 registrations per month. To remove this limit, you need to purchase one of the paid versions of the software: the $ 9,95 / year version to record 30 conversations per month or the $ 39,95 / year version for unlimited recordings. Paid versions of the software also allow you to automatically upload recordings to OneDrive, Google Drive, YouTube, and other cloud services. The free one only supports Dropbox.
That said, let's take action: to download the free version of Callnote on your PC, connect to its official website and click on the button Download for found under the heading Callnote (in the left column). Then fill out the form that is shown to you with name, surname and email address and click on the button Download.
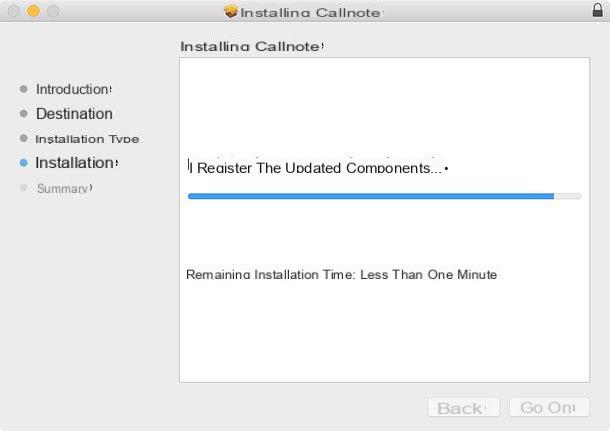
To download completed, a PC Windows, open the Callnote installation package (callnote-install-xxxexe) and click in sequence on OK, Next four times in a row, install e Finish to conclude the setup.

If you use a MacInstead, open the pkg package Callnote and click in sequence on the buttons Continue twice in a row, Install e Continue installation. Then type the administration password of your Mac and press on Install software e Restart to finish the setup and restart the computer.
Now all you have to do is start Callnote, answer in the affirmative to the warning that appears on the screen and, if you use Windows, press the button Allow access to authorize the program in the Microsoft operating system firewall.
Then type the email address you used to download the program, click on the button Sign In and you will see its main window. Well: now select the item Recording options from the left sidebar and put the check mark next to the item Video record to enable video recording.
Once this is done, you just have to open Skype (answer Allow access if a warning appears to authorize the execution of Callnote.exe), start the video call to be recorded and press the button Rec in the floating Callnote window.
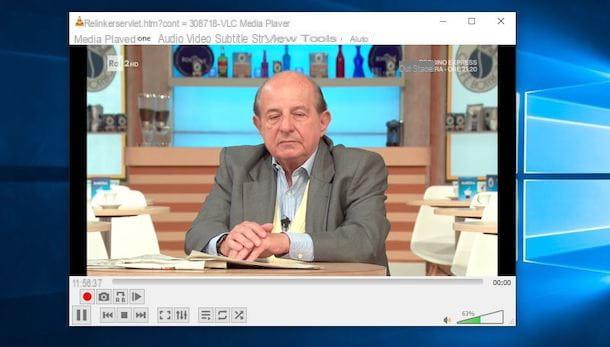
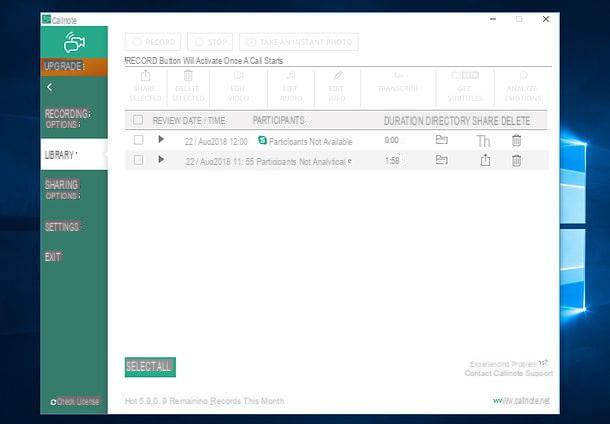
Then, to stop recording, click on the button stop of the program. To view it, instead, select the item Library from the program sidebar and click on the ▶ ︎ button for the recording you want to listen to (or click on the folder icon to view it in File Explorer / Finder).
To take advantage of the automatic upload functions on Dropbox and other cloud services (available only in the paid versions of the program), select the item Sharing options from the Callnote sidebar, click on the name of the service on which you want to upload the recordings, click on the button Connect and log in.
After that you can activate the functions Send to [service name] automatically e Video, Audio, Chat e Snaps to enable the automatic upload of content of your interest.
Evaer (Windows)
Un'altra soluzione che puoi prendere in considerazione è Evaer: a software for Windows that allows you to record Skype video calls, including group calls (up to 10 people) in a very simple way. It is paid (it costs $ 19,95 in the standard version and $ 29,95 in the professional version), but it is available in a free trial version that allows you to record up to 5 minutes of each video call.
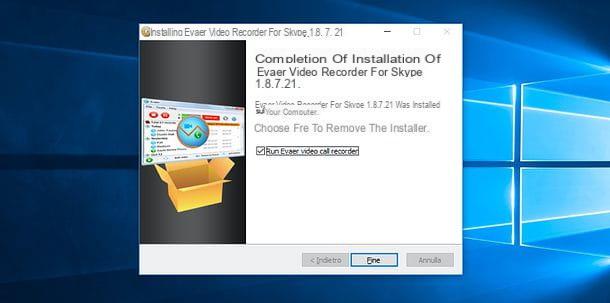
To download the free version of Evaer on your computer, connected to this web page and first click on the item Download present at the top and then on the button Download now. When the download is complete, start the Evaer installation package (EvaerSetup.exe) and, in the window that opens, first click on OK and then NEXT twice in a row, Install e end to conclude the setup.
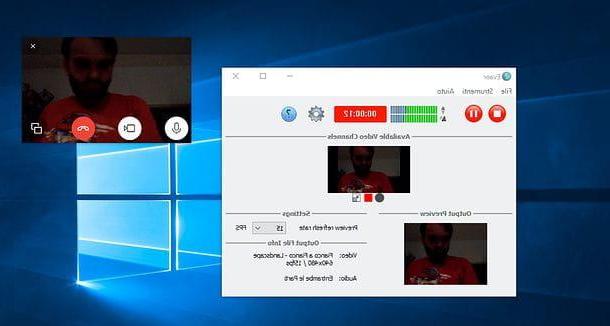
At this point, start Skype and then launch Evaer, in which the main window must be written Pronto (otherwise it means that the program cannot communicate with Skype).
Proceed, therefore, to make your video call on Skype and Evaer will automatically record it. If you want, you can click on the button Pause of the program to temporarily stop recording or on the button Stop to stop it definitively.
Subsequently, to view the list of recordings made, access the Evaer main window and consult the history of recordings in it. Then click on the ▶ ︎ button to start playing a recording or on the icon folder to view the recordings in the Windows File Explorer.
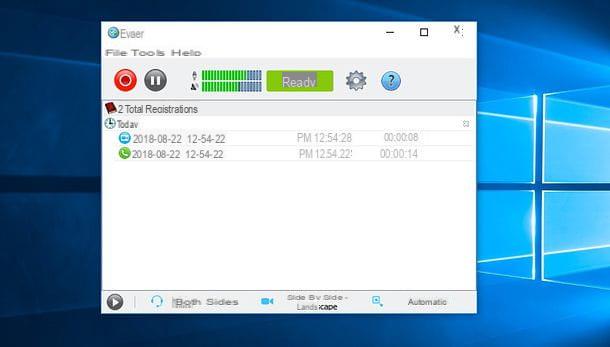
Finally, I would like to point out that using the icons located at the bottom of the Evaer window you can choose whether to record audio from Both, Remote audio only o Local audio only ('headphones icon); you can set the video mode to use for recordings (the camera icon) and you can set the resolution of the videos to be obtained (the two arrows icon).
Other solutions to record Skype video
At this point of the tutorial, haven't you yet been able to find solutions that will satisfy you 100%? I admit that it seems strange to me, in any case do not worry: below are other programs that allow you to record Skype videos and that, therefore, could be for you.
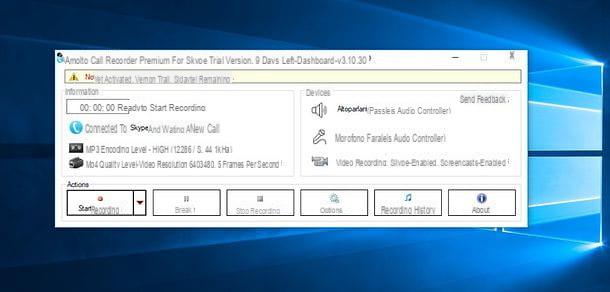
- Amolto Call Recorder (Windows) - this is a software dedicated to recording Skype calls and video calls. It costs $ 29,99, but is available in a free version that allows you to record ten audio calls per month. Its operation is very intuitive, since to use it just start a video call in Skype, call up its main window and first click on the button Start recording e poi sull'opzione Screencast.
- eCamm (macOS) - great video call recording software only available on macOS. It also supports uploading recordings to cloud services like Dropbox, YouTube, and Vimeo. It costs 39,95 euros, but is available in a free 7-day trial version. It is activated simply by clicking on the button Rec in its floating window.
- Free video Call Recorder for Skype (Windows) - well-known free program for recording Skype video calls under Windows. It's very intuitive, but sadly, as of this writing, it doesn't seem compatible with Skype 8.0 and later.
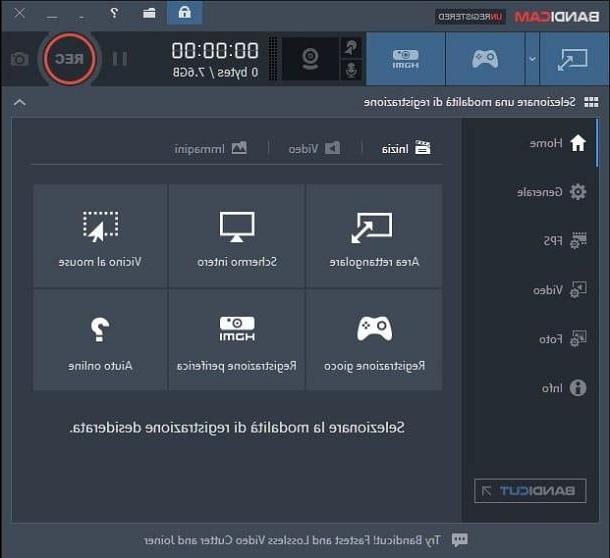
Finally, I point out that you can take advantage of the screen recording software of PCs or mobile devices to record video calls on Skype. For example, you can use excellent open source software OBS to record the Windows and macOS desktop while making video calls on Skype (as I explained to you in my tutorial on how to record the desktop) or, if you prefer to act mobile, you can take advantage of the screen recording functions included "as standard" in Android and iOS: I told you about it in my tutorial on how to record a video call.
How to Record Skype Videos