Programs to record the PC screen
Let's start this guide by analyzing which ones, in my opinion, represent the best programs to record the PC screen, its Windows.
Xbox Game Bar
If yours is a PC with on installed Windows 10, I advise you to give the Xbox Game Barthe Xbox game bar: if you had never heard of it, it is a utility included “as standard” in the latest edition of Microsoft's operating system designed to record videos of gaming sessions. If necessary, however, it can be used to capture any other activity that takes place on the screen.
The only limitation is that the tool in question can only be used on computers that integrate one of the following graphics cards: NVIDIA GeForce 600, NVIDIA 800M or later, AMD Radeon HD 7700 series, HD 7700M, HD 8500, HD 8500M, R7, R9 or later. If you have no idea what graphics card is on your computer, follow the instructions I gave you in my guide on how to see what video card you have, to find out immediately.
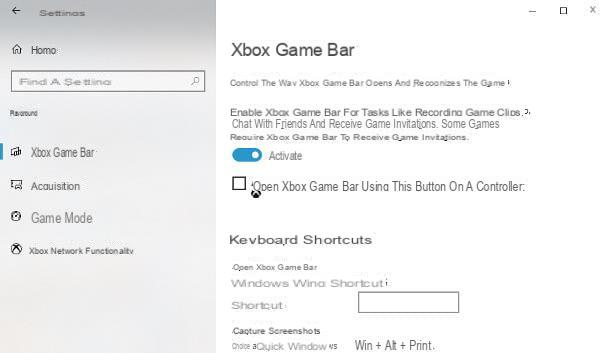
Having made this necessary premise, it's time to take action: the first thing to do is to verify that the Xbox Game Bar is active. To do this, open the menu Home of Windows, by clicking on the symbol pennant located in the lower left corner of the screen, click on thegear visible in the left sidebar and, once you have reached the Settings system, select the item Toys from the list of available options.
Then click on the entry Xbox Game Bar, resident in the left sidebar, and verify that the switch at the top of the screen is in position On, otherwise you do it.
Now, close the Settings panel and, to bring up the Xbox Game Bar, press the key combination Win + G on the keyboard; alternatively, click on the button Home Windows (the pennant located at the bottom left), type the word xbox inside it and select the result related to Xbox Game Bar.
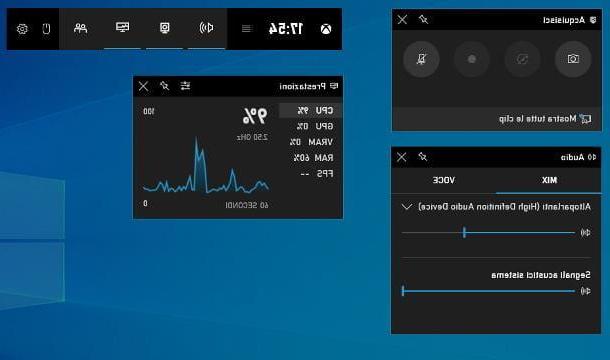
If everything went well, within a few seconds you should see the various components of the utility on the desktop; to start screen recording, click on the button Rec (the one with the cue ball), located in the tab Acquire; if the latter does not appear, click on the button depicting a camera, present on the main bar of the application, in order to make it visible. Once the movie capture has started, you can hide all the Xbox Game Bar widgets (except for the recording control widget) by pressing the key combination Win + G.
If you also want to acquire the audio coming from the microphone, before starting the recording, click on the icon depicting a microphone, in fact, always resident in the card Acquire; to select the sound acquisition device and change its volume, you can use the tools on the box Audio (if it is not visible, click on the button depicting a speaker located on the main utility bar).
When registration is complete, click on the button depicting a square, visible in the tab Acquisition status: The related movie will be immediately saved in the folder VideoCaptures of Windows.
If you prefer, you can enjoy the functionality of the Xbox Game Bar even without starting it, using the keyboard shortcuts made available by Microsoft, which are: Win + Alt + R, to start and stop screen recording; Win + Alt + G, to record the screen for 15 seconds e Win + Alt + M, to enable or disable the use of the microphone during screen recording.
OBS
If you don't have Windows 10, or if you need more complete software (which, for example, allows you to record just a portion of the screen), you should give OBS, also known as Open Broadcaster Software. If you have never heard of it, this is one of the best programs to record the PC screen with free audio, which allows you to add other audio / video sources (eg the webcam) to the videos acquired from the desktop, and which allows you to perform direct streaming on popular platforms such as YouTube and Twitch.
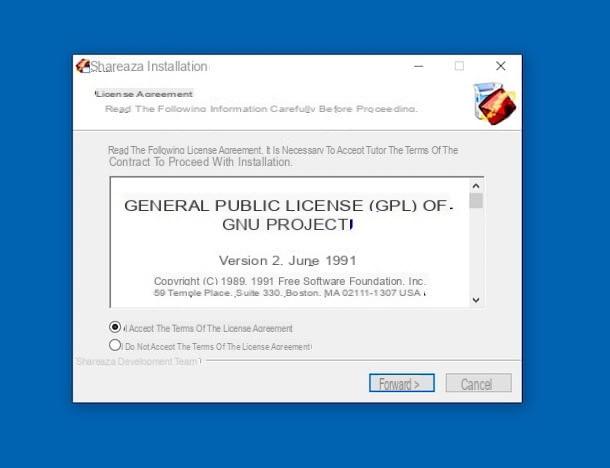
To get it, connect to the program's website and click on the button Windows, to download the installation file; when the download is complete, start the .exe file obtained and click on the buttons Yes (twice in a row), install e Finish, but will conclude the setup.
If all went well, the program should now start by itself; First, click on the button DO NOT to close the window dedicated to the OBS first configuration wizard, then click on the button Settings resident at the bottom right and select the item Exit, located in the sidebar of the new panel that opens.
Now, check that the drop down menu Exit mode sia impostat his Simple, indicate the folder where you want to save the videos, by clicking on the button Shop by Department located in correspondence with the wording Registration path and use the drop-down menus Recording quality e Registration form to specify, respectively, the quality and format to be used for video captures. Finally, save the changes by clicking on the buttons Apply e OK.
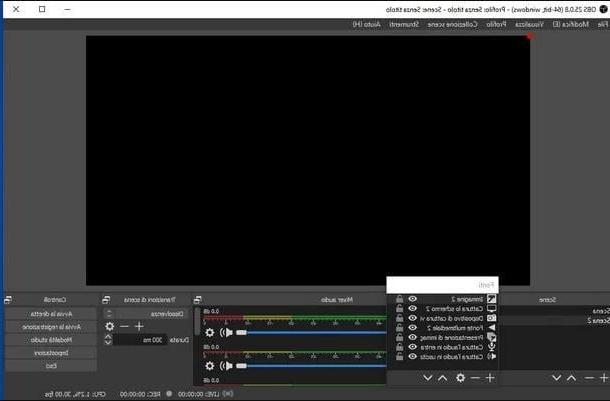
Finally we are there: back to the main OBS window, press the button capacitor positive (+) lead matching to the riquadro References and select the item Capture the screen, to record the entire desktop, or Capture window, to select a specific window.
If you wish, you can film multiple elements at the same time, overlapping multiple streams: click the button again capacitor positive (+) lead resident in the box References and choose the secondary source to add (eg. Video cattura device, to also acquire the stream coming from the webcam). Then, move the secondary source box to the position you prefer.
The procedure to follow to add the audio is almost identical: in the source selection menu, you have to select the item incoming audio, to acquire sounds from the microphone, or audio output, to record those coming from the computer.
Once you have finished configuring the "scene", click on the button Start recording, to immediately start recording the screen; when you're done, click the button instead Stop recording, to save the movie in the previously chosen folder.
To learn more about the use of OBS, I invite you to read the specific tutorial I have dedicated to the program.
Other programs to record the PC screen
In addition to the solutions that I have listed above, there are many other software, both free and paid, able to provide more than appreciable results. Here are some of them.
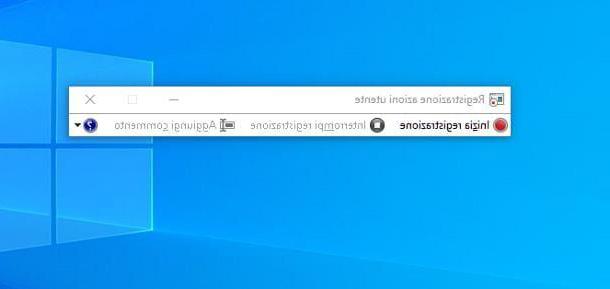
- User action logging - it is a software included “standard” starting from Windows 7, which allows you to record what happens on the desktop with extreme ease. The videos are saved in MHTML format and must be viewed by the browser.
- CamStudio - is a small free program that allows you to capture desktop videos in AVI format and add arrows and text, if necessary. It's free.
- Camtasia Studio - is a program rich in features and designed specifically to enrich screen recordings: it allows you to add real-time narrations, effects, music and other useful elements both in the professional and educational fields. Camtasia Studio costs € 244,53, but can be tried for free and without limitations for 30 days. More info here.
- Screencast-O-Matic - is an online service that allows you to record everything that happens on your desktop, after installing a special program on your computer. The service can be used for free, albeit with some limitations: the videos cannot be longer than 15 minutes, it is possible to acquire only the audio coming from the microphone and a watermark is imprinted on the recordings made. To eliminate these limits, you need to subscribe to a paid subscription, with prices starting at $ 1,65 / month.
Programs to record the Mac screen
Even in the case of Mac, there are several programs that you can consider to be able to capture everything that happens on the desktop. Here are some of them.
Screenshot
The first software I want to tell you about is Snapshot Screen: this is a utility included "standard" in macOS 10.14 Mojave and later, which allows you to easily capture the entire screen, or a portion of it, including the audio coming from the microphone.
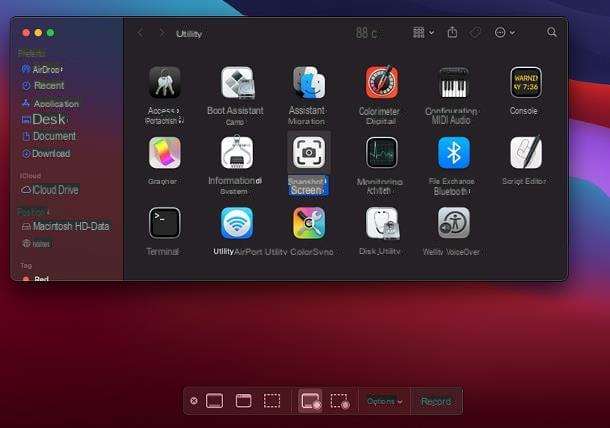
To start the program in question, press the key combination cmd + shift + 5 on the keyboard, or use the icon in the menu Or> Utility, accessible from the Mac menu bar.
Once the utility is open, you should see its toolbar at the bottom of the screen: to record the entire desktop, click on the button depicting the rectangle with circle (Record the entire screen); if, on the other hand, you want to acquire only a portion, press the button depicting a dashed rectangle with circle (Record your selection) and use the cursor that appears on the screen to define the part of the desktop to record.
Now, if you are interested in capturing the audio coming from the microphone as well, click on the menu options of the program (above), go to the section Microphone and select il name microphone to be used. To start recording the screen, click on the button Register; when you are done, press the button Stop, which appears in the Mac menu bar, near the clock (it has the shape of a square). After a few seconds, the recorded video will be saved in .MOV, on the desk. Easy, right?
QuickTime Player
Did you know that too QuickTime Player, the media player included in all editions of macOS, includes a feature dedicated to screen recording? Yes: within a few clicks, you can capture the entire contents of the macOS desktop and, if necessary, also the audio coming from the microphone or other audio input.
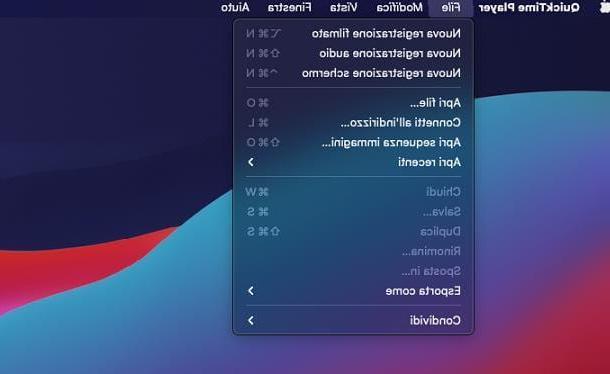
Doing so is really simple: after opening the program in question, click on the menu Fillet (located at the top left, on the Mac menu bar) and select the item New screen recording from the latter. Now, if you have macOS 11 Big Sur or later, you will see the same controls as on Screen Snapshot: therefore, follow the directions I gave you earlier to record the movie.
If you have aprevious edition of macOS, you will see the QuickTime Player window dedicated to screen recording appear instead. Now, if you want the audio to be recorded as well, click on freccetta verse il basso and then on the voice Built-in microphone: internal microphone, visible in the menu that appears.
Also, if you want to make any mouse clicks visible, select the item as well Show mouse clicks in recording. Now, to start capturing the entire desktop, click anywhere on the screen (or press the button Rec attached to the QuickTime Player screen); if, on the other hand, you want to record only a portion of it, click on a defined point on the screen and, holding down, draw a square or a rectangle on it.
When you are done, click on the button Stop that appears in the Mac menu bar, top right, and wait for the captured video to be visible; By default, the file is saved, in MOV format, directly to your Mac desktop.
If you wish, view it using the buttons available in the player; finally, if you need to save the file in another format, use the menu File> Export As, to succeed. That's all!
Other programs to record the Mac screen
If you are not satisfied with the solutions I have shown you so far, know that there are numerous other programs that allow you to record the macOS screen. Here are a few.
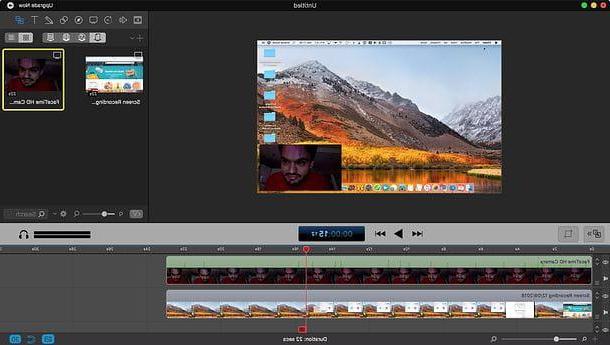
- OBS - it is an excellent software dedicated to the creation of screencasts, even with multiple sources: for example, it is possible to combine the video of the screen with that coming from the webcam, in a couple of clicks. I already told you about OBS, which is free, in one of the previous sections of this guide.
- Screenflow - is a program for Mac dedicated entirely to screen recording, which also includes functions to edit and edit captured videos in a simple way. It costs $ 129, but it is possible to get a free version, which has no limits on use but affixes a watermark to acquisitions.
- Screencast-O-matic - is an online service that, after installing a free client, allows you to make video recordings of both the desk and the webcam. The free version of the service has a duration limit for recorded videos (maximum 15 minutes) and watermarks the videos; to eliminate these limitations, a subscription is required, with prices starting at $ 1,65 / month.
App to record the screen

You need record the screen of your smartphone or tablet? In this case, you can rely on some applications that allow you to succeed in the enterprise within a couple of taps and, above all, without the aid of a computer.
- Record Screen (Android) - numerous variants of Android, such as the MIUI operating system on board the Xiaomi, have an internal recorder, called Record screen or Screen recorder. Generally, it is sufficient to open the app in question and, after touching the button depicting a video camera, press the button for start the registration; to stop it, press the button Stop. The video is automatically saved in the Android photo gallery.
- Rec. - Screen Recorder (Android) - this is an app that allows you to record your Android screen in just a couple of taps. Among the functions provided, there are the ability to customize the resolution of the movie and also add the audio captured by the microphone. It is free, with the possibility of in-app purchases to unlock additional functions.
- Screen recording (iOS / iPadOS) - This is a feature included “standard” in the operating systems of the iPhone and iPad, which allows you to easily record everything that happens on the screen. To use them, call the Control Center of the device (by swiping down from the top right corner of the screen, on devices with Face ID, or from the bottom up, on devices with a physical Home button) and touch the button depicting a hoops, to start recording. To stop it, tap the red bar that appears at the top and touches the item Stop; the movie will be automatically saved in the iPhone Gallery.
If you are interested in learning more about how to use the solutions that I showed you a little while ago, or if you want to discover alternative solutions to record the Android and iPhone screen, you would do well to take a look at the insights I have dedicated precisely to such devices.
Programs to record the screen